THANK YOU
for purchasing the Battery Tie-Down for Toyota GR86 from CravenSpeed. This product is made from the highest grade materials, and is guaranteed to be free from defects.
You can buy ourCravenSpeed Battery Tie-Down for Toyota GR86 here
The installation time for this product is approximately 5 minutes.
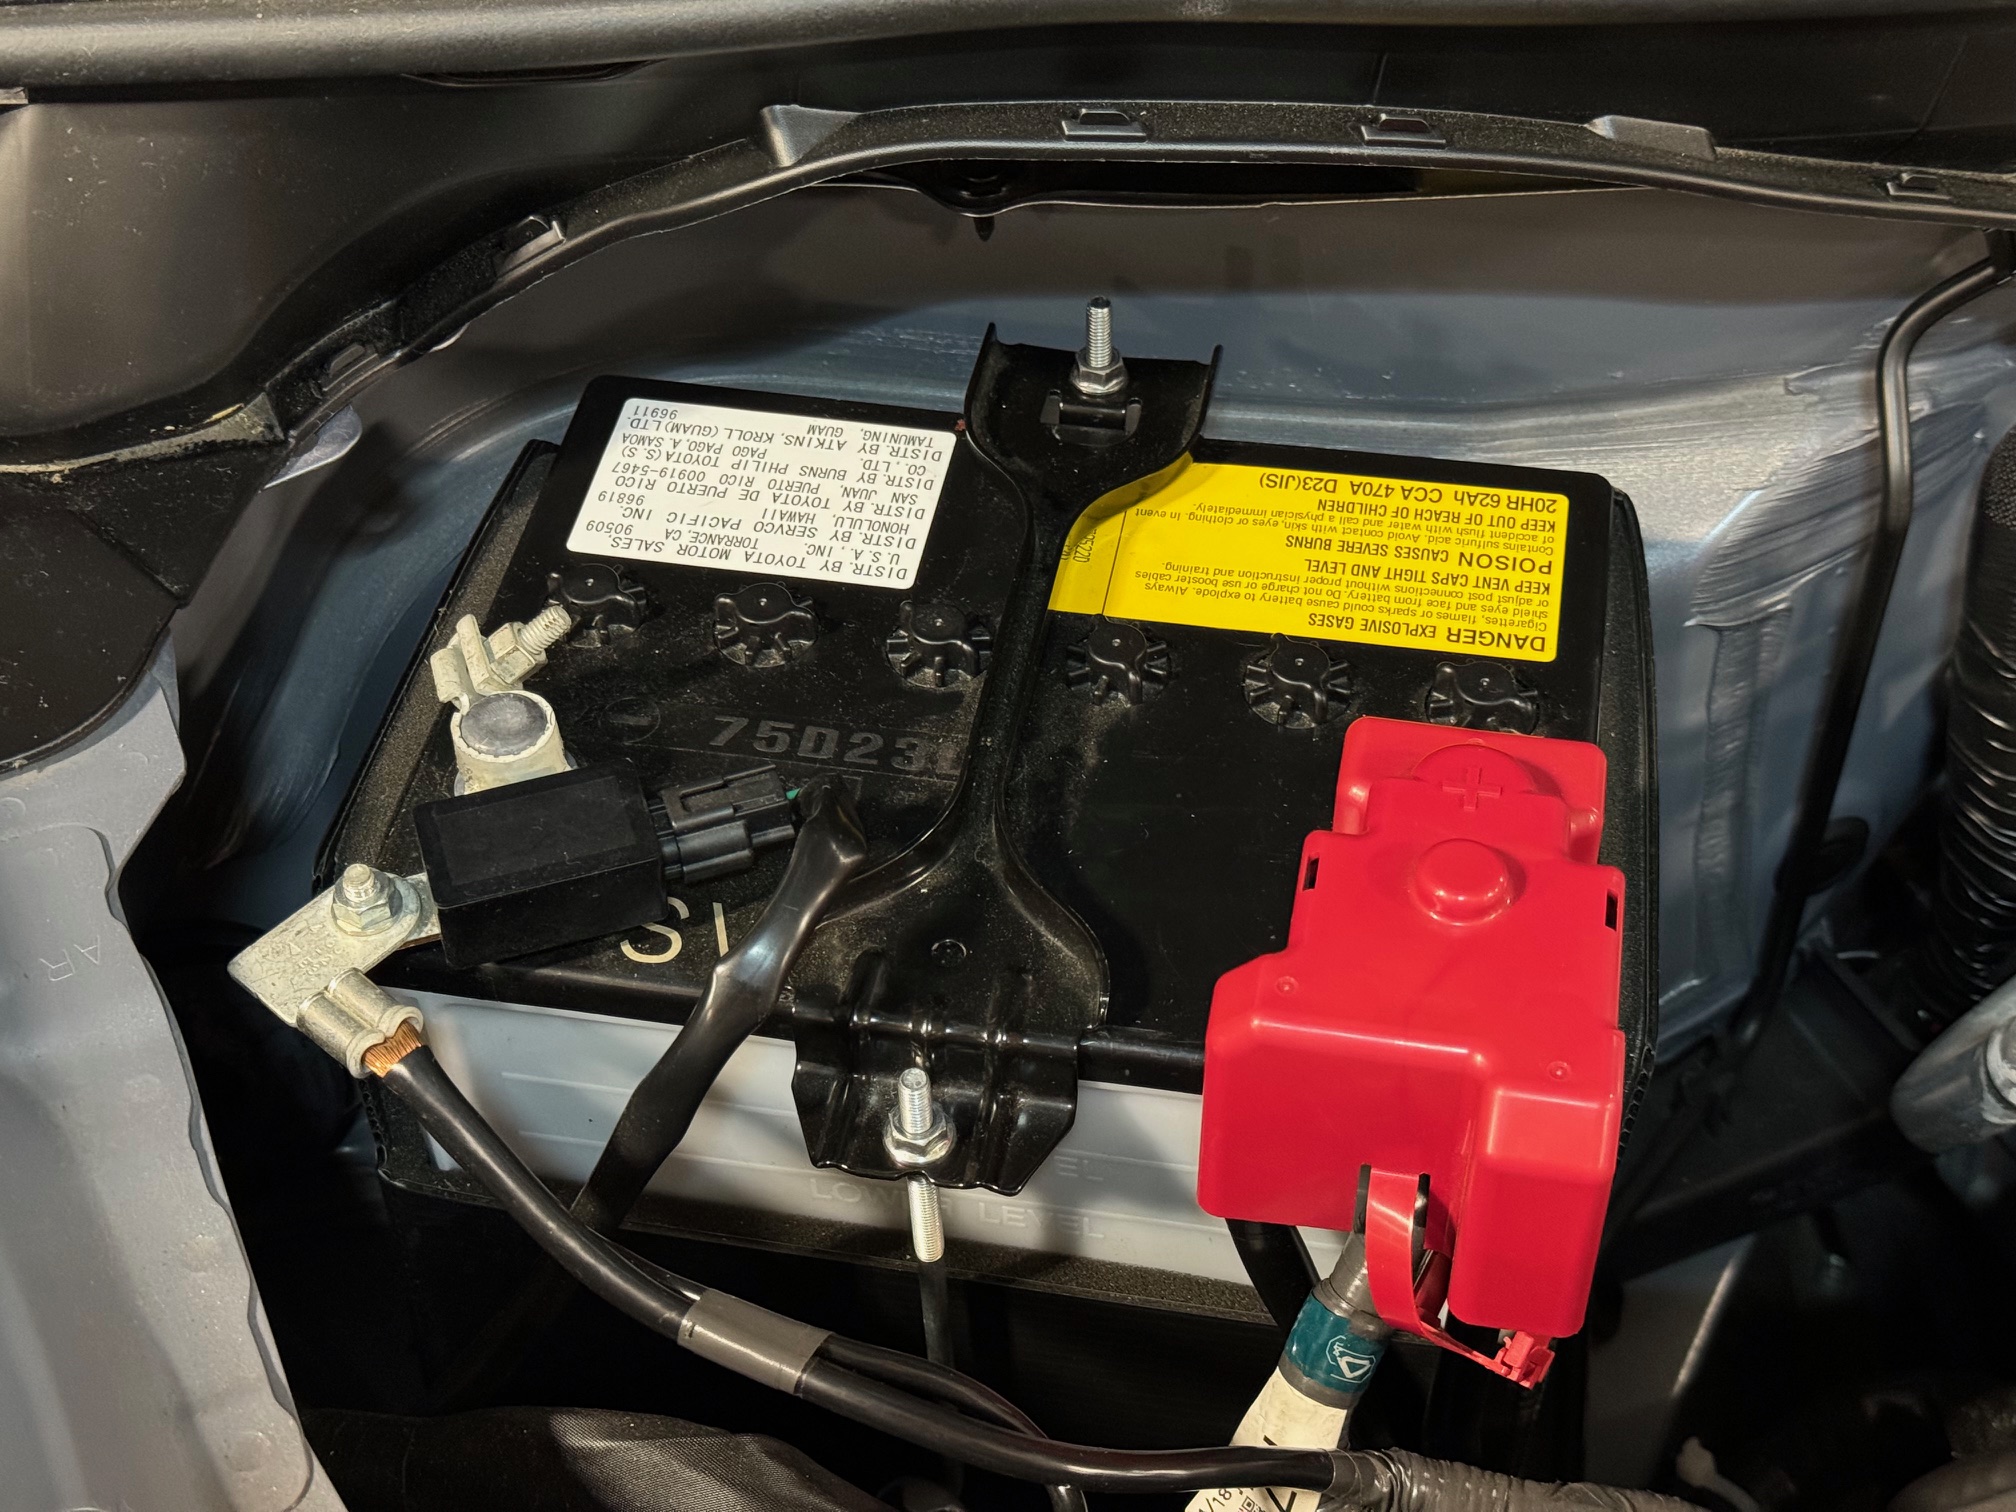
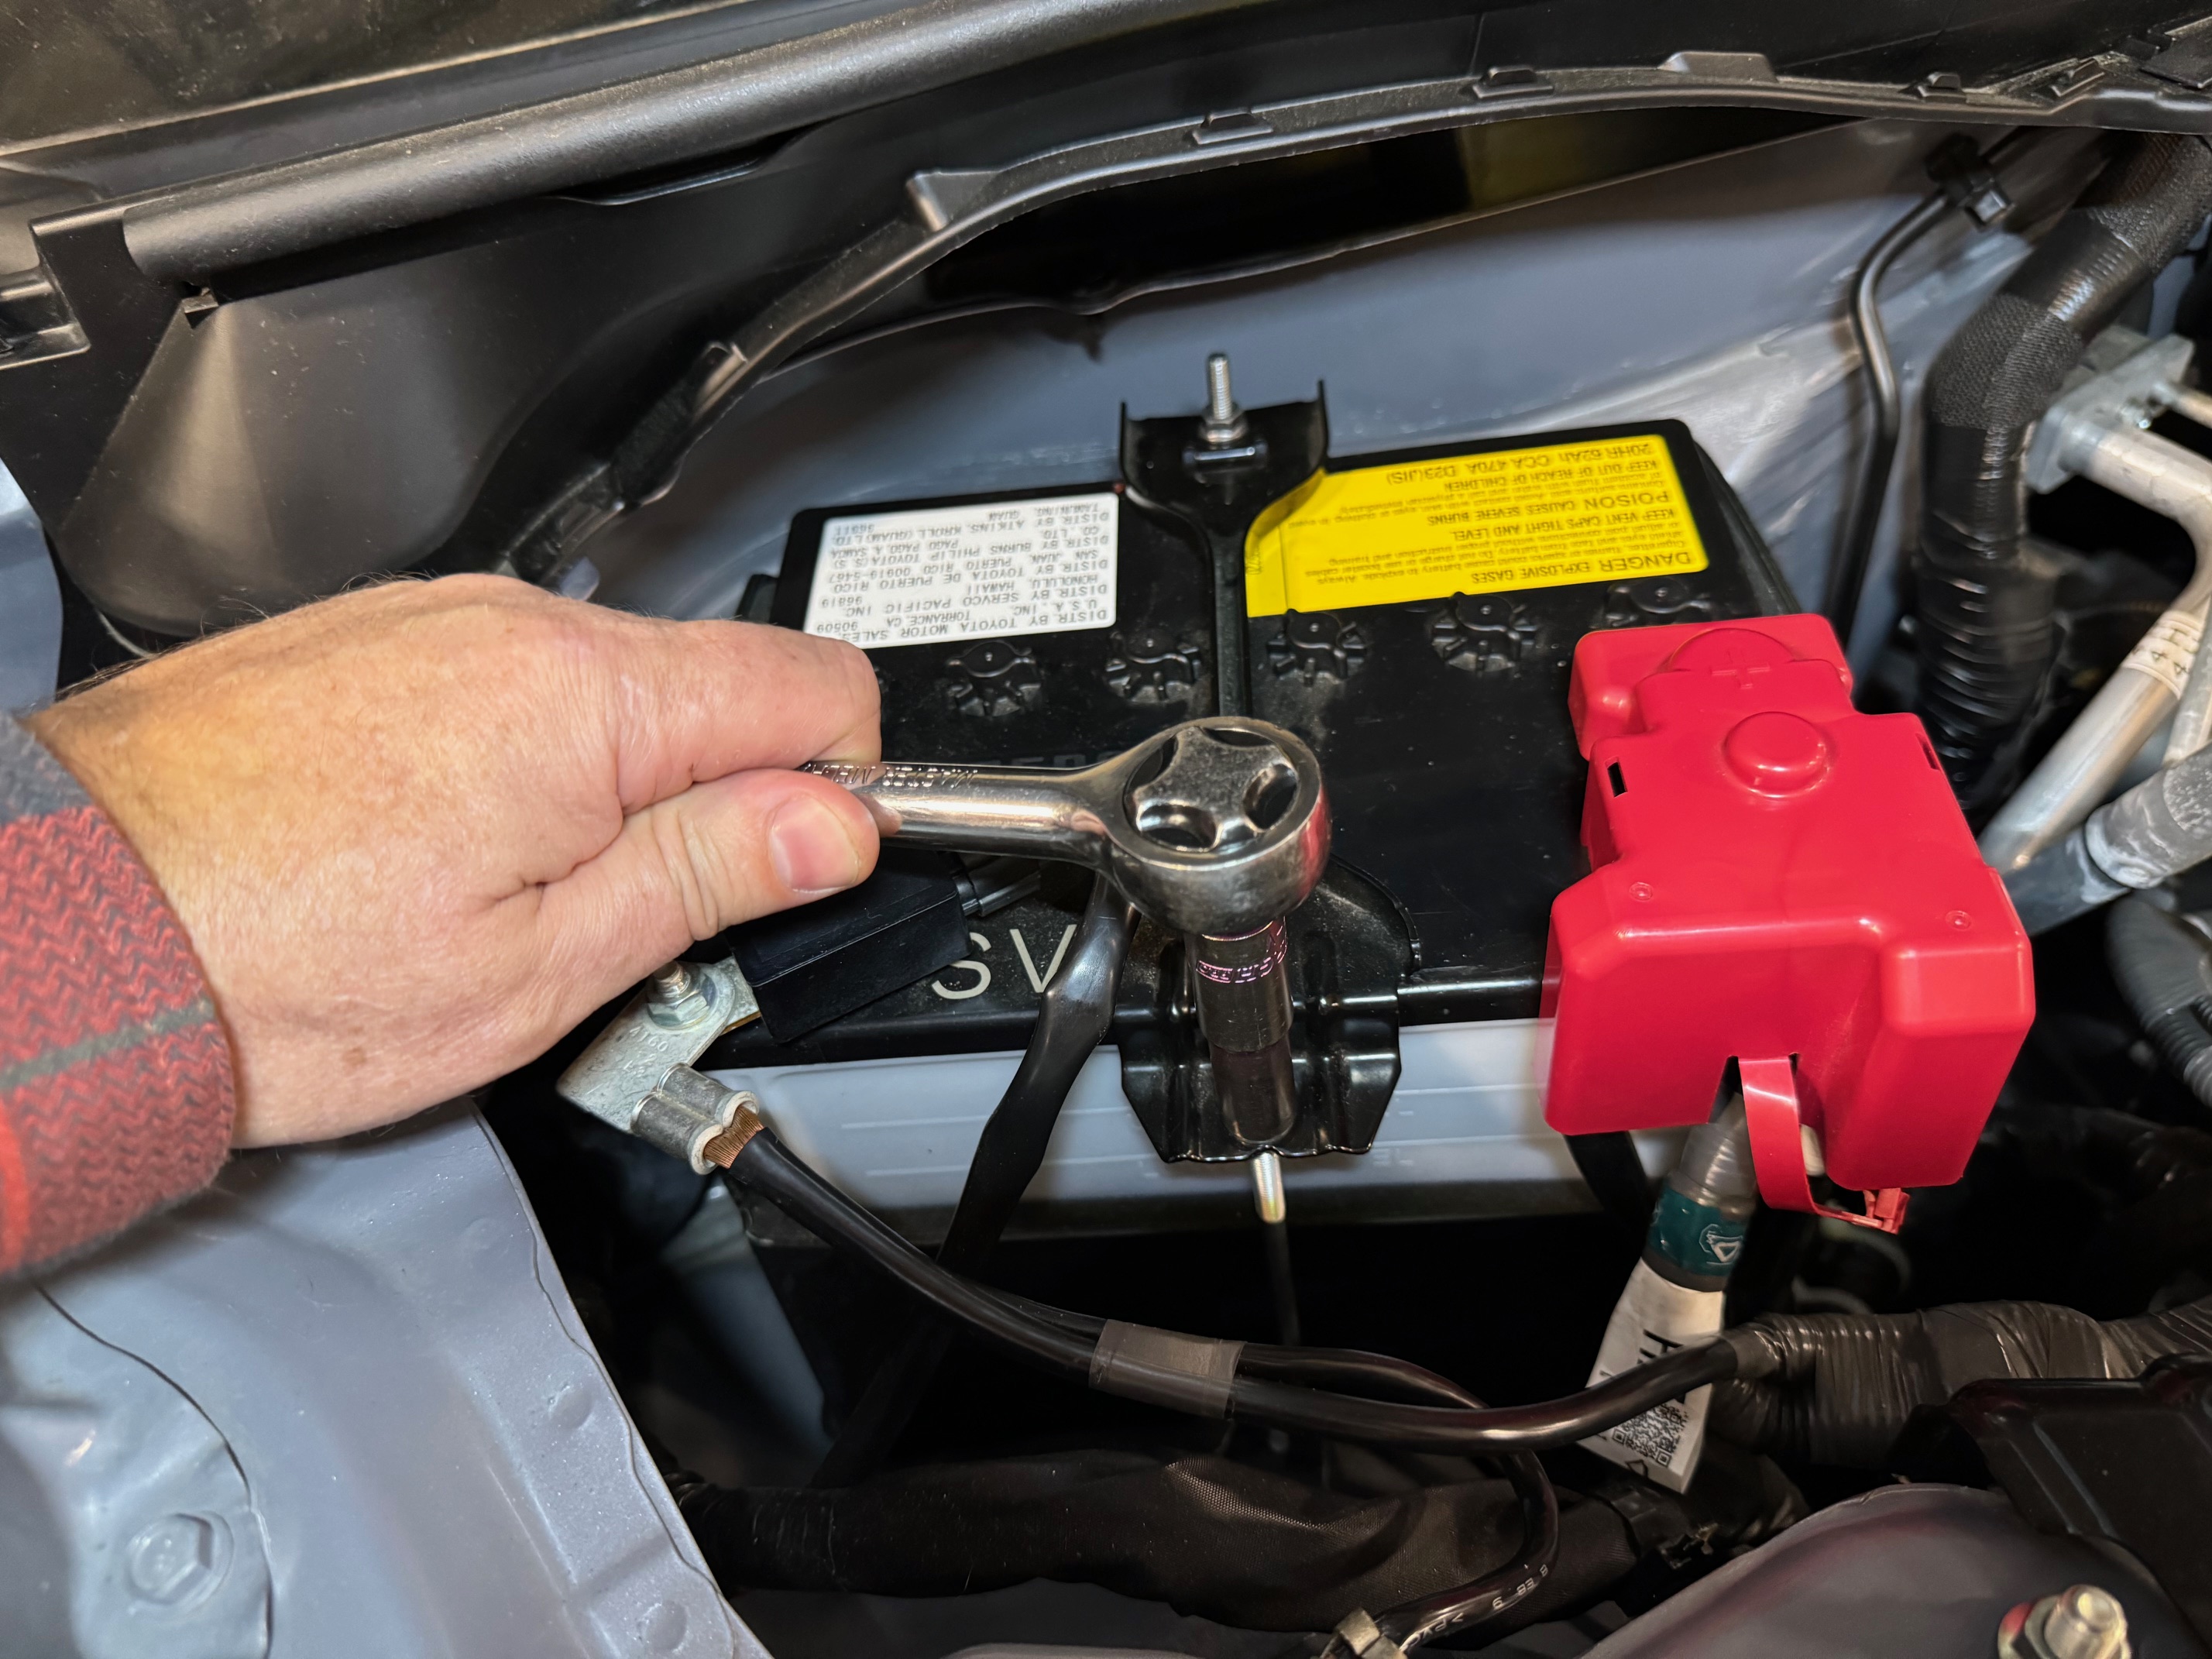
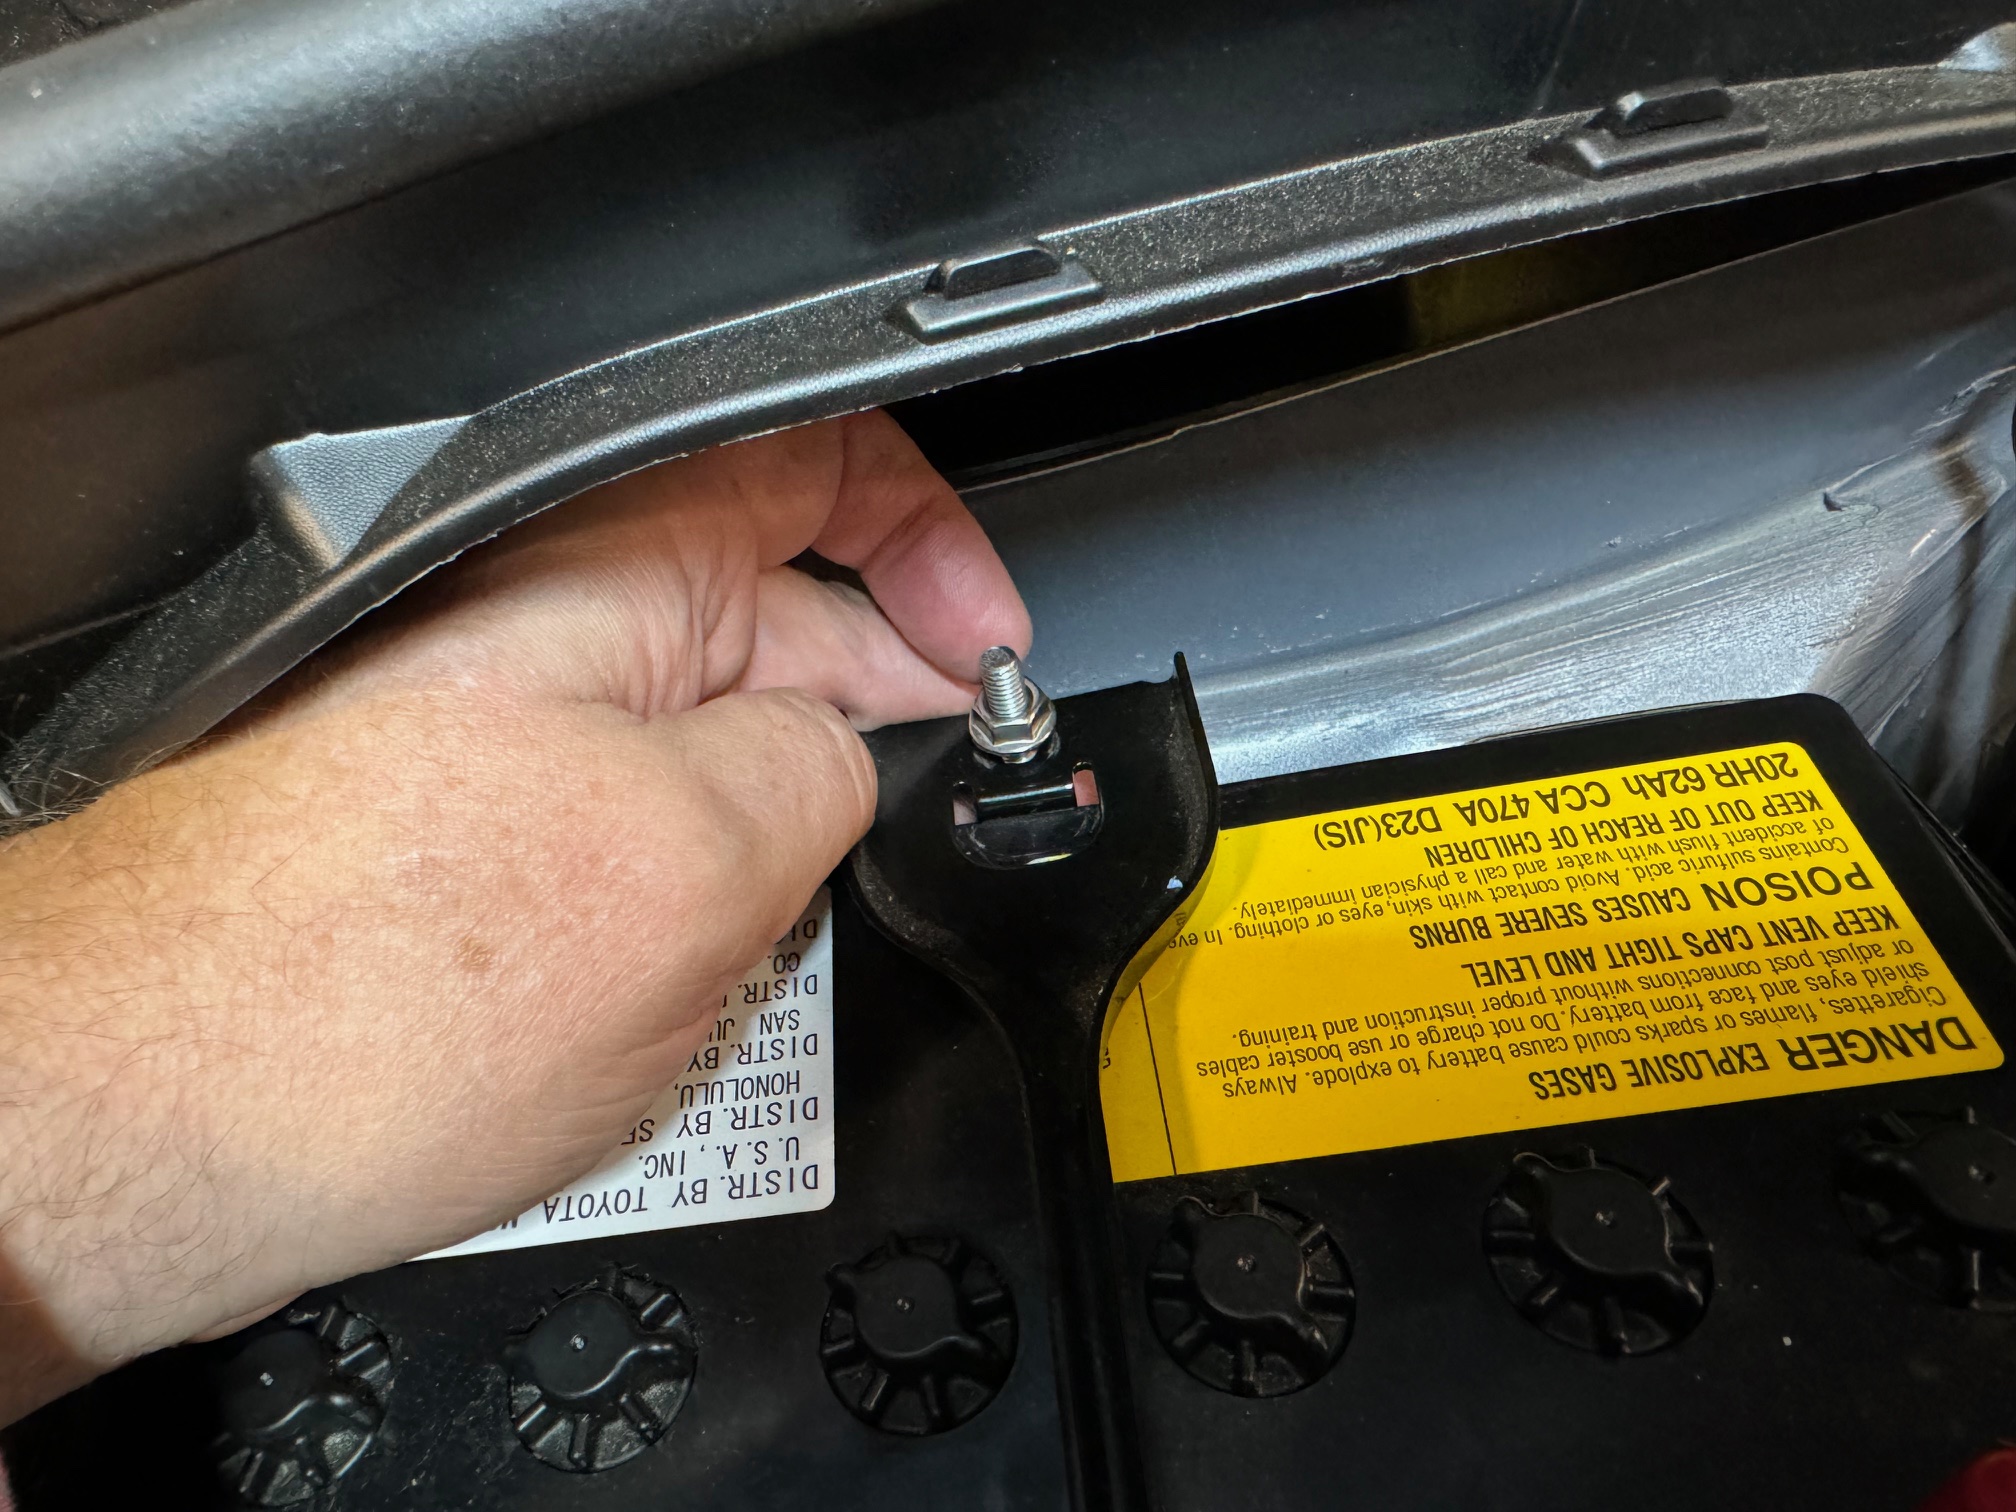
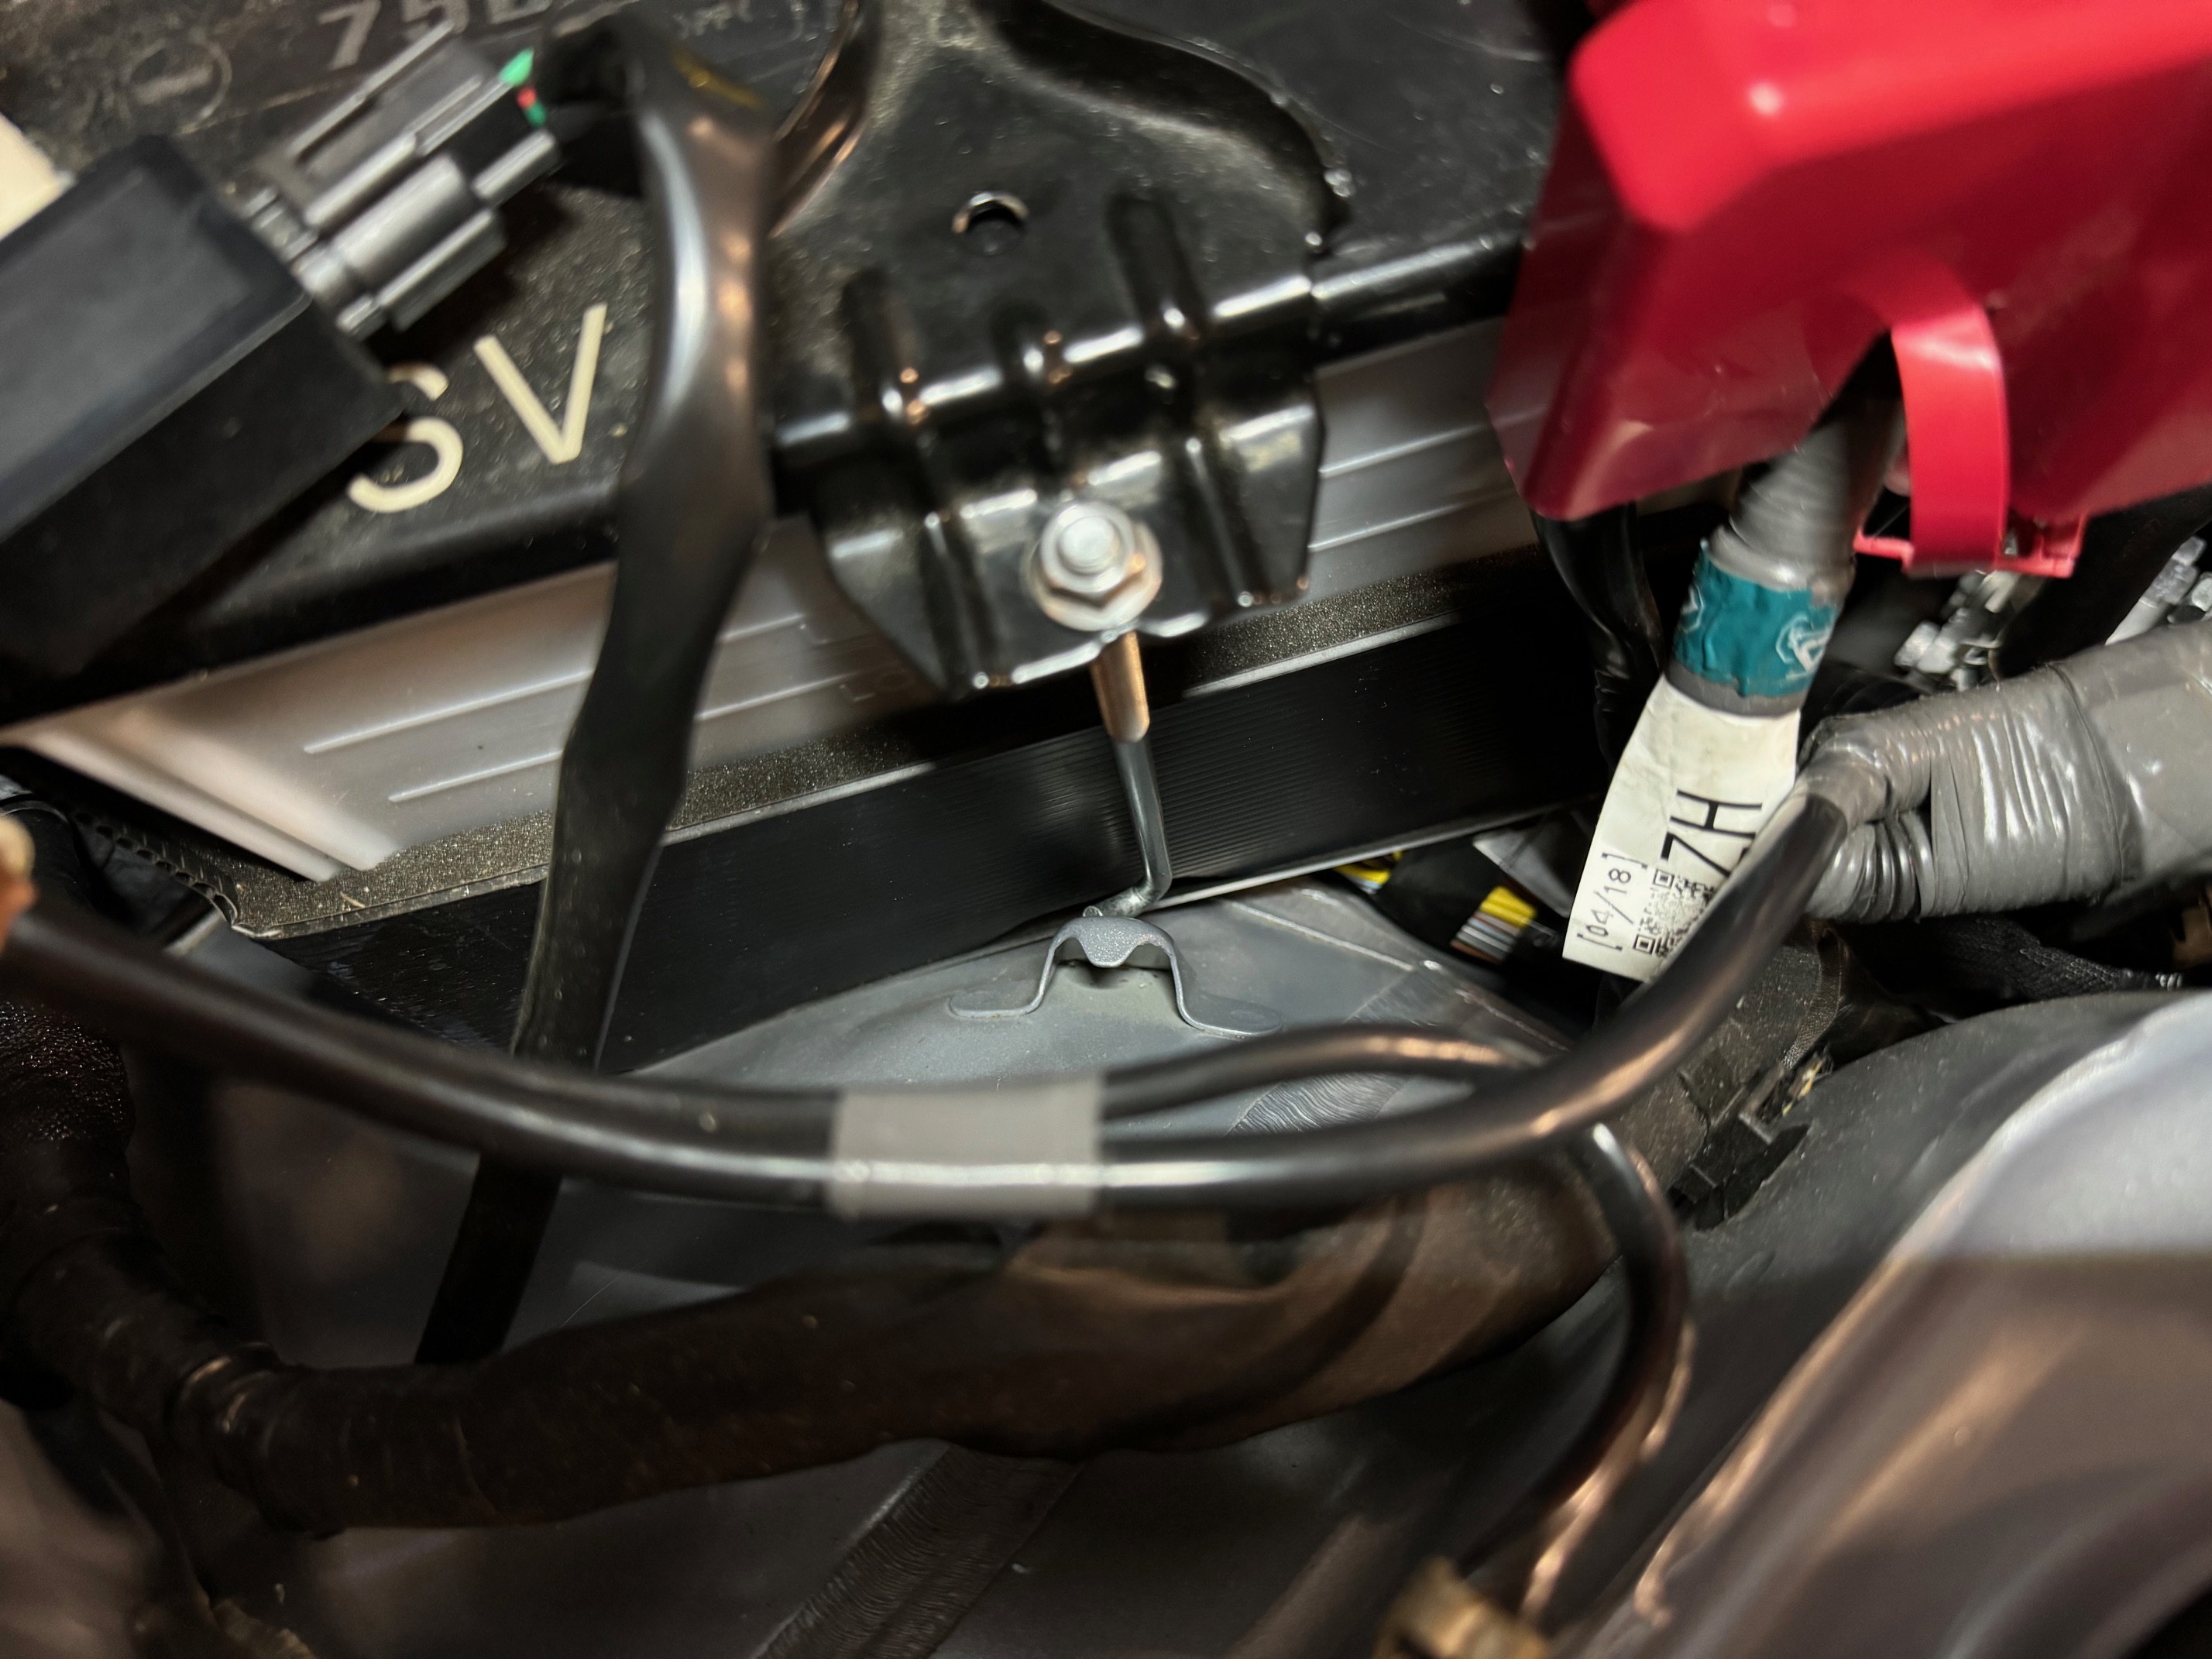
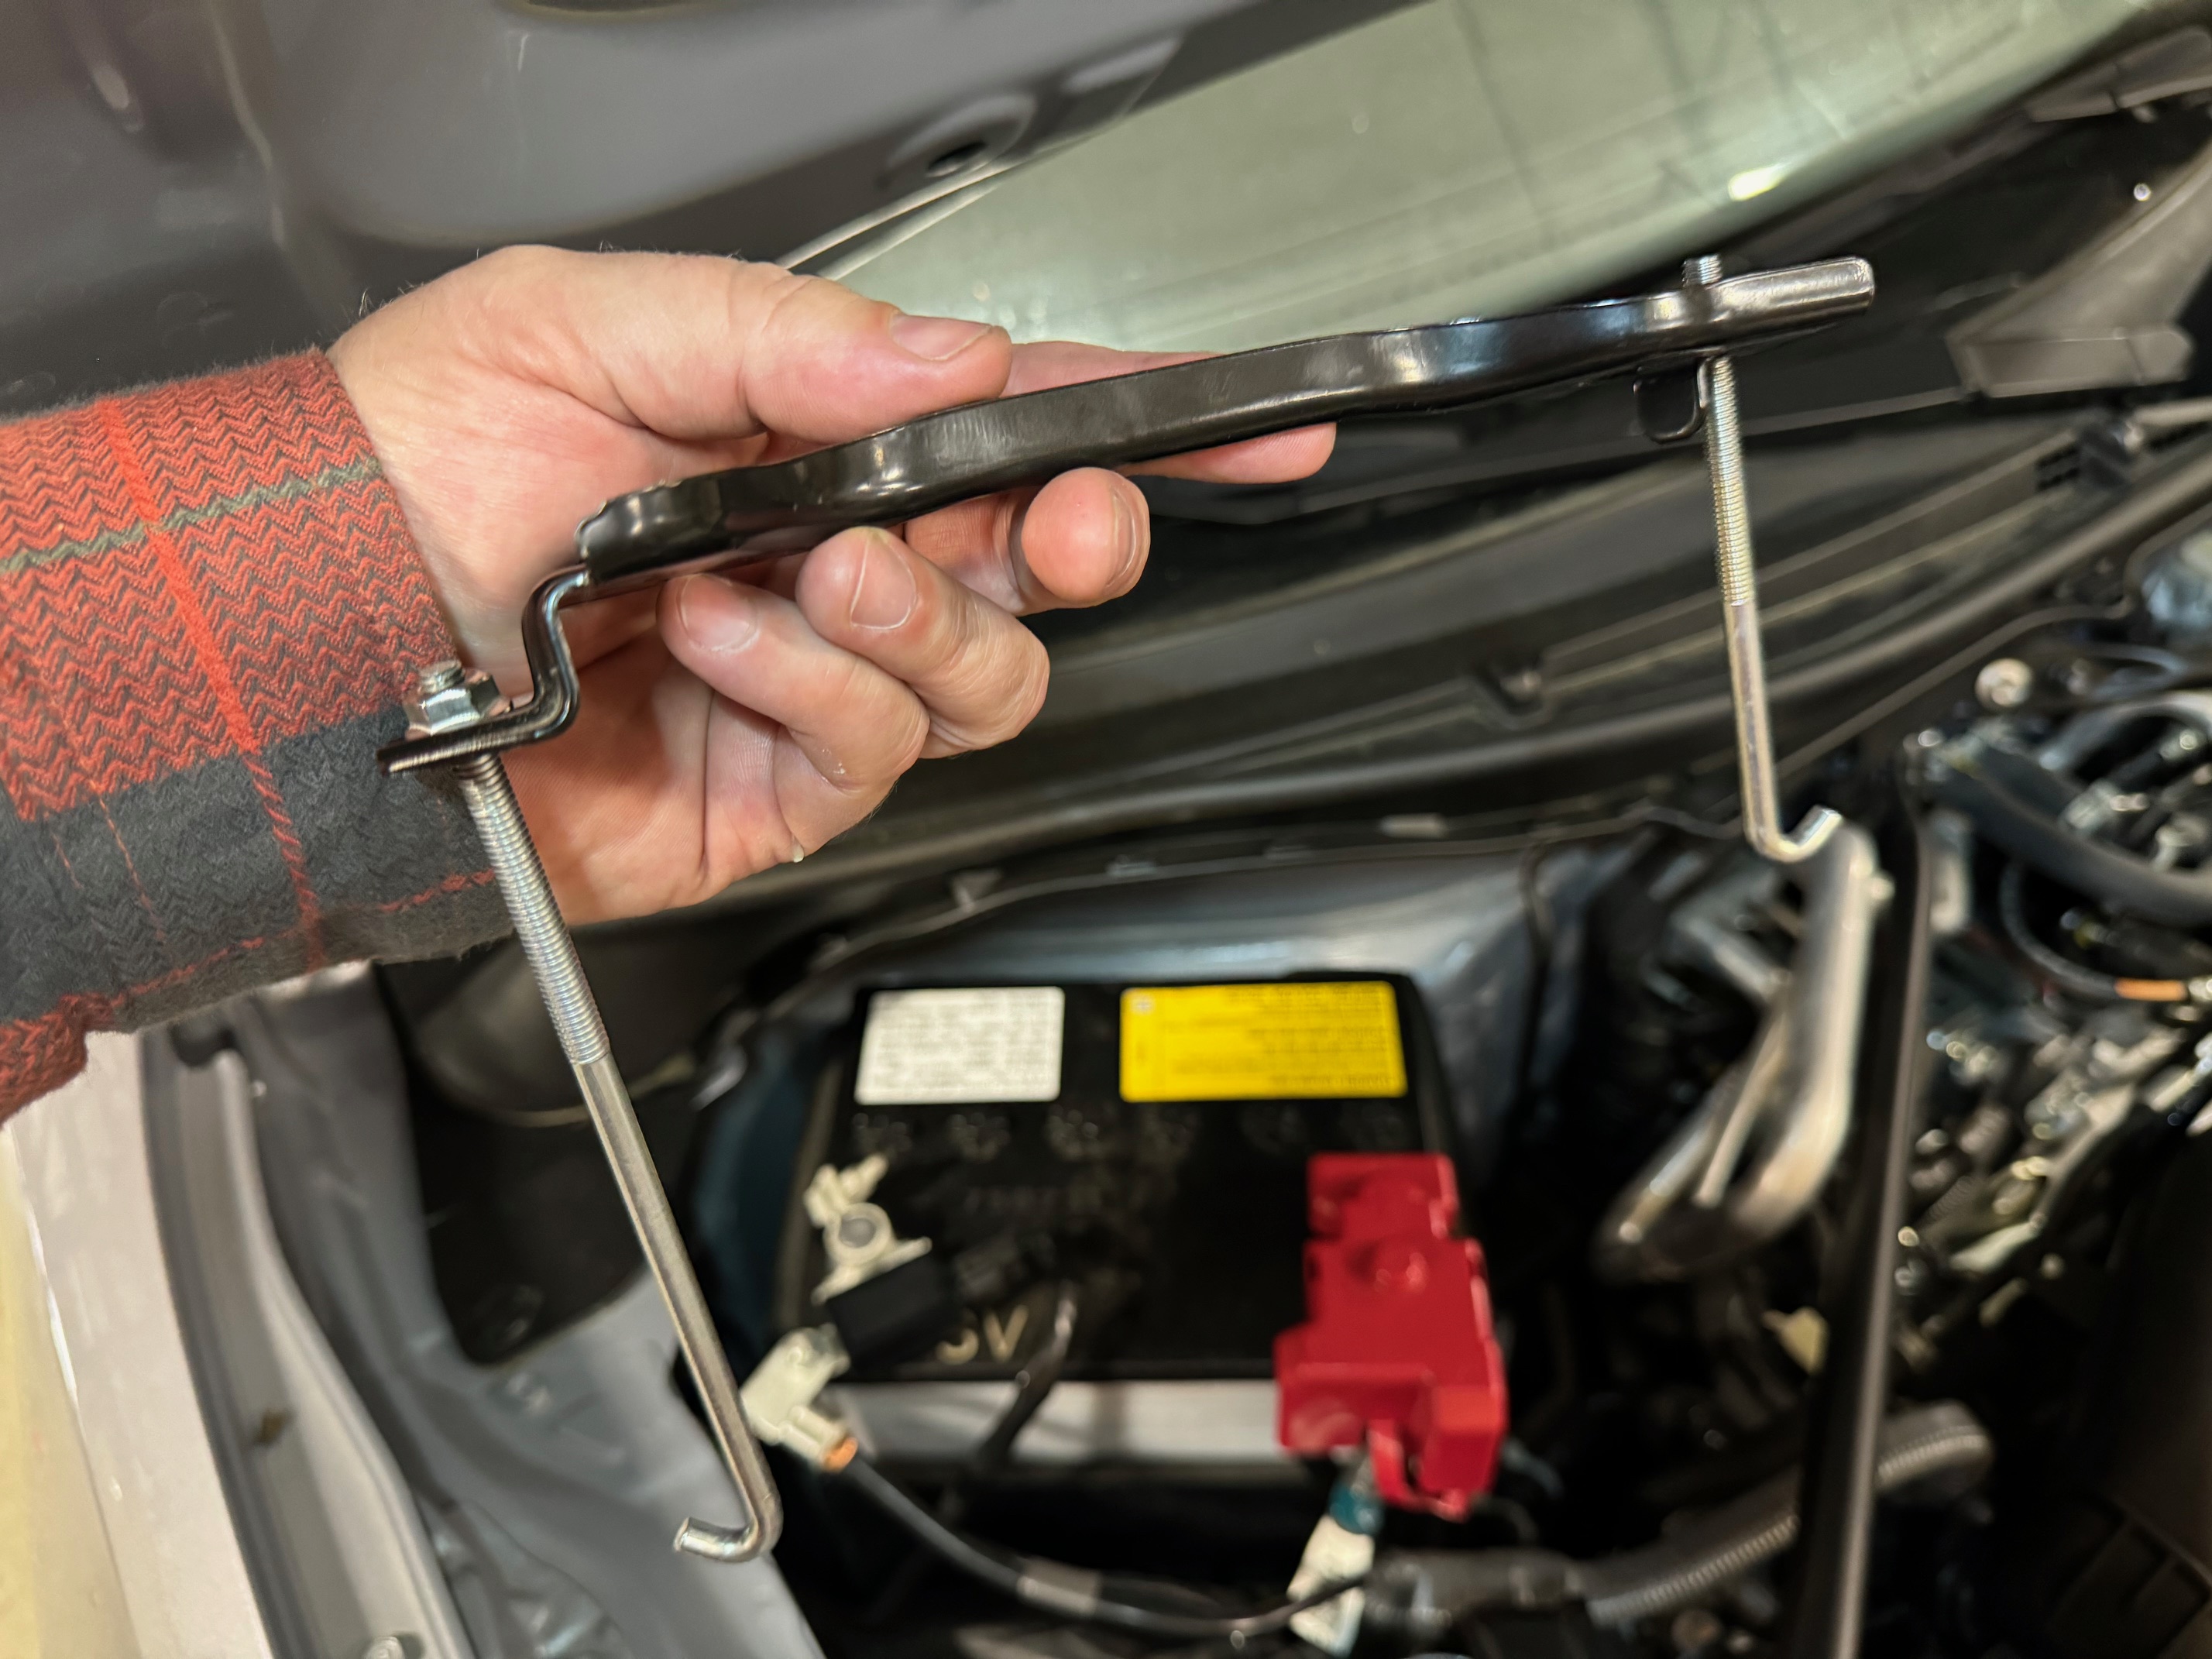
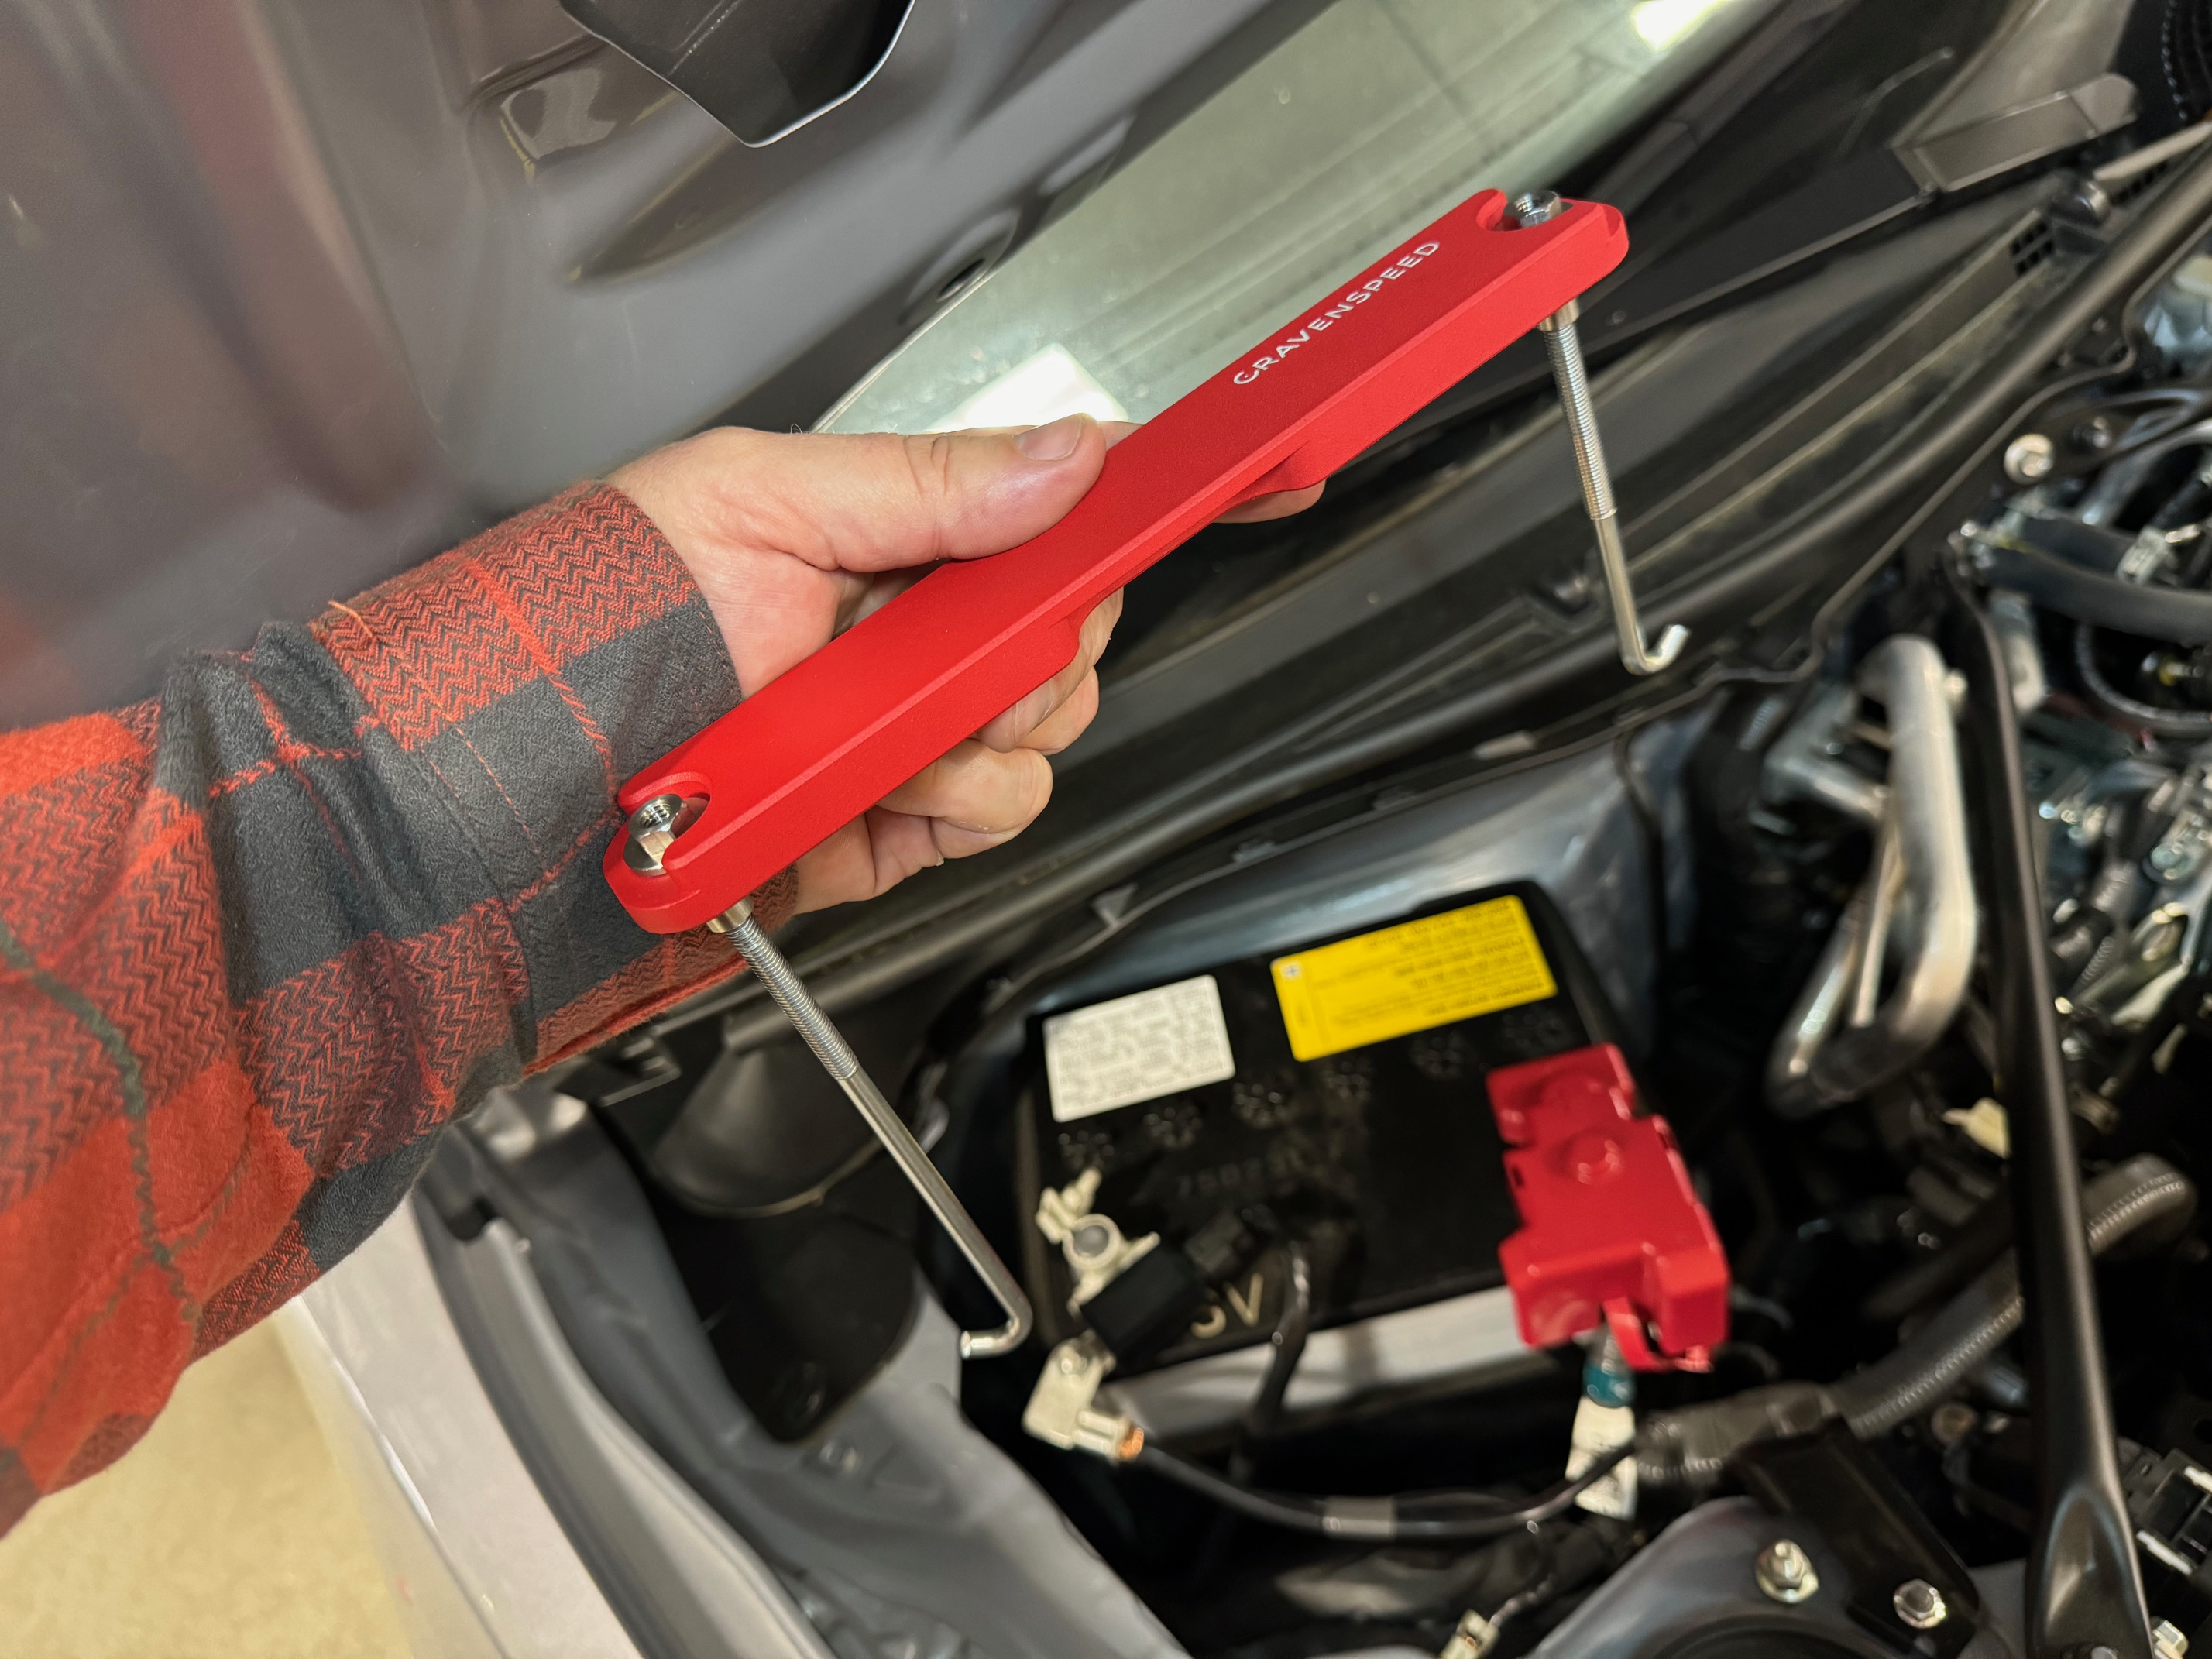
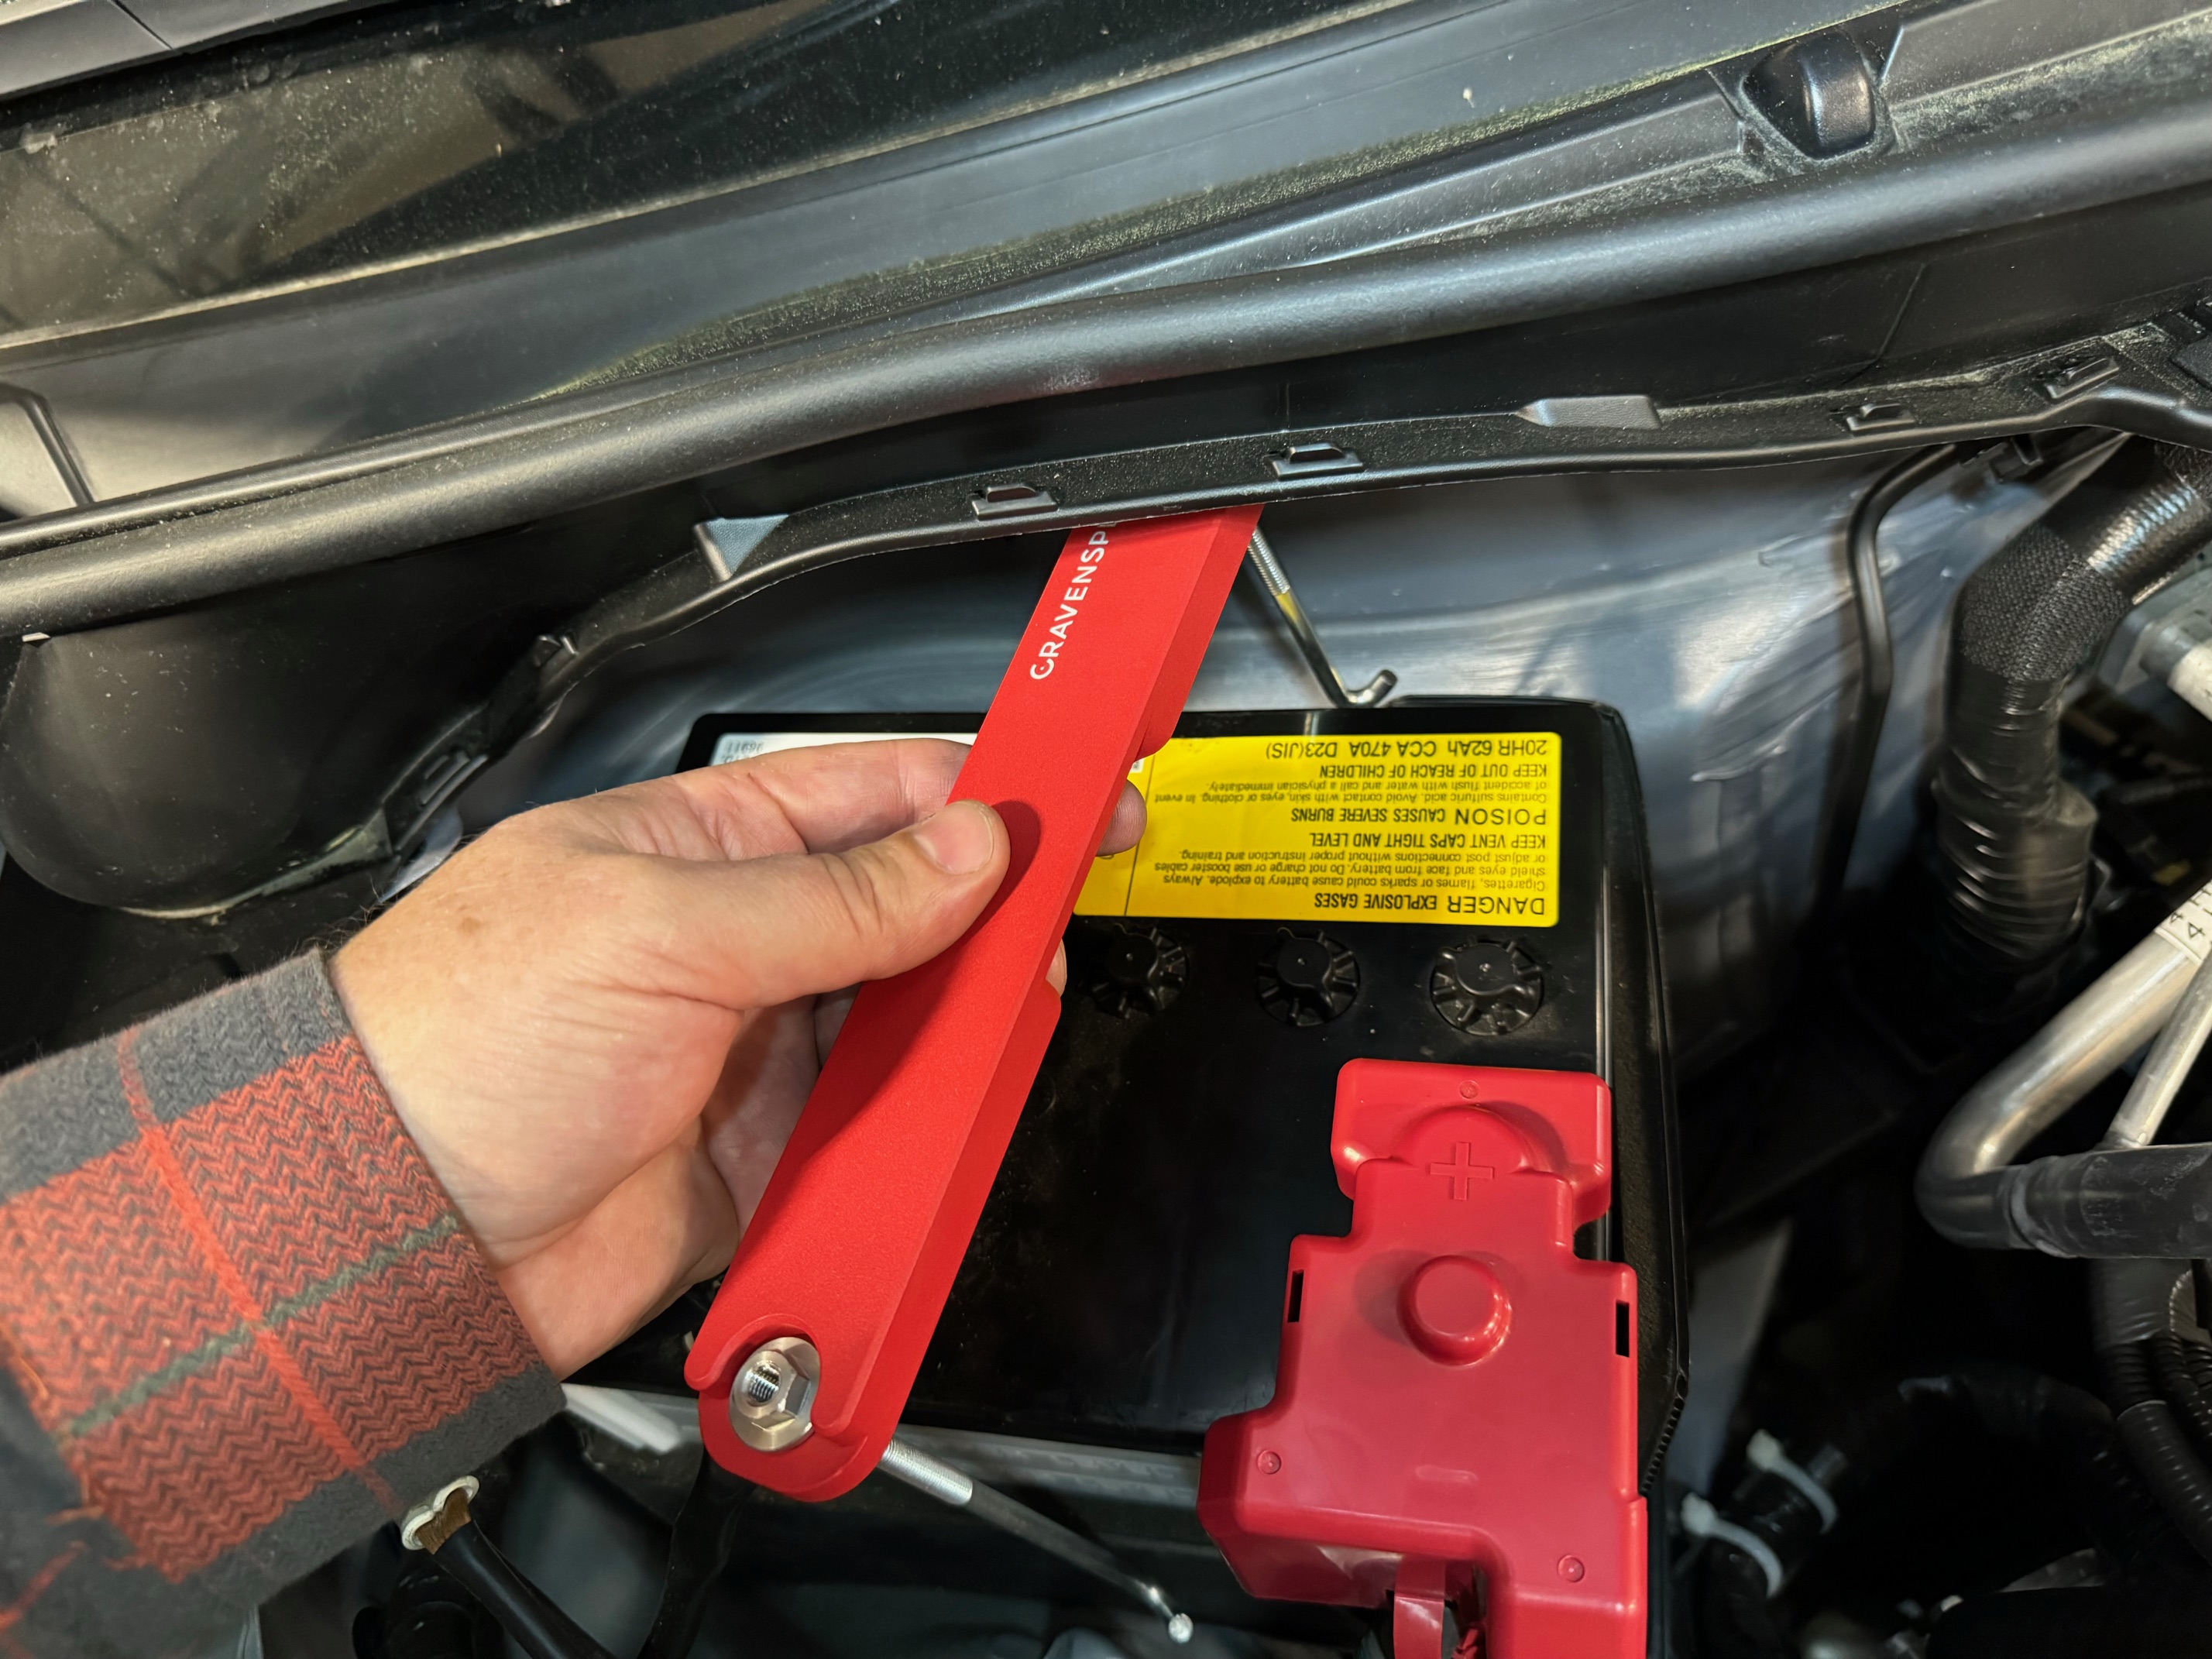
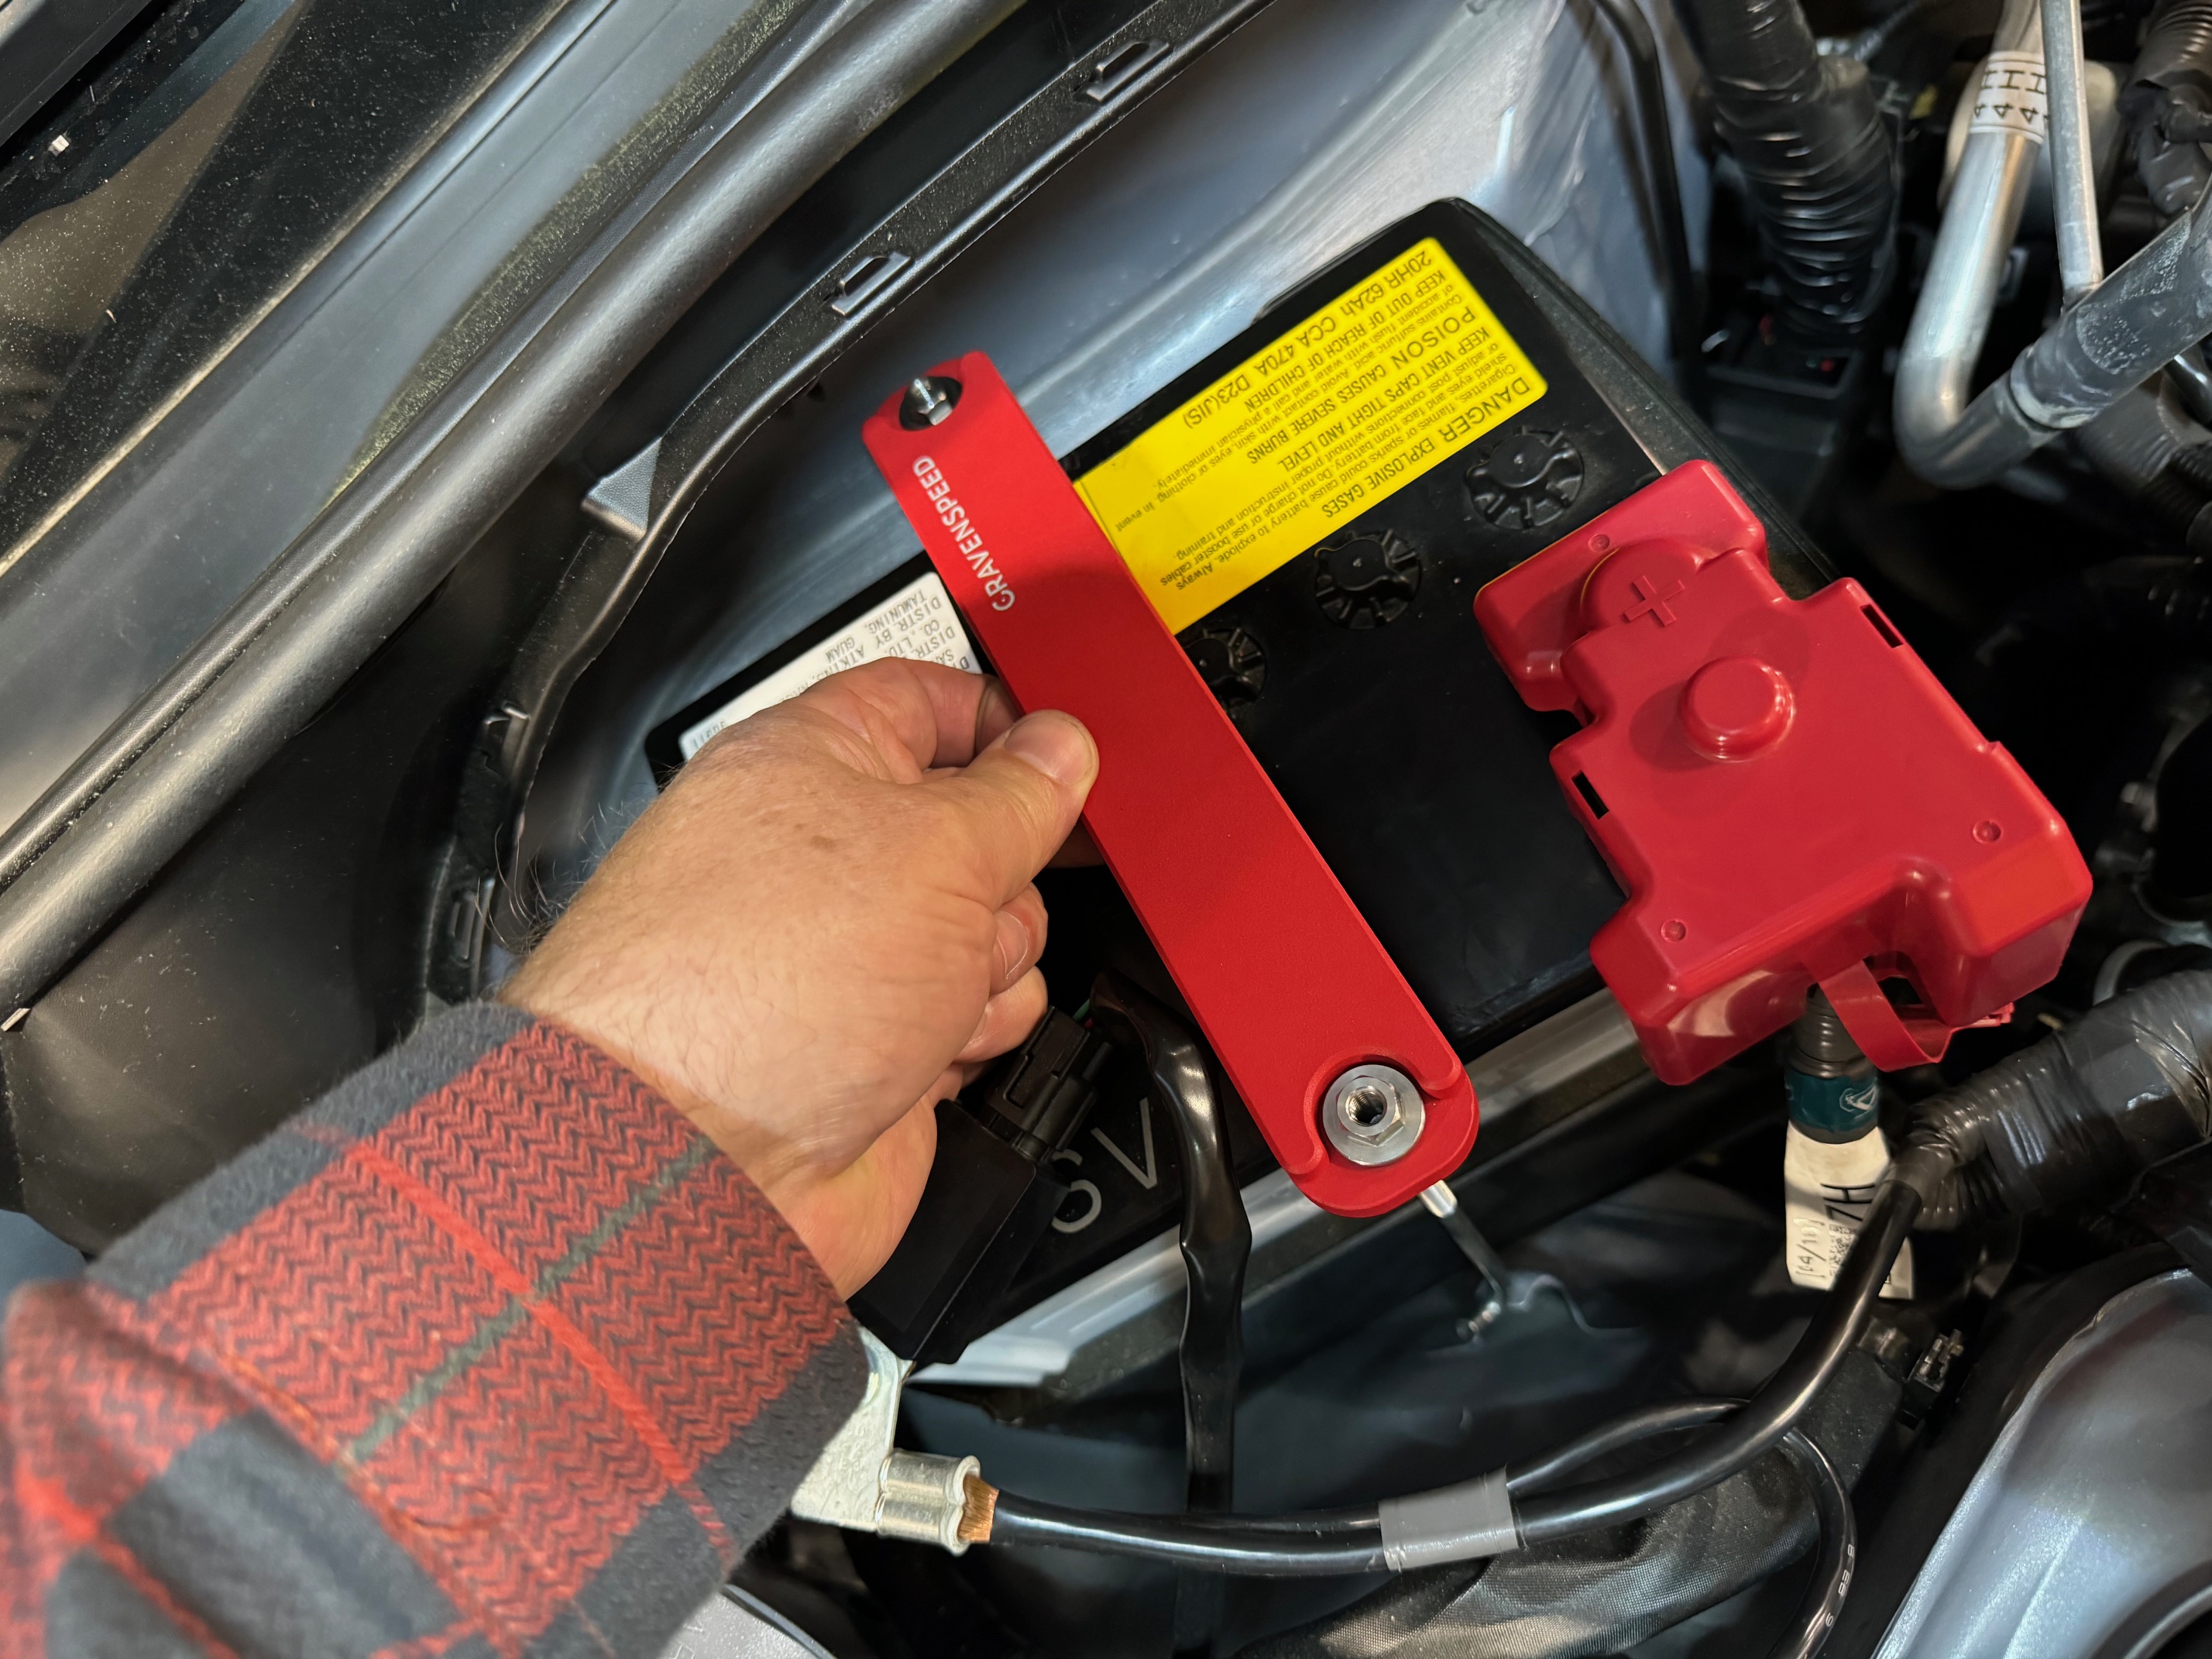
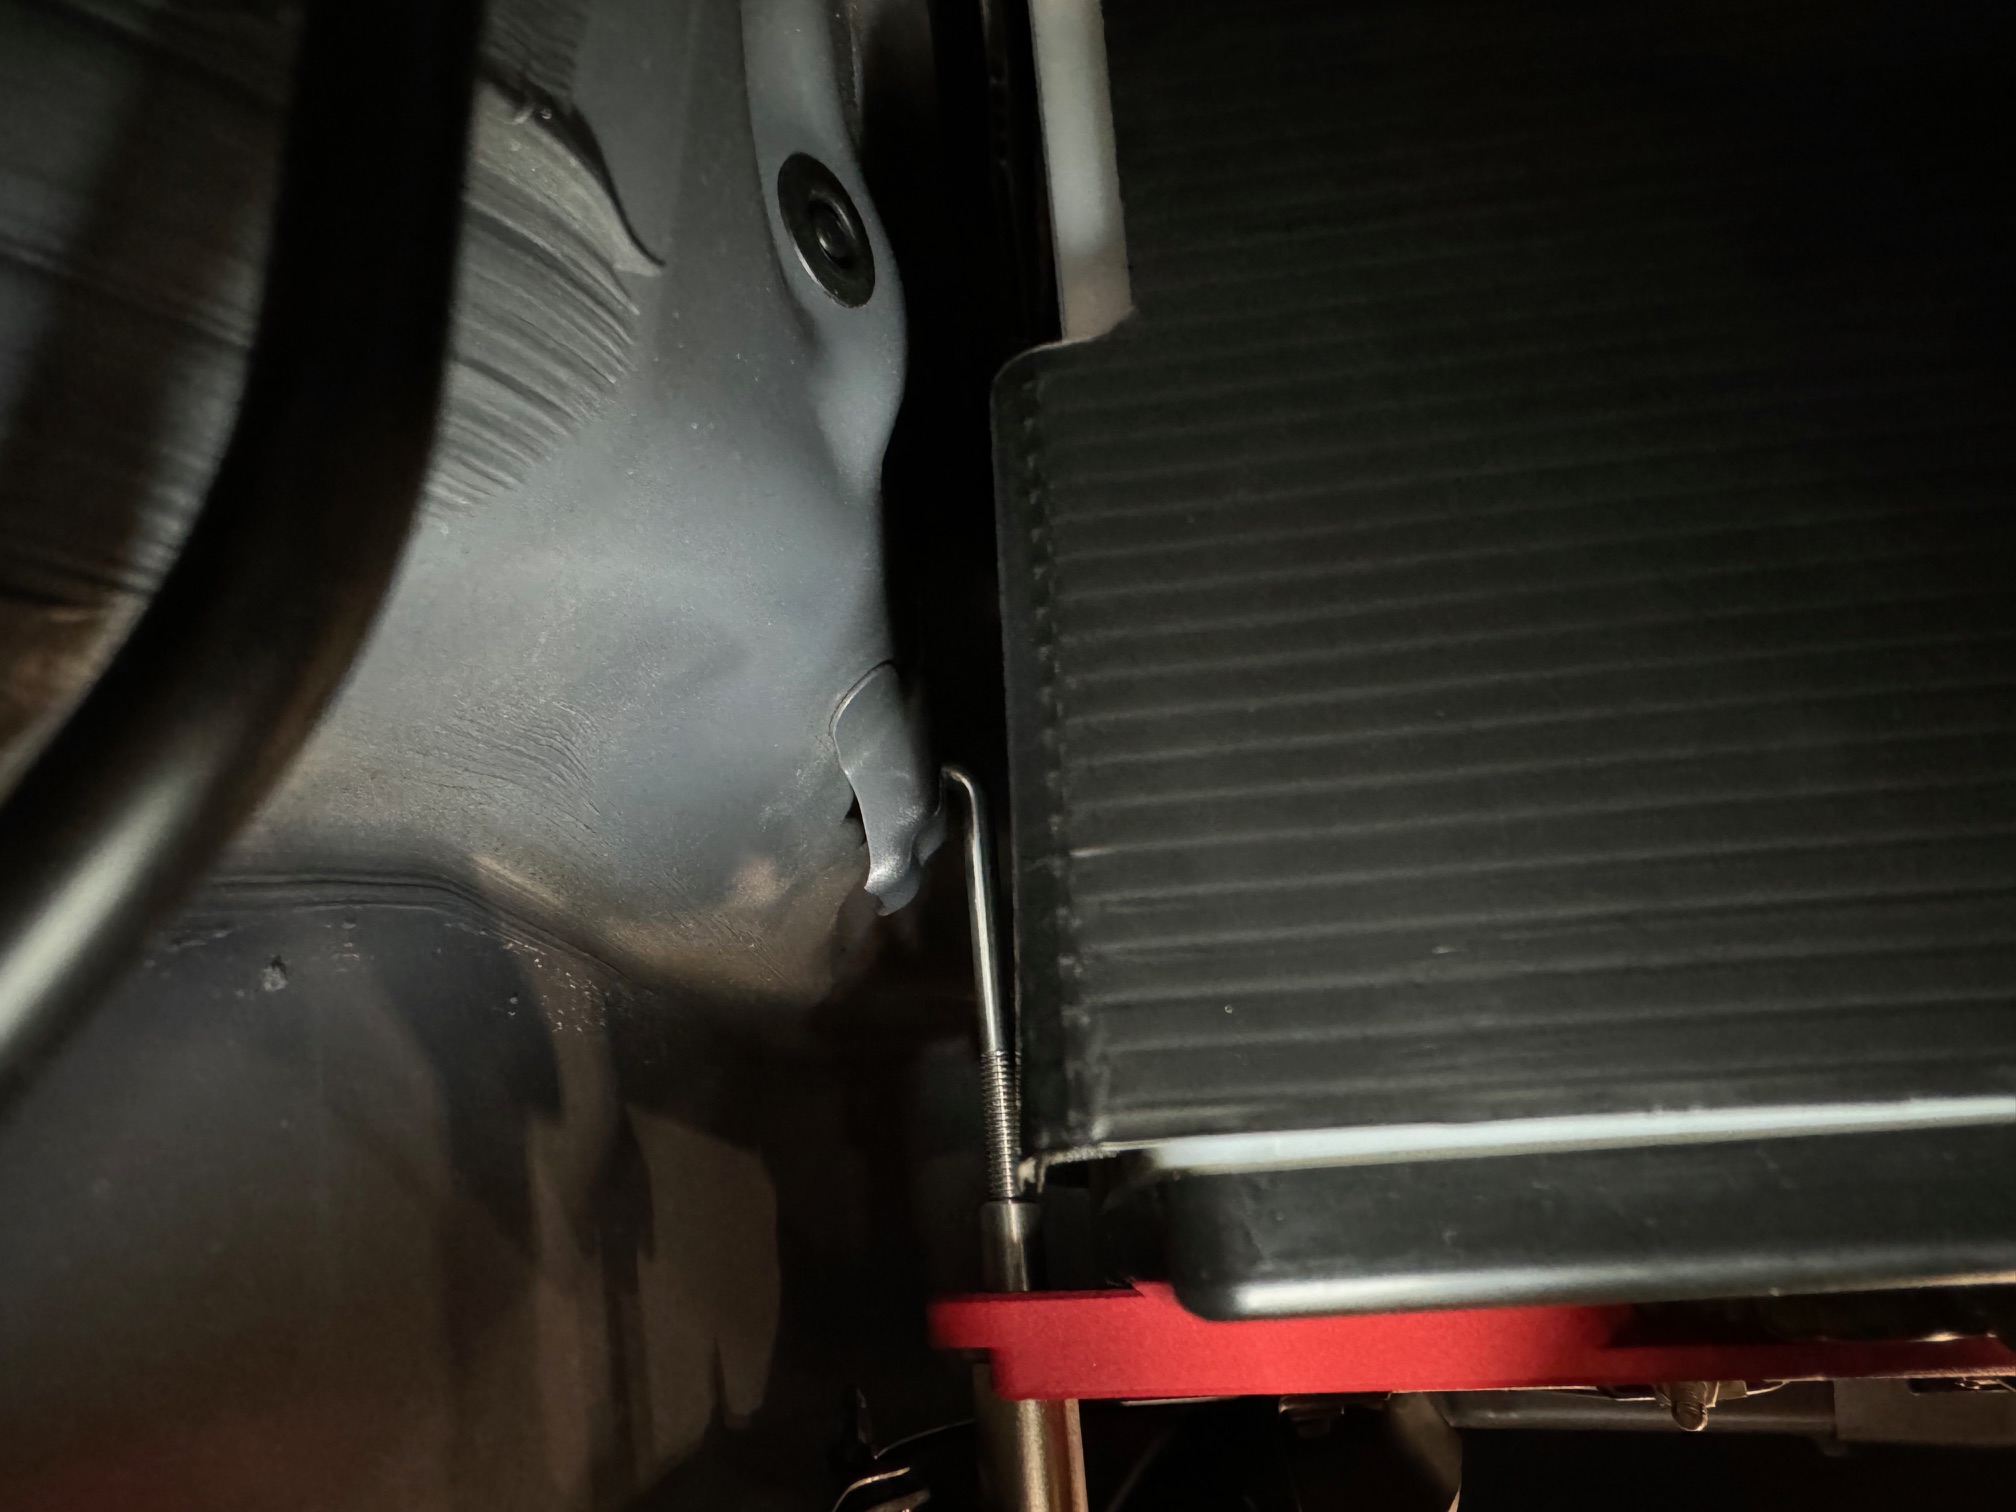
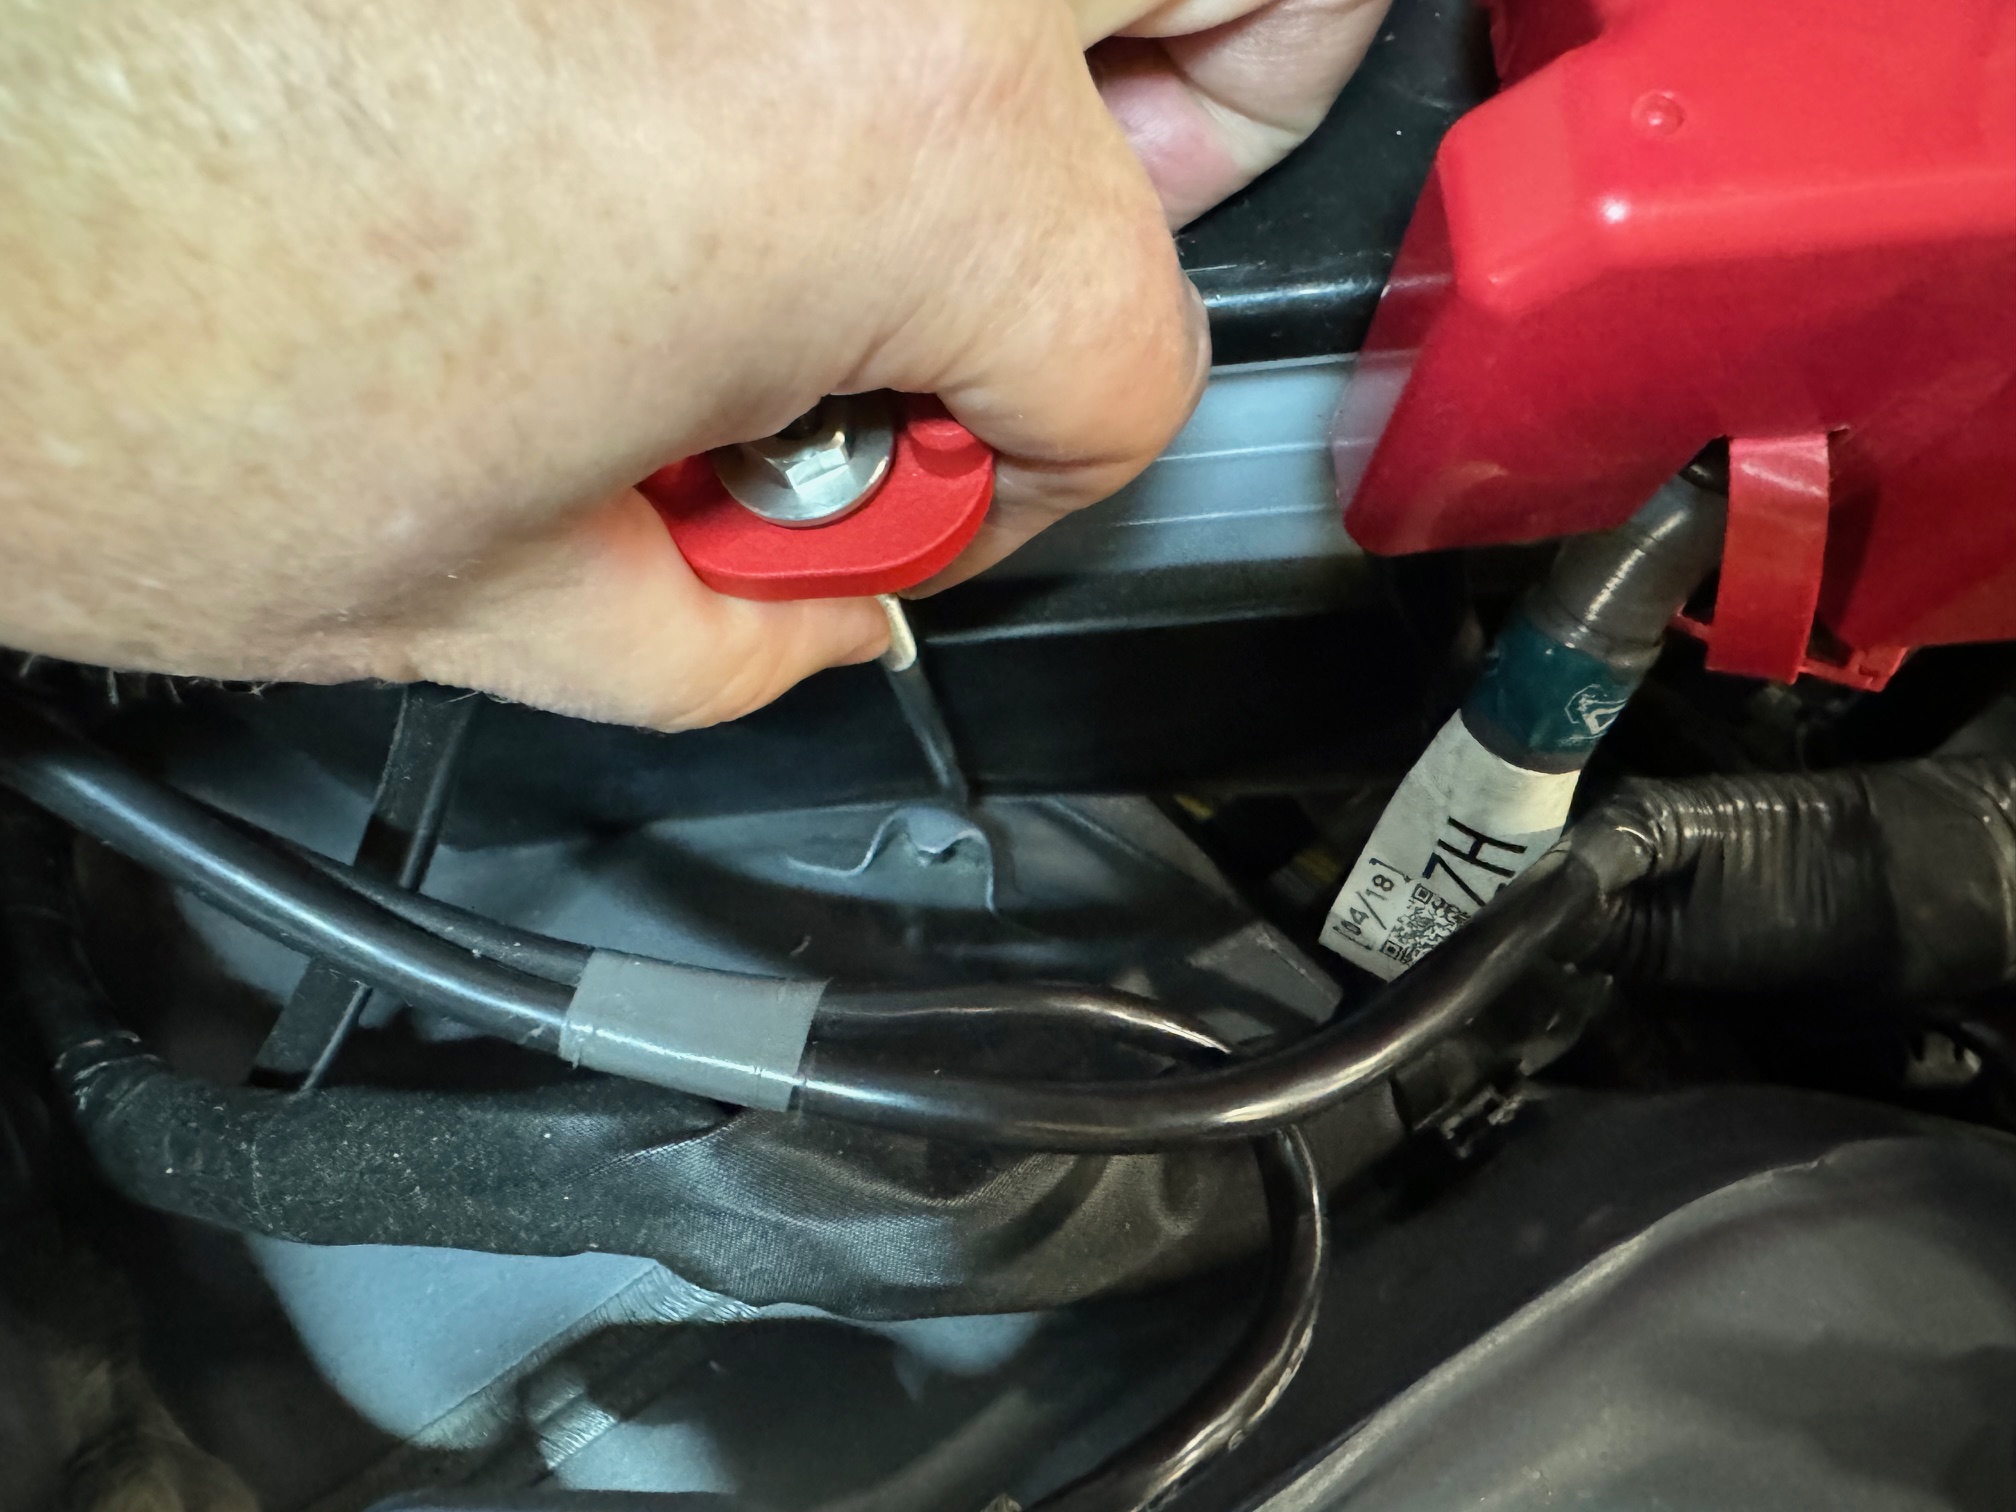
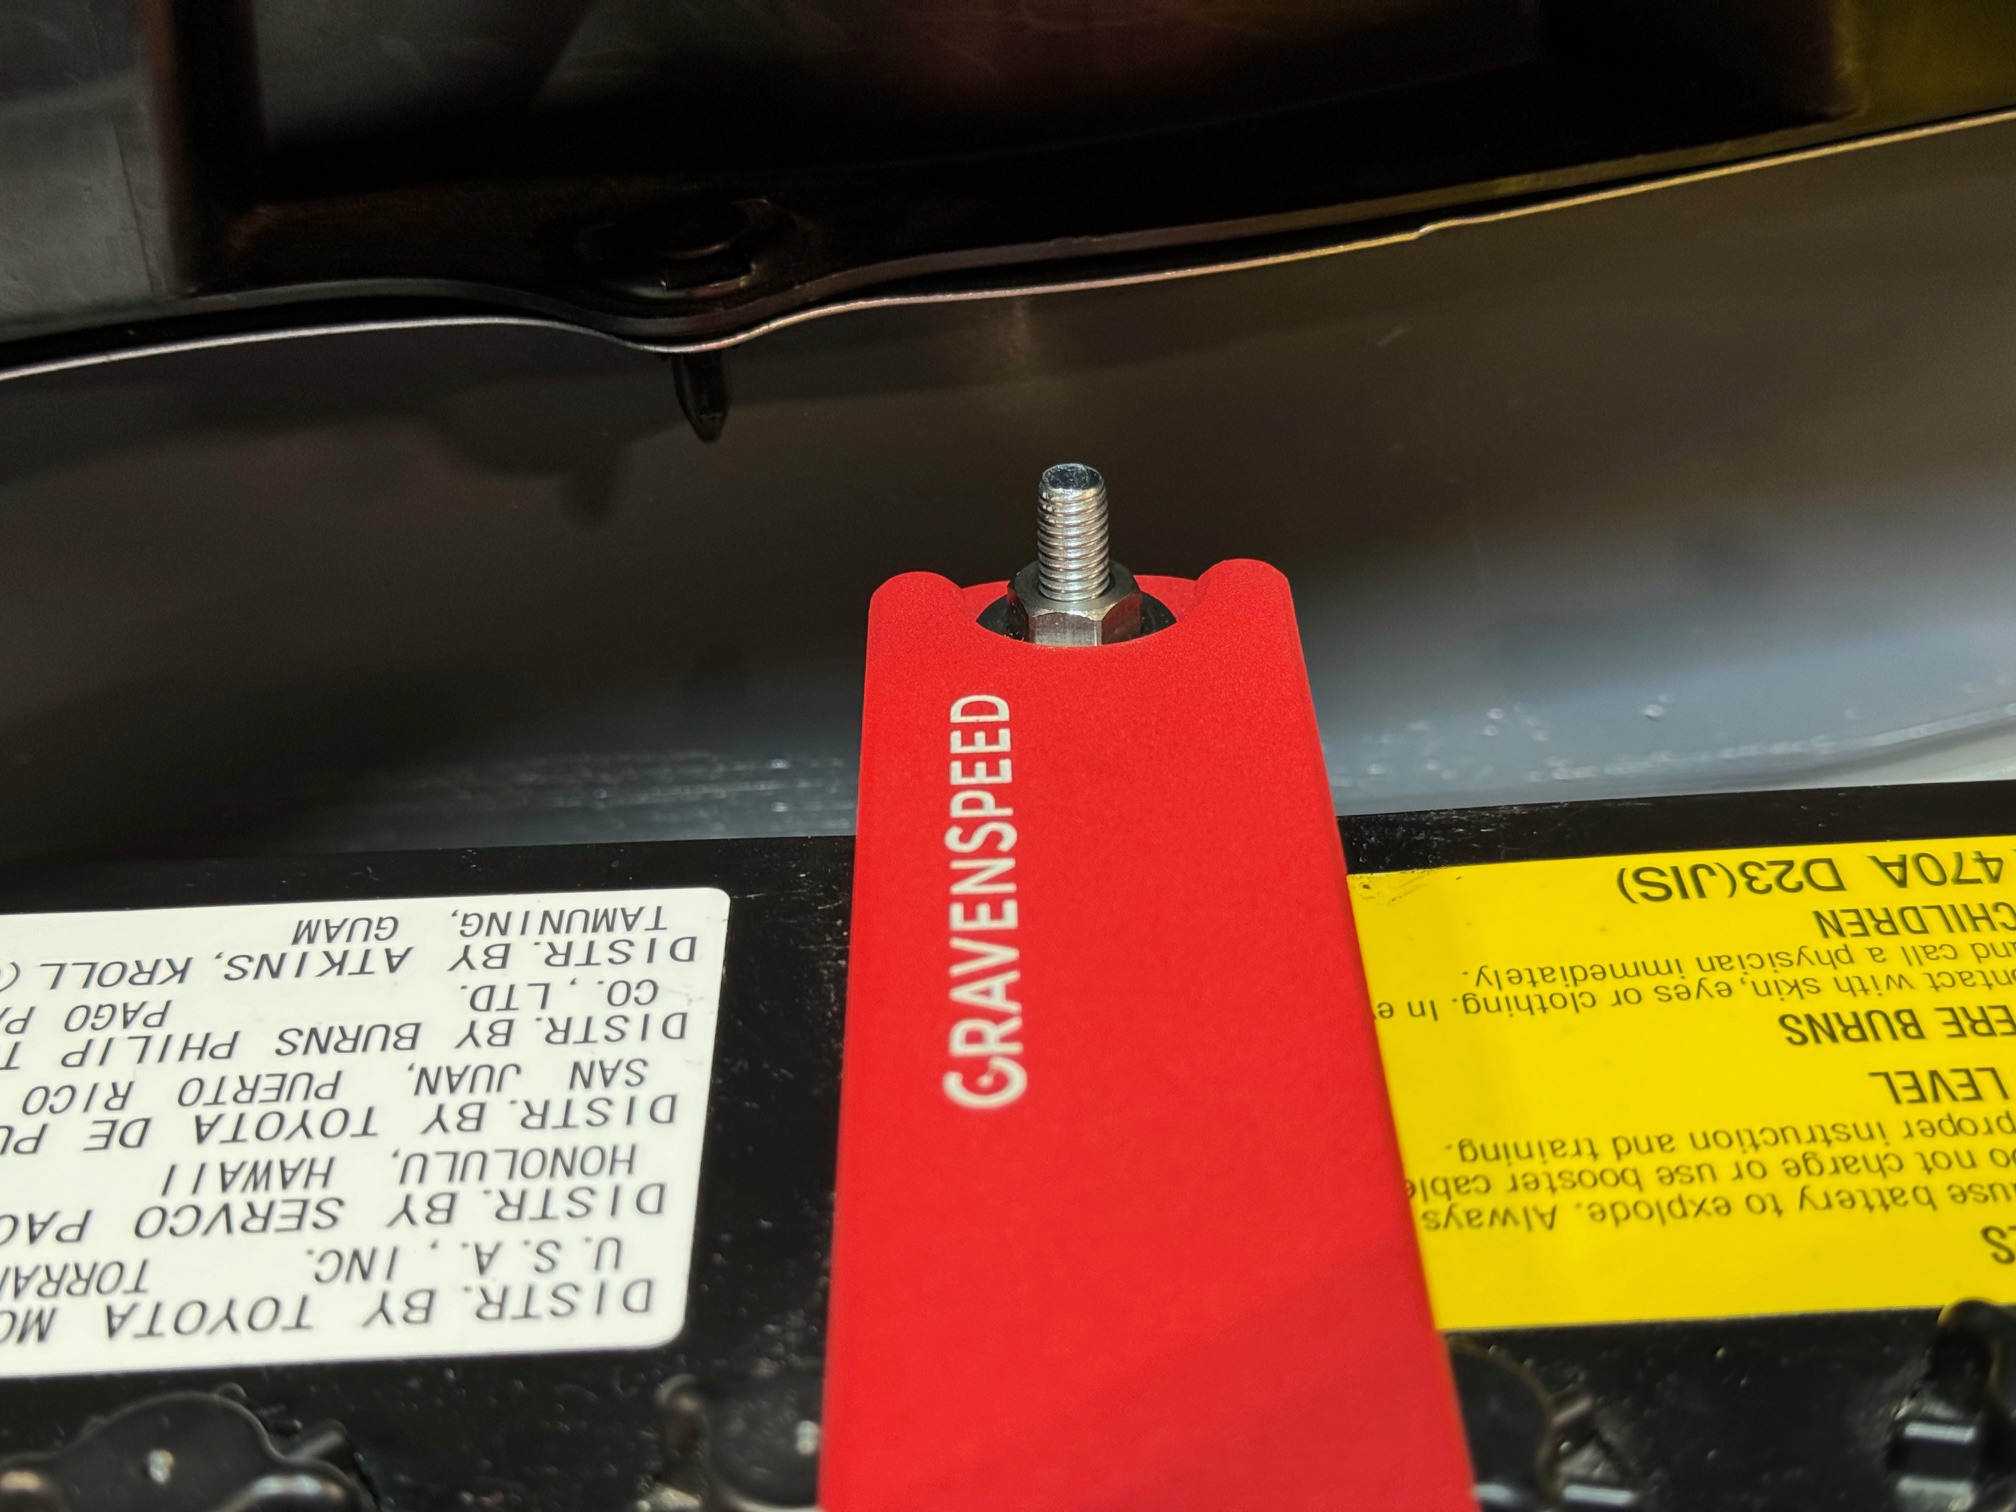
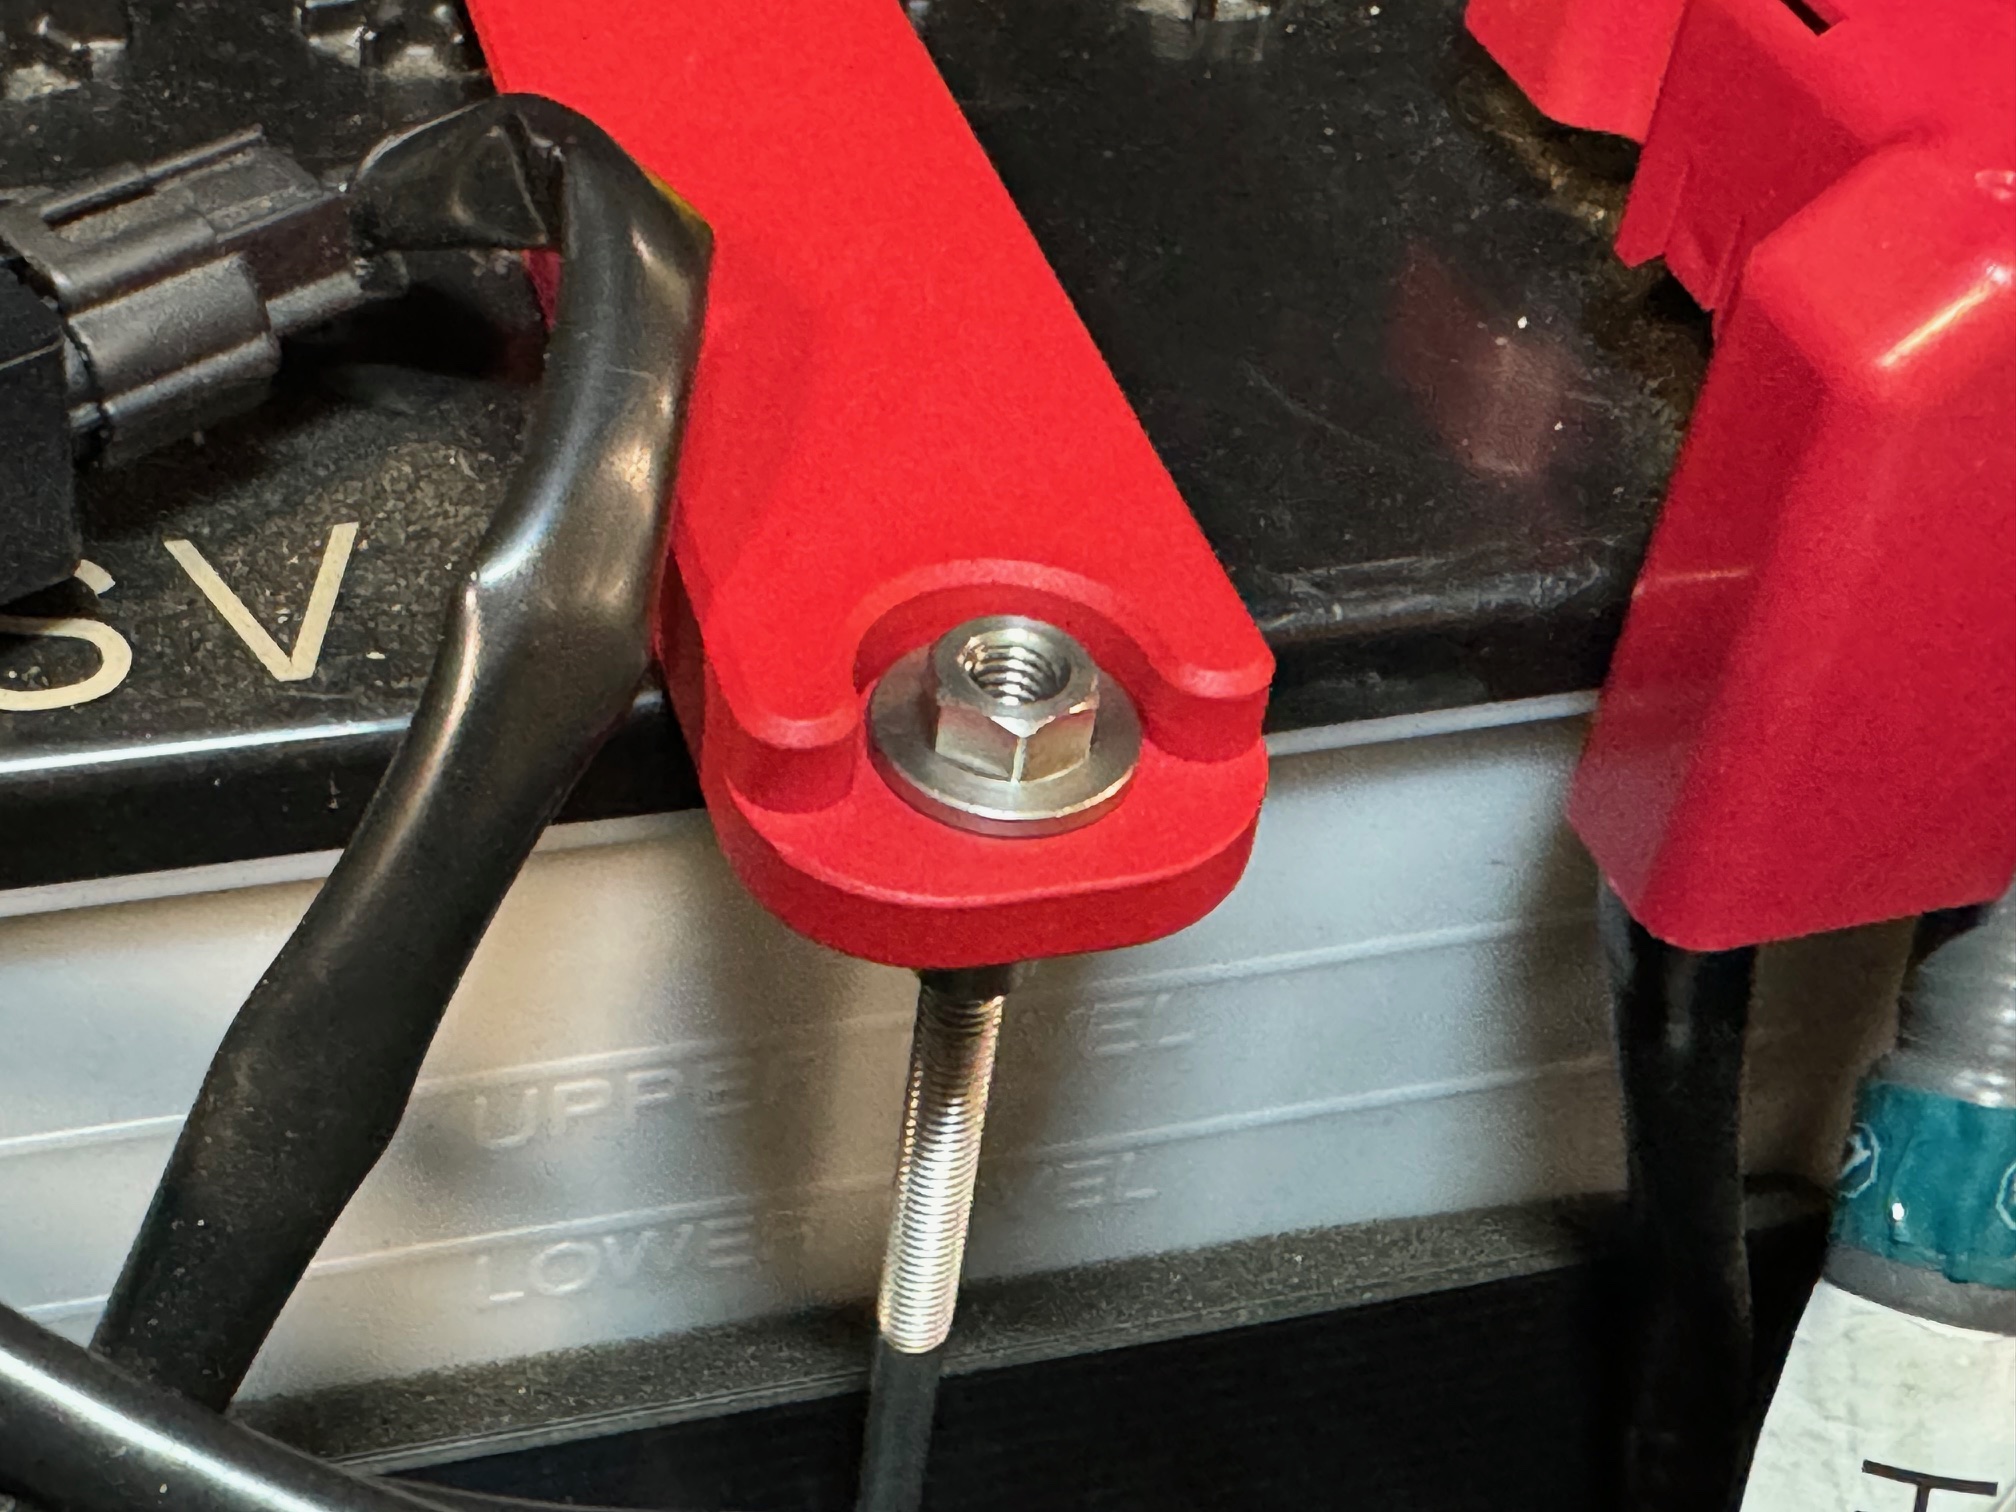
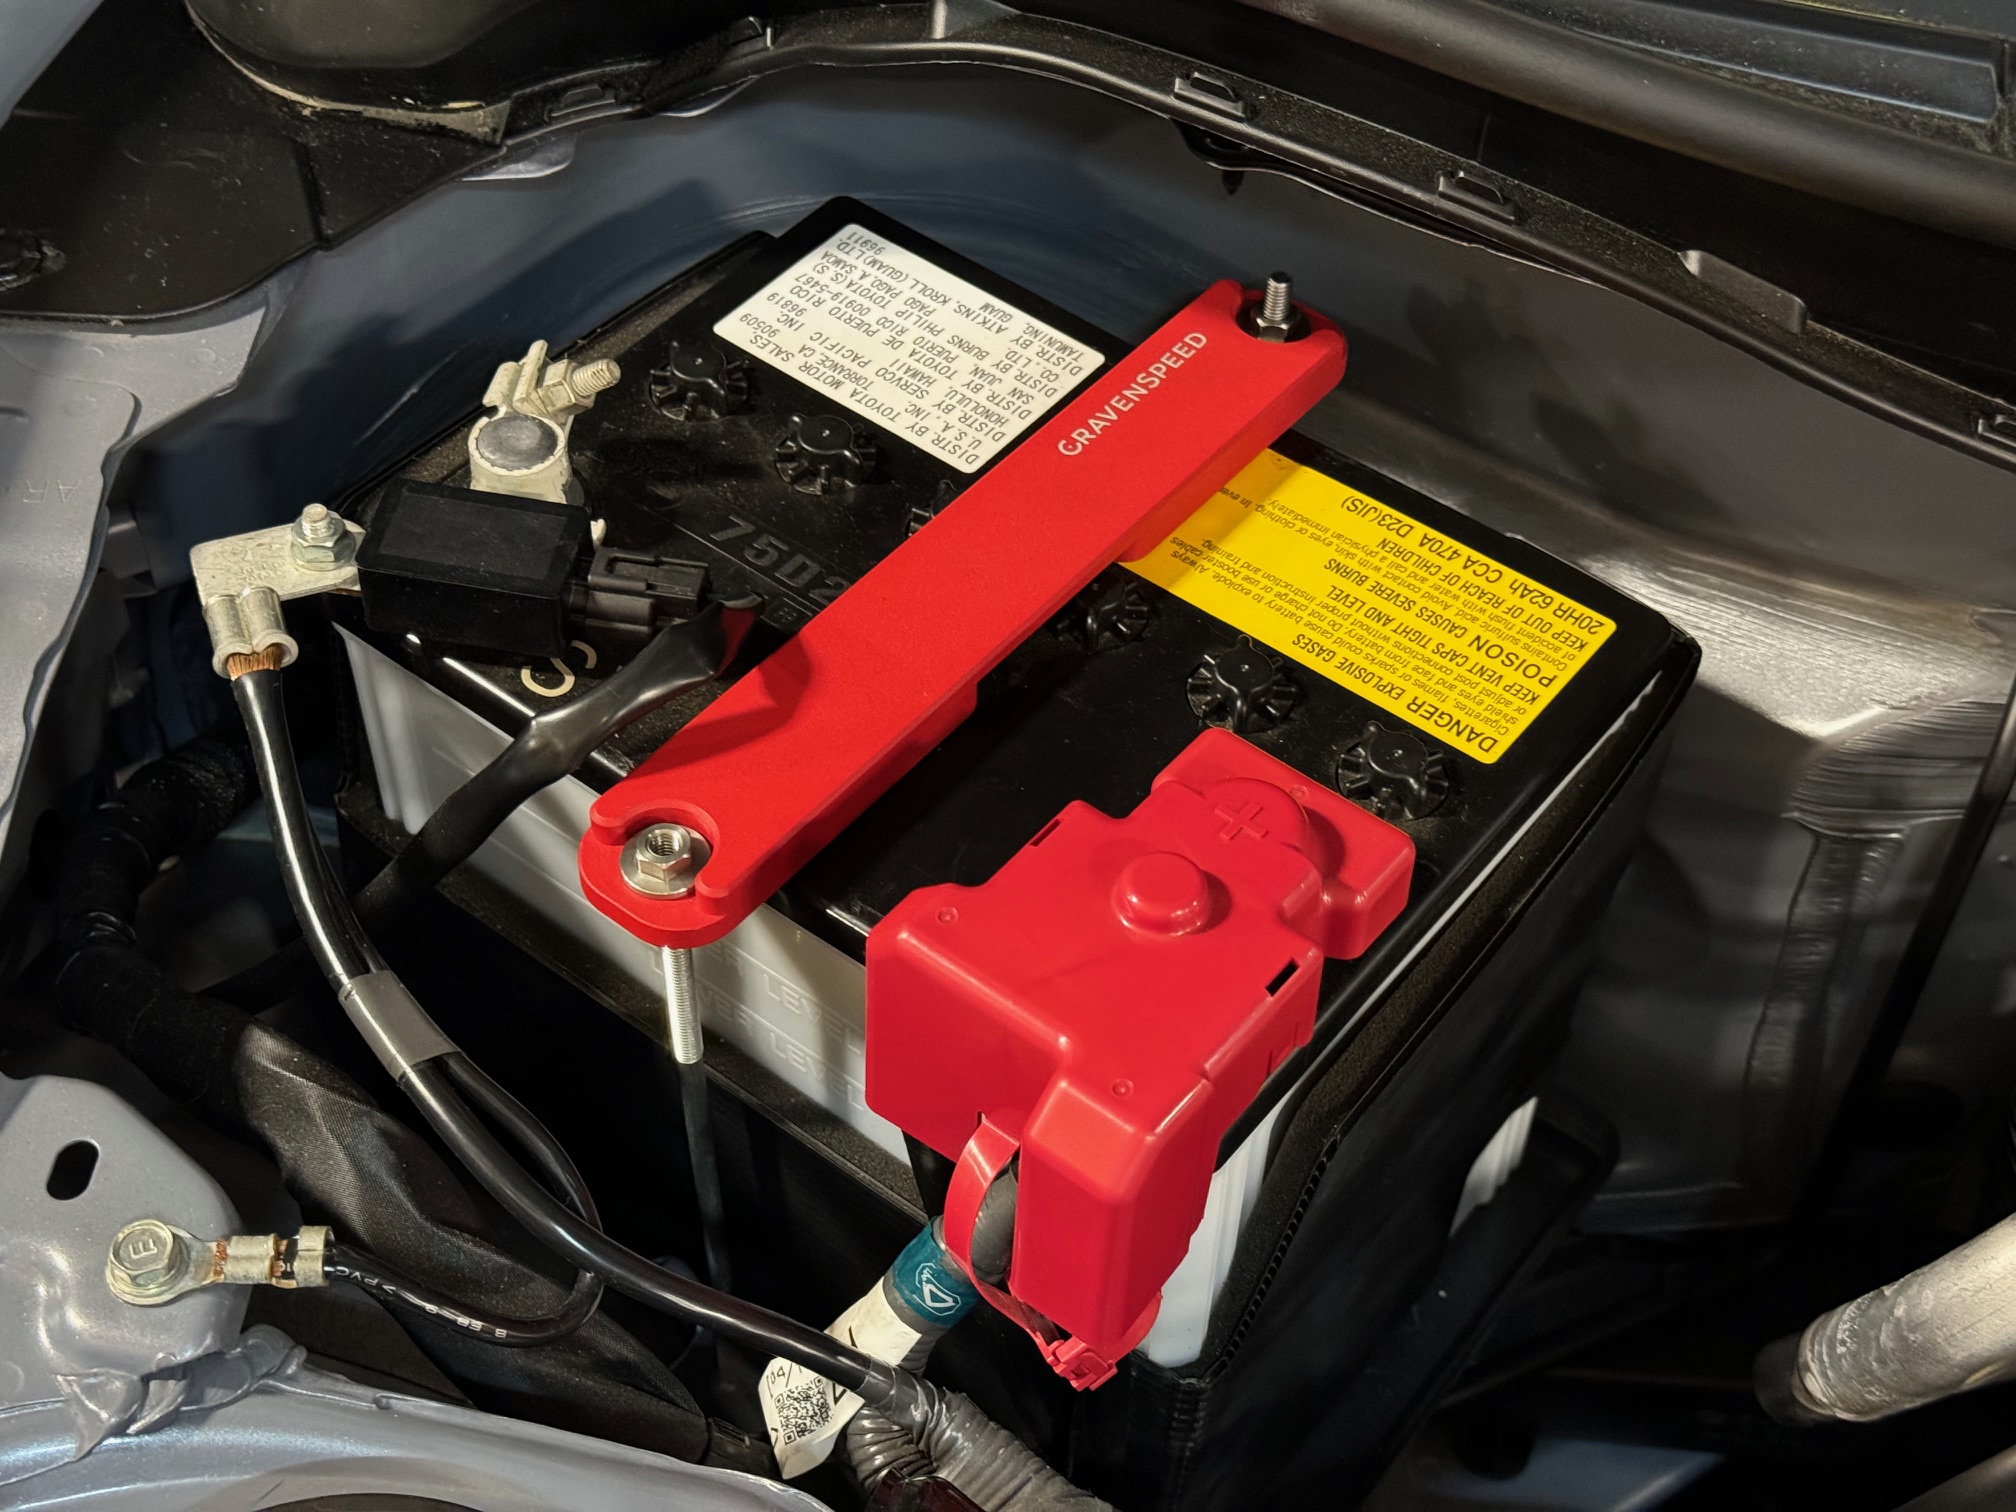
Locate the factory battery tie-down bracket. Use a 10mm socket to partially loosen the two nuts that secure the factory battery tie-down. Do not completely remove them just yet. With the nuts partially loosened, you should be able to simply unhook them from their anchor points without the hardware falling down into the engine compartment. You will have two different length hooks. A short one for the backside and a longer one in the front. They will be reinstalled in that same configuration. 2. Prepare the new CravenSpeed Battery Tie-Down for installation. Install the included barrel nuts into the CS Battery Tie-Down and thread the J-hooks into them a few turns each. 3. Install the new tie-down onto the battery Set the CS Battery Tie-Down into position onto the battery and align the hooks into their respective orientation. Pull up on the tie-down bracket to keep the hooks engaged while you hand tighten the barrel nuts. Use the 10mm socket to tighten the barrel nuts. They don’t require much torque—just enough to keep the battery safe and secure. Once snug, the threads of the J-hook in the back should extend a bit above the hex and the front J-hook should remain inside the barrel. After the hardware is tight, your install is complete. Nice!Parts Included:
Tools Required:
Procedure
Let's get started!
