THANK YOU
for purchasing the Bolted Phone Mount from CravenSpeed. This product is made from the highest grade materials, and is guaranteed to be free from defects.
You can buy our
CravenSpeed Bolted Phone Mount for here
The installation time for this product is approximately 30 minutes.
If you have any questions/or concerns about this installation, feel free to send us an email at
support@cravenspeed.com
. We are always happy to help.
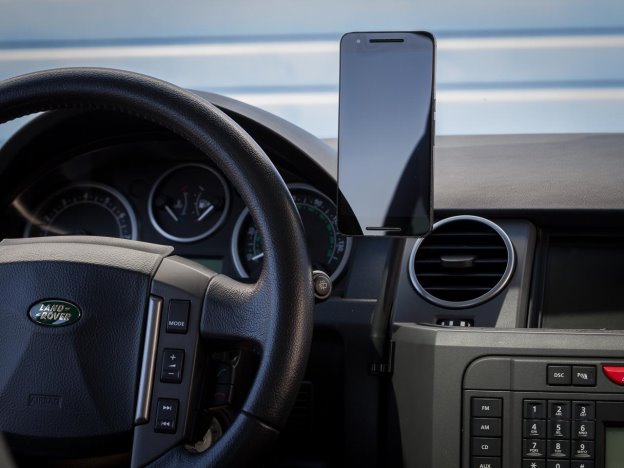
The Bolted mount can be installed almost anywhere. You will need to choose a panel that is easy to remove, so that you can access the back side to install the mount. You will also need to drill two holes into the panel. For this install guide, we will be installing the mount on a Land Rover LR3. Most modern interior panels can be removed in a similar fashion. If you aren’t sure how to remove a panel in your car, send us an email and we will help you find that information.
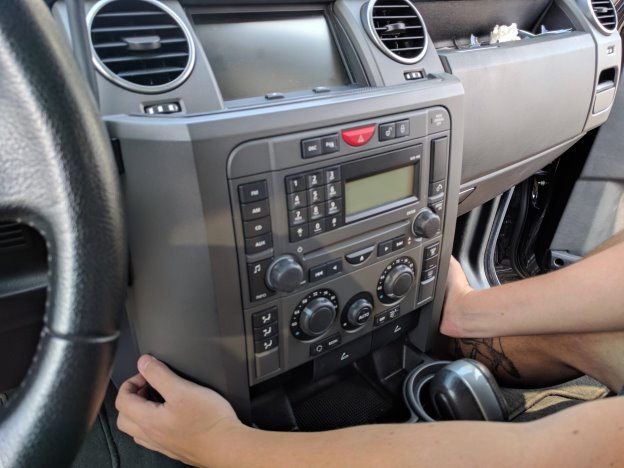
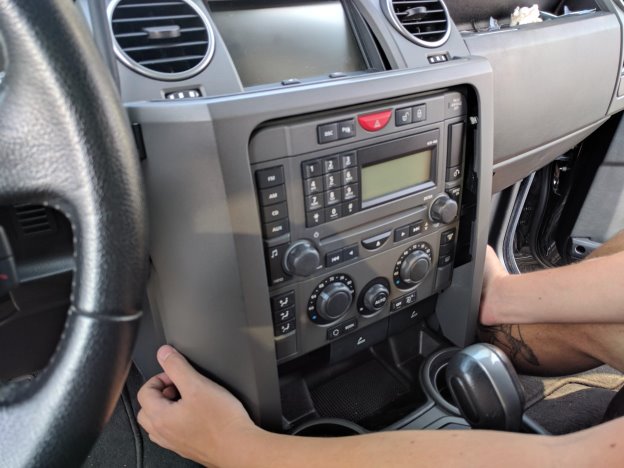
In the LR3, we chose to install the mount on the main console panel, as it is extremely easy to remove and provides an excellent location to mount the phone.
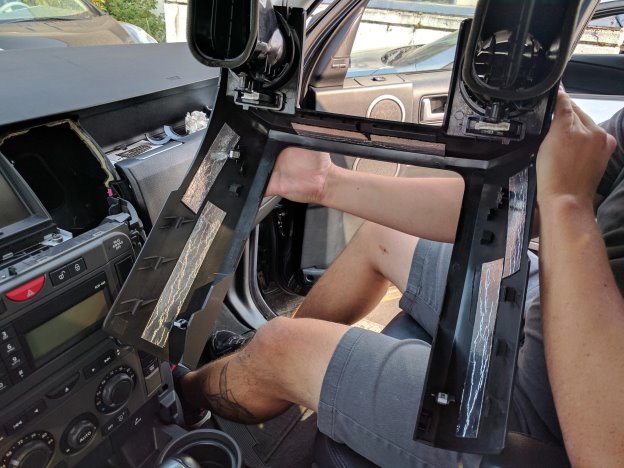
To remove the panel, simply grasp it where the clips are located and pull .
Take the panel inside to a nice work area.
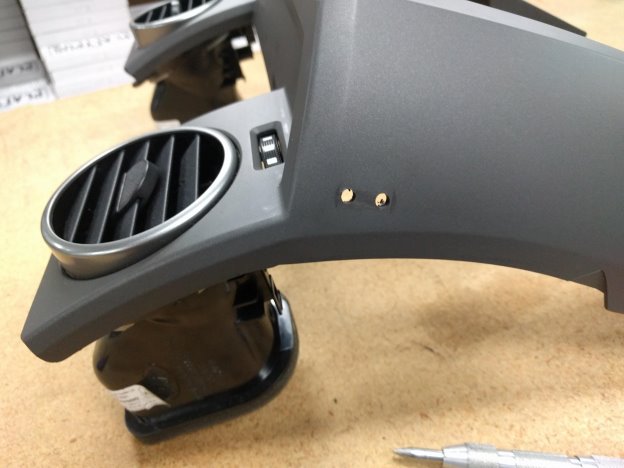
2. Mark and drill two mounting holes.
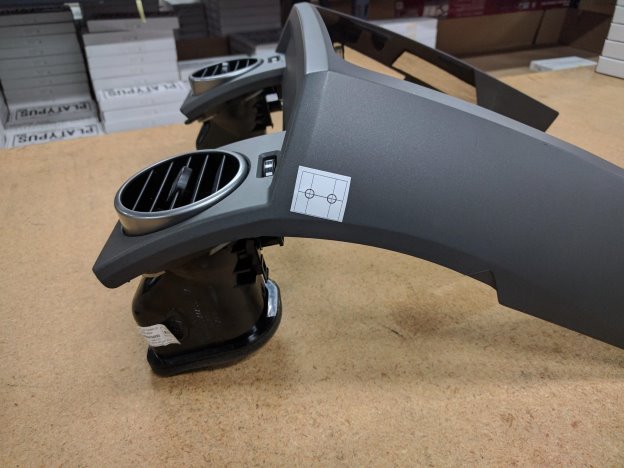
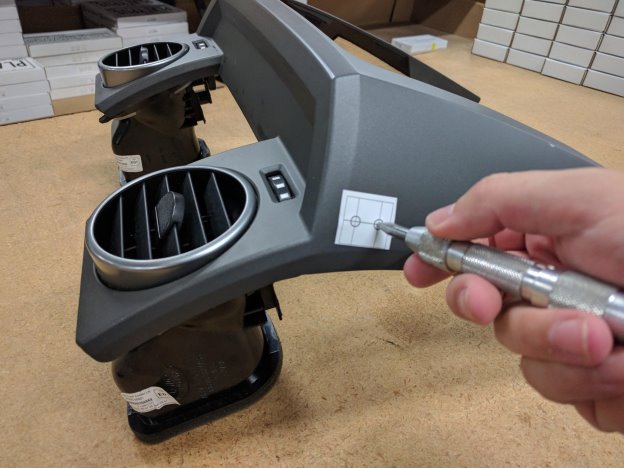
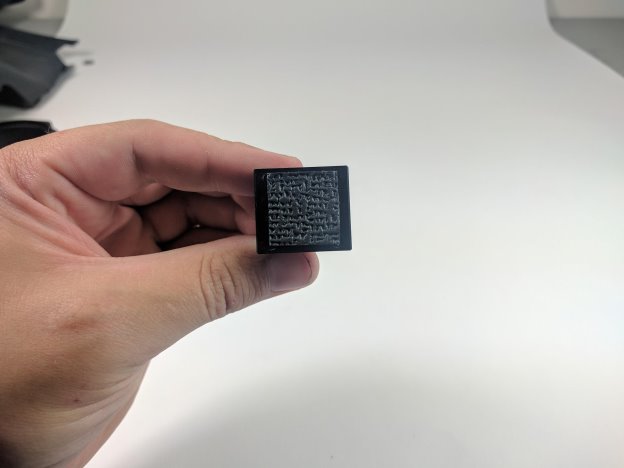
Choose the spot you would like to install the mount. For best results, we recommend installing the mount in a vertical orientation. Use the included hole template to layout where your holes will go.
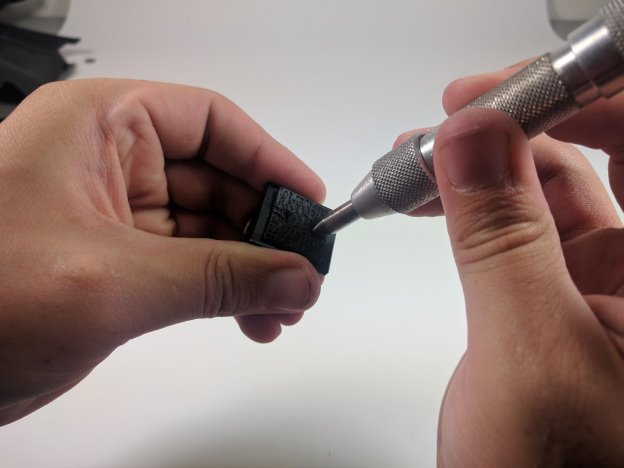
Use a center punch to mark each hole.
This step is very important.
If you don’t center punch the holes, the drill bit will walk causing the holes to not be aligned properly and you won’t be able to attach the mount.
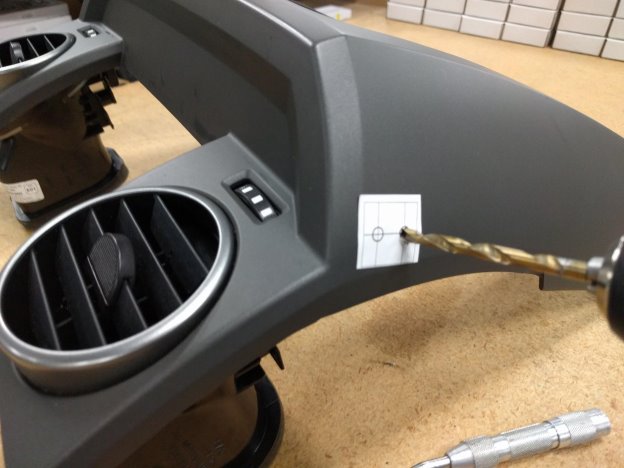
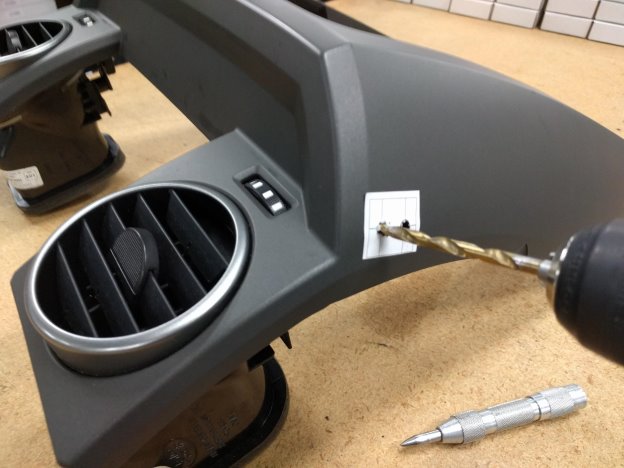
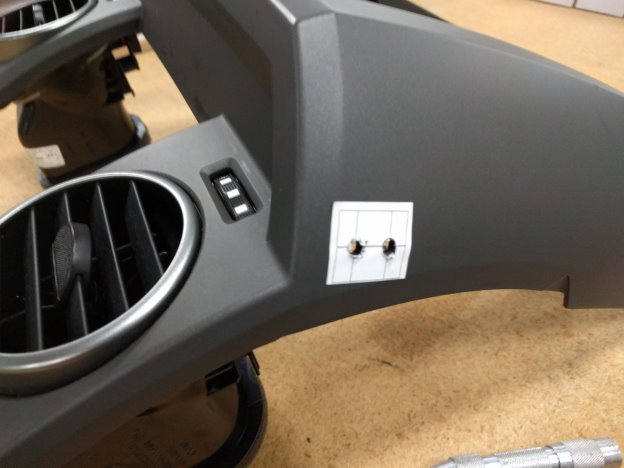
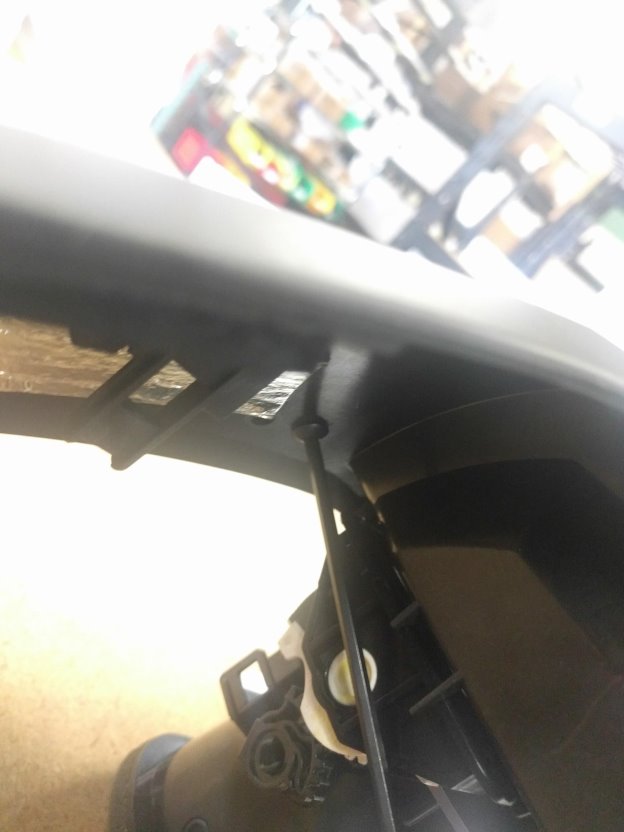
Carefully drill the holes. Make sure you have a secure hold on the panel, and be aware of what is behind the hole you are drilling, as the bit will rapidly poke through the other side when it gets all the way through.
Remove the template.
3. Install the mount
Apply the foam pad to the base of the mount.
Use your center punch to poke holes in the pad where the threaded holes are.
Use the included screws and a 1/8 Allen wrench to secure the mount to the panel.
Reinstall the panel. If your phone is Qi equipped you are ready to use the mount. If your phone is not, choose one of the two magnet plates included with the mount. If you use a case, simply insert the rectangular plate between the case and the phone. If you don’t use a case, stick the circular plate to the back of your phone.
Parts Included:
Tools Required:
Procedure
Choose your mounting location
