THANK YOU for purchasing the MINI Helix Short Shift Kit from CravenSpeed. This short shifter adapter will transform your driving experience! It is made from the highest grade materials and is guaranteed to be free from defects.
If you are viewing this document prior to purchase, you can find our CravenSpeed Helix Short Shift Kit for MINI here
Parts Included:
- 1x Helix Adapter w/ Set Screw
Tools Required:
The installation time for this product is approx 2.5 hours and can be done by anyone with a basic understanding of mechanics.
Procedure
NOTE: It is important to note that the CravenSpeed Helix Short Shift Kit for the MINI R53, R55, R56, R57, R58 and R59 MINI Cooper vehicles is available to two versions. Kit Helix-0001 is only compatible with 2002-2003 models and kit Helix-0002 is only compatible with 04-06 model vehicles.
If you have any issues during the installation of this product, please email us at: support@cravenspeed.com or give us a call at: 503.505.6886.
When contacting support, please have your order number and vehicle chassis number ready.
Drop The Exhaust
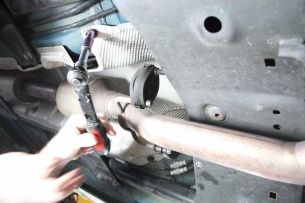
Begin by lifting the car onto jack stands or utilize a lift if you have access to one. Take the proper precautions to ensure the vehicle is stable and at no risk of shifting or falling. Unbolt the exhaust at the catalytic converter and let it droop out of the way. If the clamp on the cat end is seized, drop the exhaust from the rear hangers. You won’t have as much room, but you should still be able to access the necessary components to complete the install.
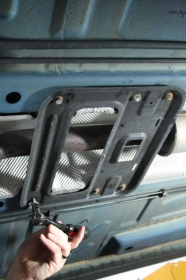
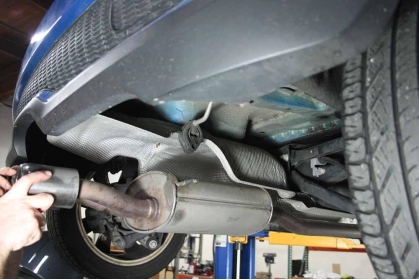
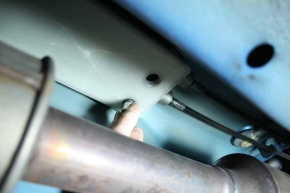
Remove the aluminum heat shield from above the exhaust. There are a series of 10mm nuts holding it in place.
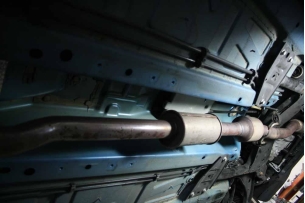
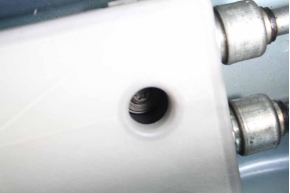
Remove the plastic cover from the shifter housing. You will need to disengage several clips at once to get it free and they are a bit prone to breaking. We do not call for the reinstallation of this cover, so you may choose whether or not to damage it during the removal process. The easiest way to remove the cover is to remove the four Torx screws holding the box in place, undo the clip inside the car to release the box, take the cover off and replace the shift box with the screws to hold it in place.
Free the Shifter
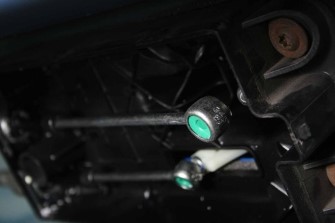
You should now be able to see the two linkages that run into the shifter housing. The ball cup at the end of the main shift lever needs to be popped off. This can be done by placing your pliers onto the shift linkage next the ball cup and rocking it back-n-forth as you pull with downward pressure. This action should pop the ball cup off the ball with relative ease.
Install the Helix Adapter
NOTE: The following image shows the install of the Helix out of the vehicle for clarity. You should be able to complete this process with the shifter remaining in the MINI.
Remove the set screw on the side of the Helix Adapter so you can see it fully seat it past the lower pivot ball on the bottom of the shift lever. Apply a drop of blue Loctite to the set screw and thread it into the Helix Adapter. Tighten with the 3mm Hex Key Wrench. It's orientation on the shift lever is unimportant, so long as it is fully seated.
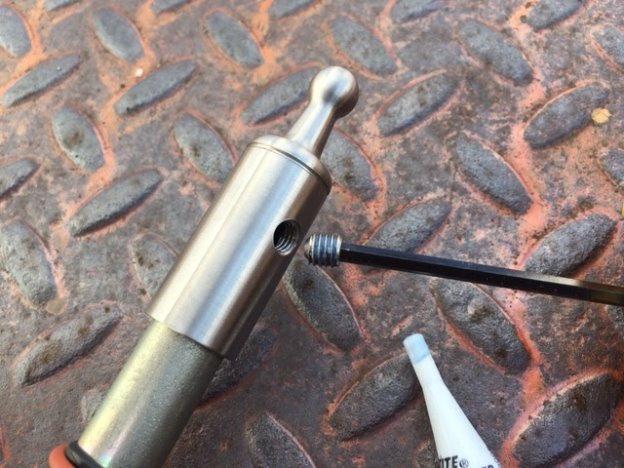
Reconnecting the lower ball pivot linkage can be a bit of a bear due to it's limited accessibility, however, rocking the ball cup side-to-side as you're applying upward pressure can greatly assist with it's reengagement.
Mold the Heat Shield
Now that the shifter linkage sits a little lower due to the added adapter, you will need to form/bend the heat shield a bit in order to allow for full movement of the shifter. The material is very malleable and easy to create this space. Reinstall the heat shield and check the shifter through all gears. If there is no contact then you are good to go.
Bolt up the Exhaust
Just replace the bolts and your exhaust should be back to its original configuration. Congratulations! You are now finished with the install of the Helix Short Shift Kit!