THANK YOU for purchasing The MINI R53 Crank Pulley from CravenSpeed. This product is made from the highest grade materials and is guaranteed to be free from defects.
You can buy our CravenSpeed Lightweight Crank Pulley for MINI Gen 1 here
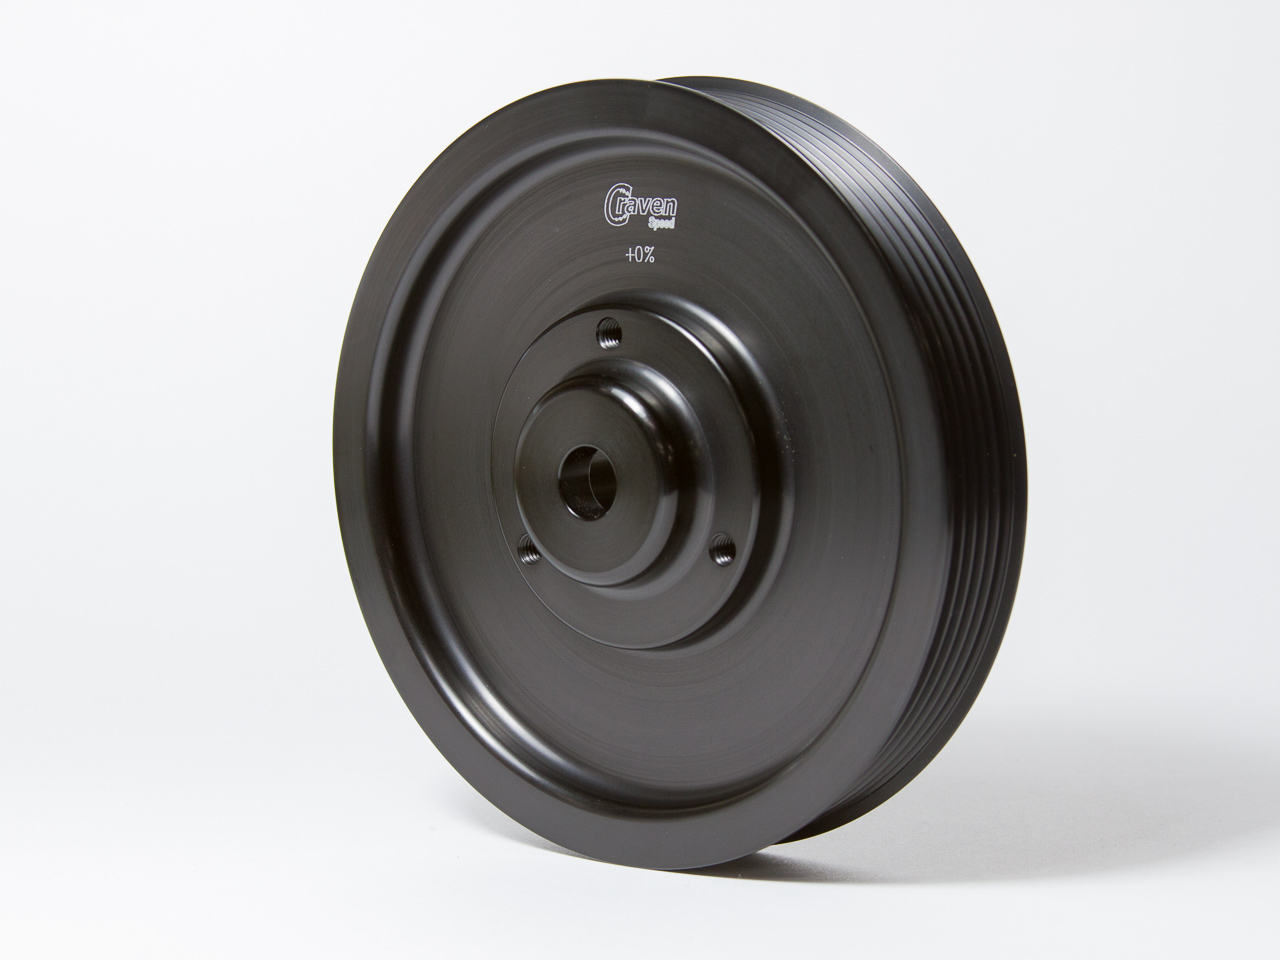
Parts Included:
- Anodized Aluminum Crank Pulley
- Replacement OEM Crank Pulley Bolt
Tools Required:
- Hydraulic Jack and Jack Stand
- Socket Wrench
- Torque Wrench (for 85 ft/lb 115 Nm)
- 17mm Socket
- 15mm Socket
- Breaker Bar
- Phillips Screwdriver
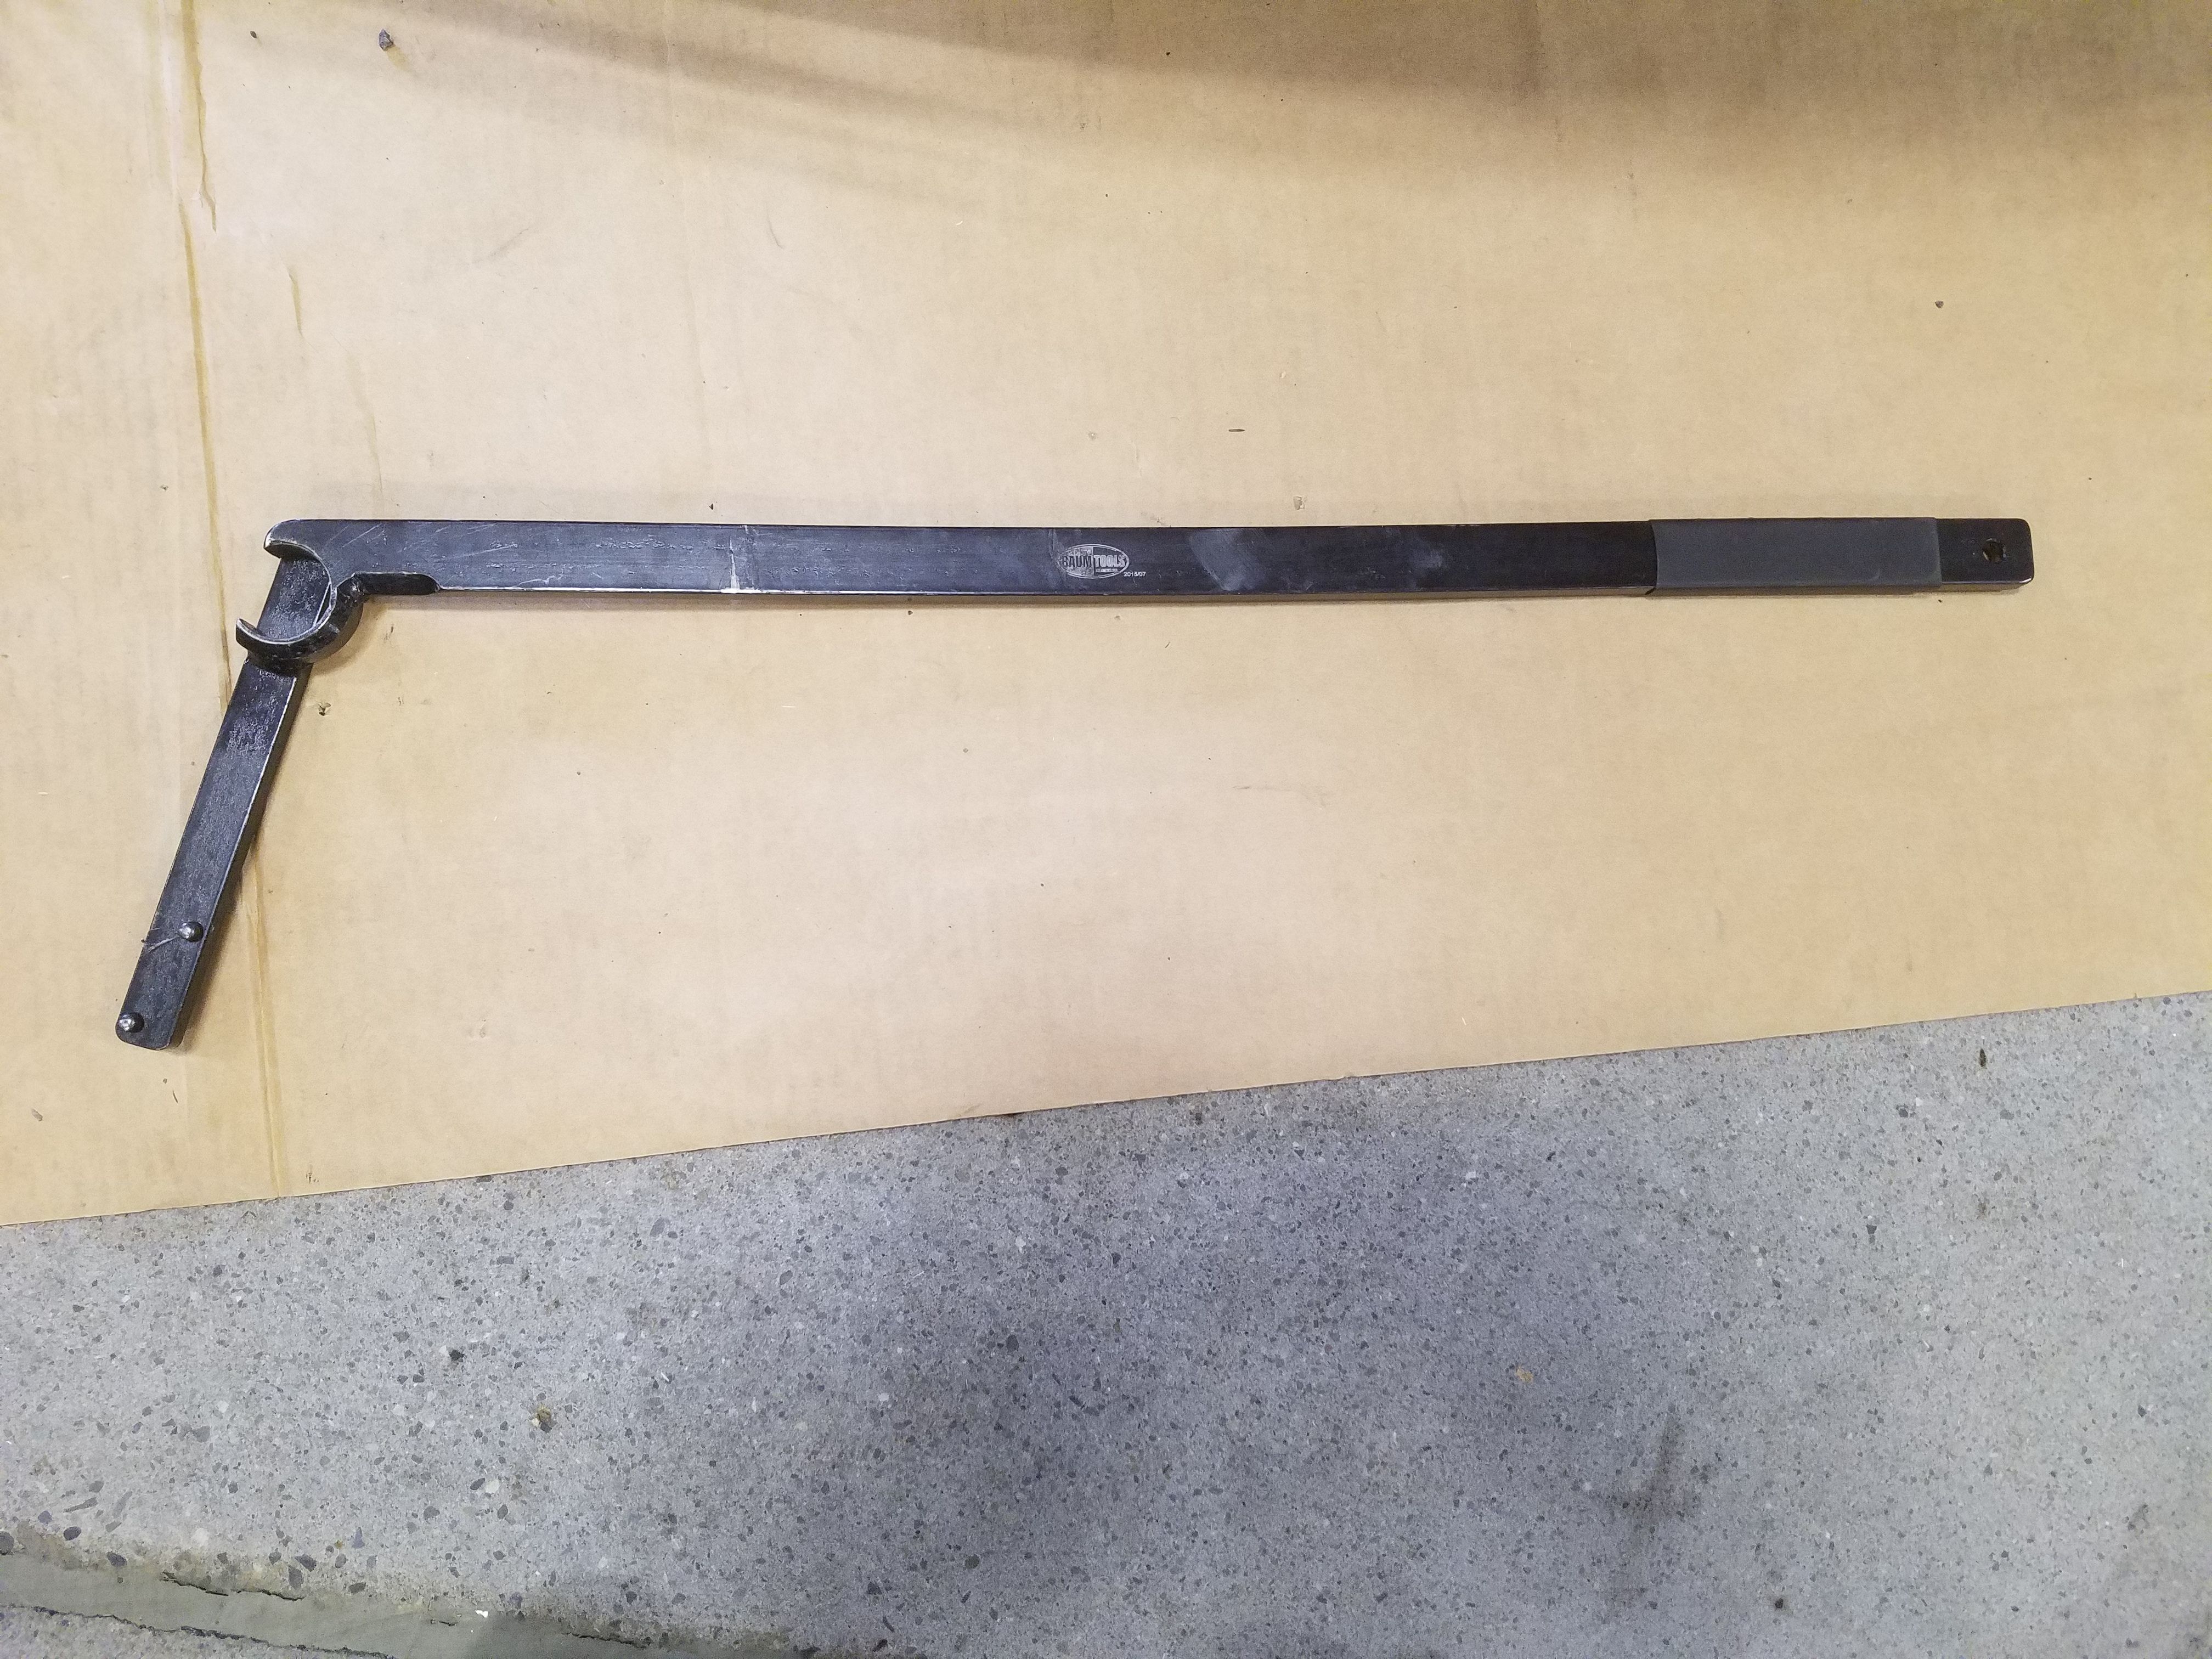
- BMW Drive Belt Tensioner Tool 11 8 410
- BMW Tensioner Lock Pin 11 8 470 or alternate
- BMW Crank Pulley Bolt Removal Tool 11 8 460
- BMW Crank Pulley Thread Protector Tool 11 8 270
- BMW Crank Pulley Removal Tool 11 8 450 or equivalent
- BMW Bolt 11237829918 M12X1.75X75
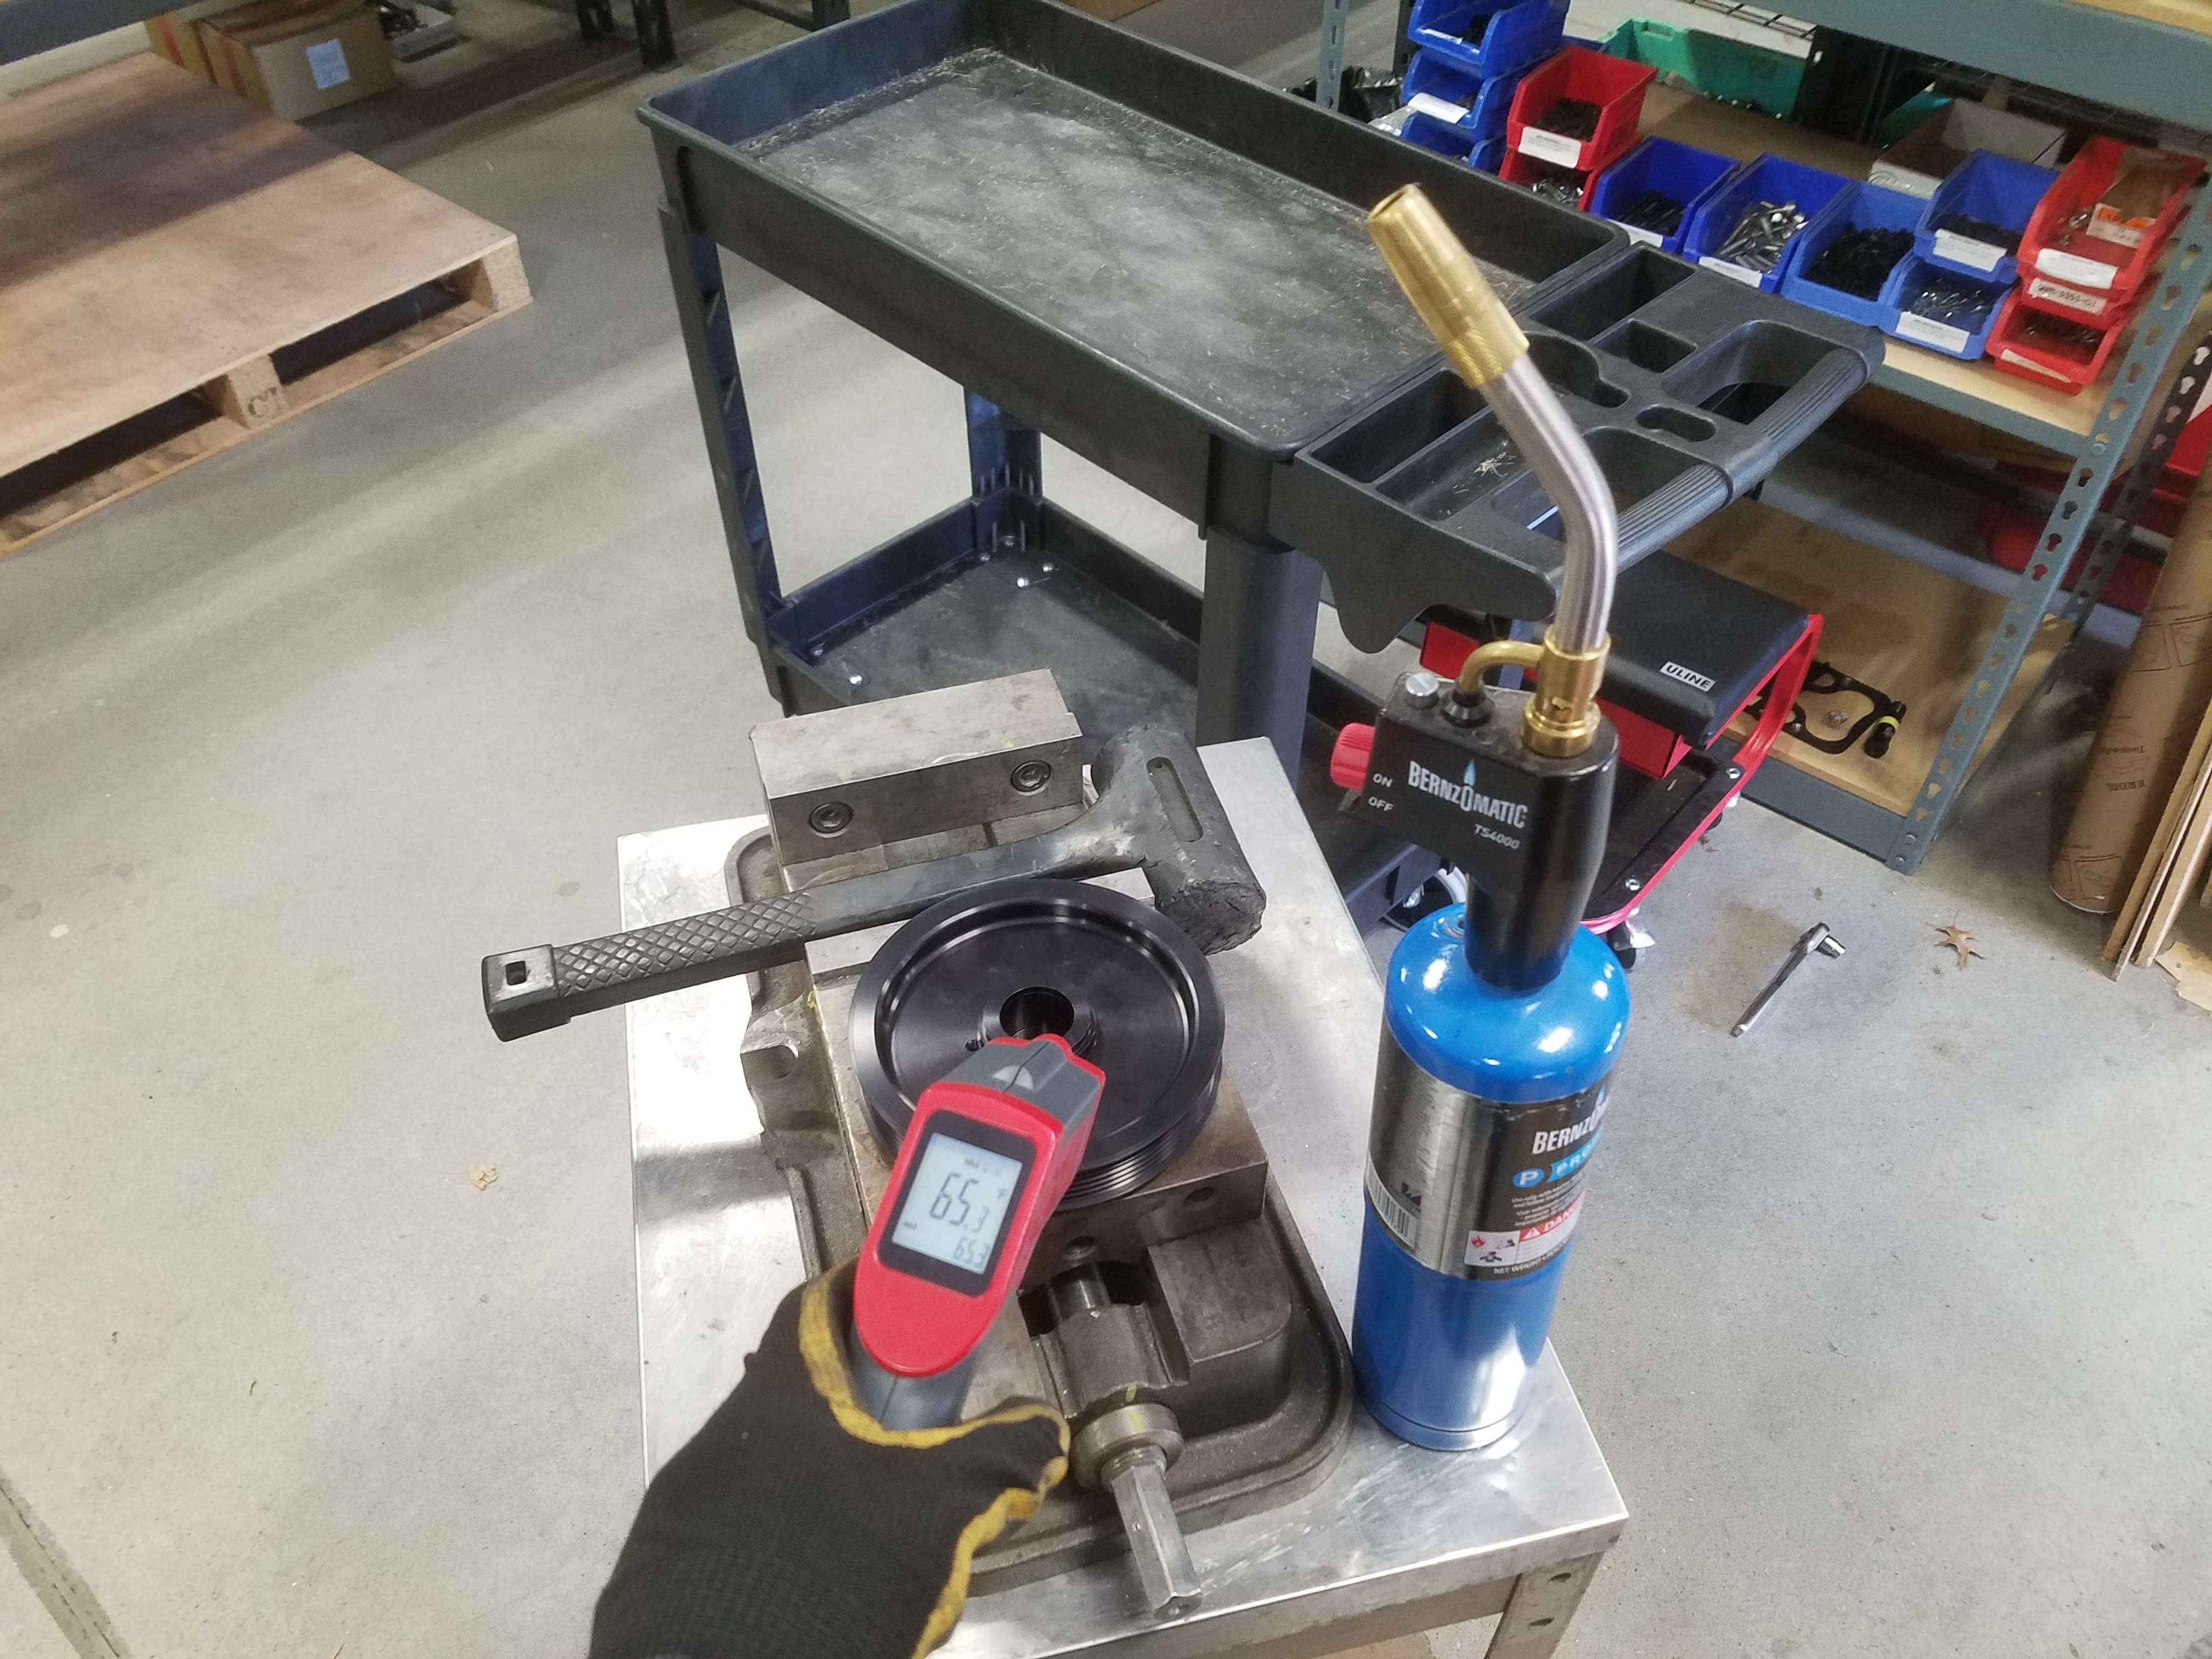
- Butane Torch
- Deadblow hammer
- Socket Extension (optional)
- Impact Wrench (optional)
- Flathead Screwdriver (optional)
- Infrared Thermometer (optional)
NOTE: In this instance, we are removing a Cravenspeed Crank Pulley from the vehicle to verify integrity after 50k miles (spolier alert: it was in perfect condition) and replace it with a new one. While we will not be showing the removal of the OEM pulley or a majority of the proprietary BMW tools, the procedure is practically identical. As is the case whenever you suspend the vehicle on jack stands, please exercise caution and have someone nearby to assist you. This installation also requires the replacement of the crank pulley bolt, which is torque to yield. We never recommend reusing torque to yield bolts, as this can compromise the integrity of your powertrain.
Procedure
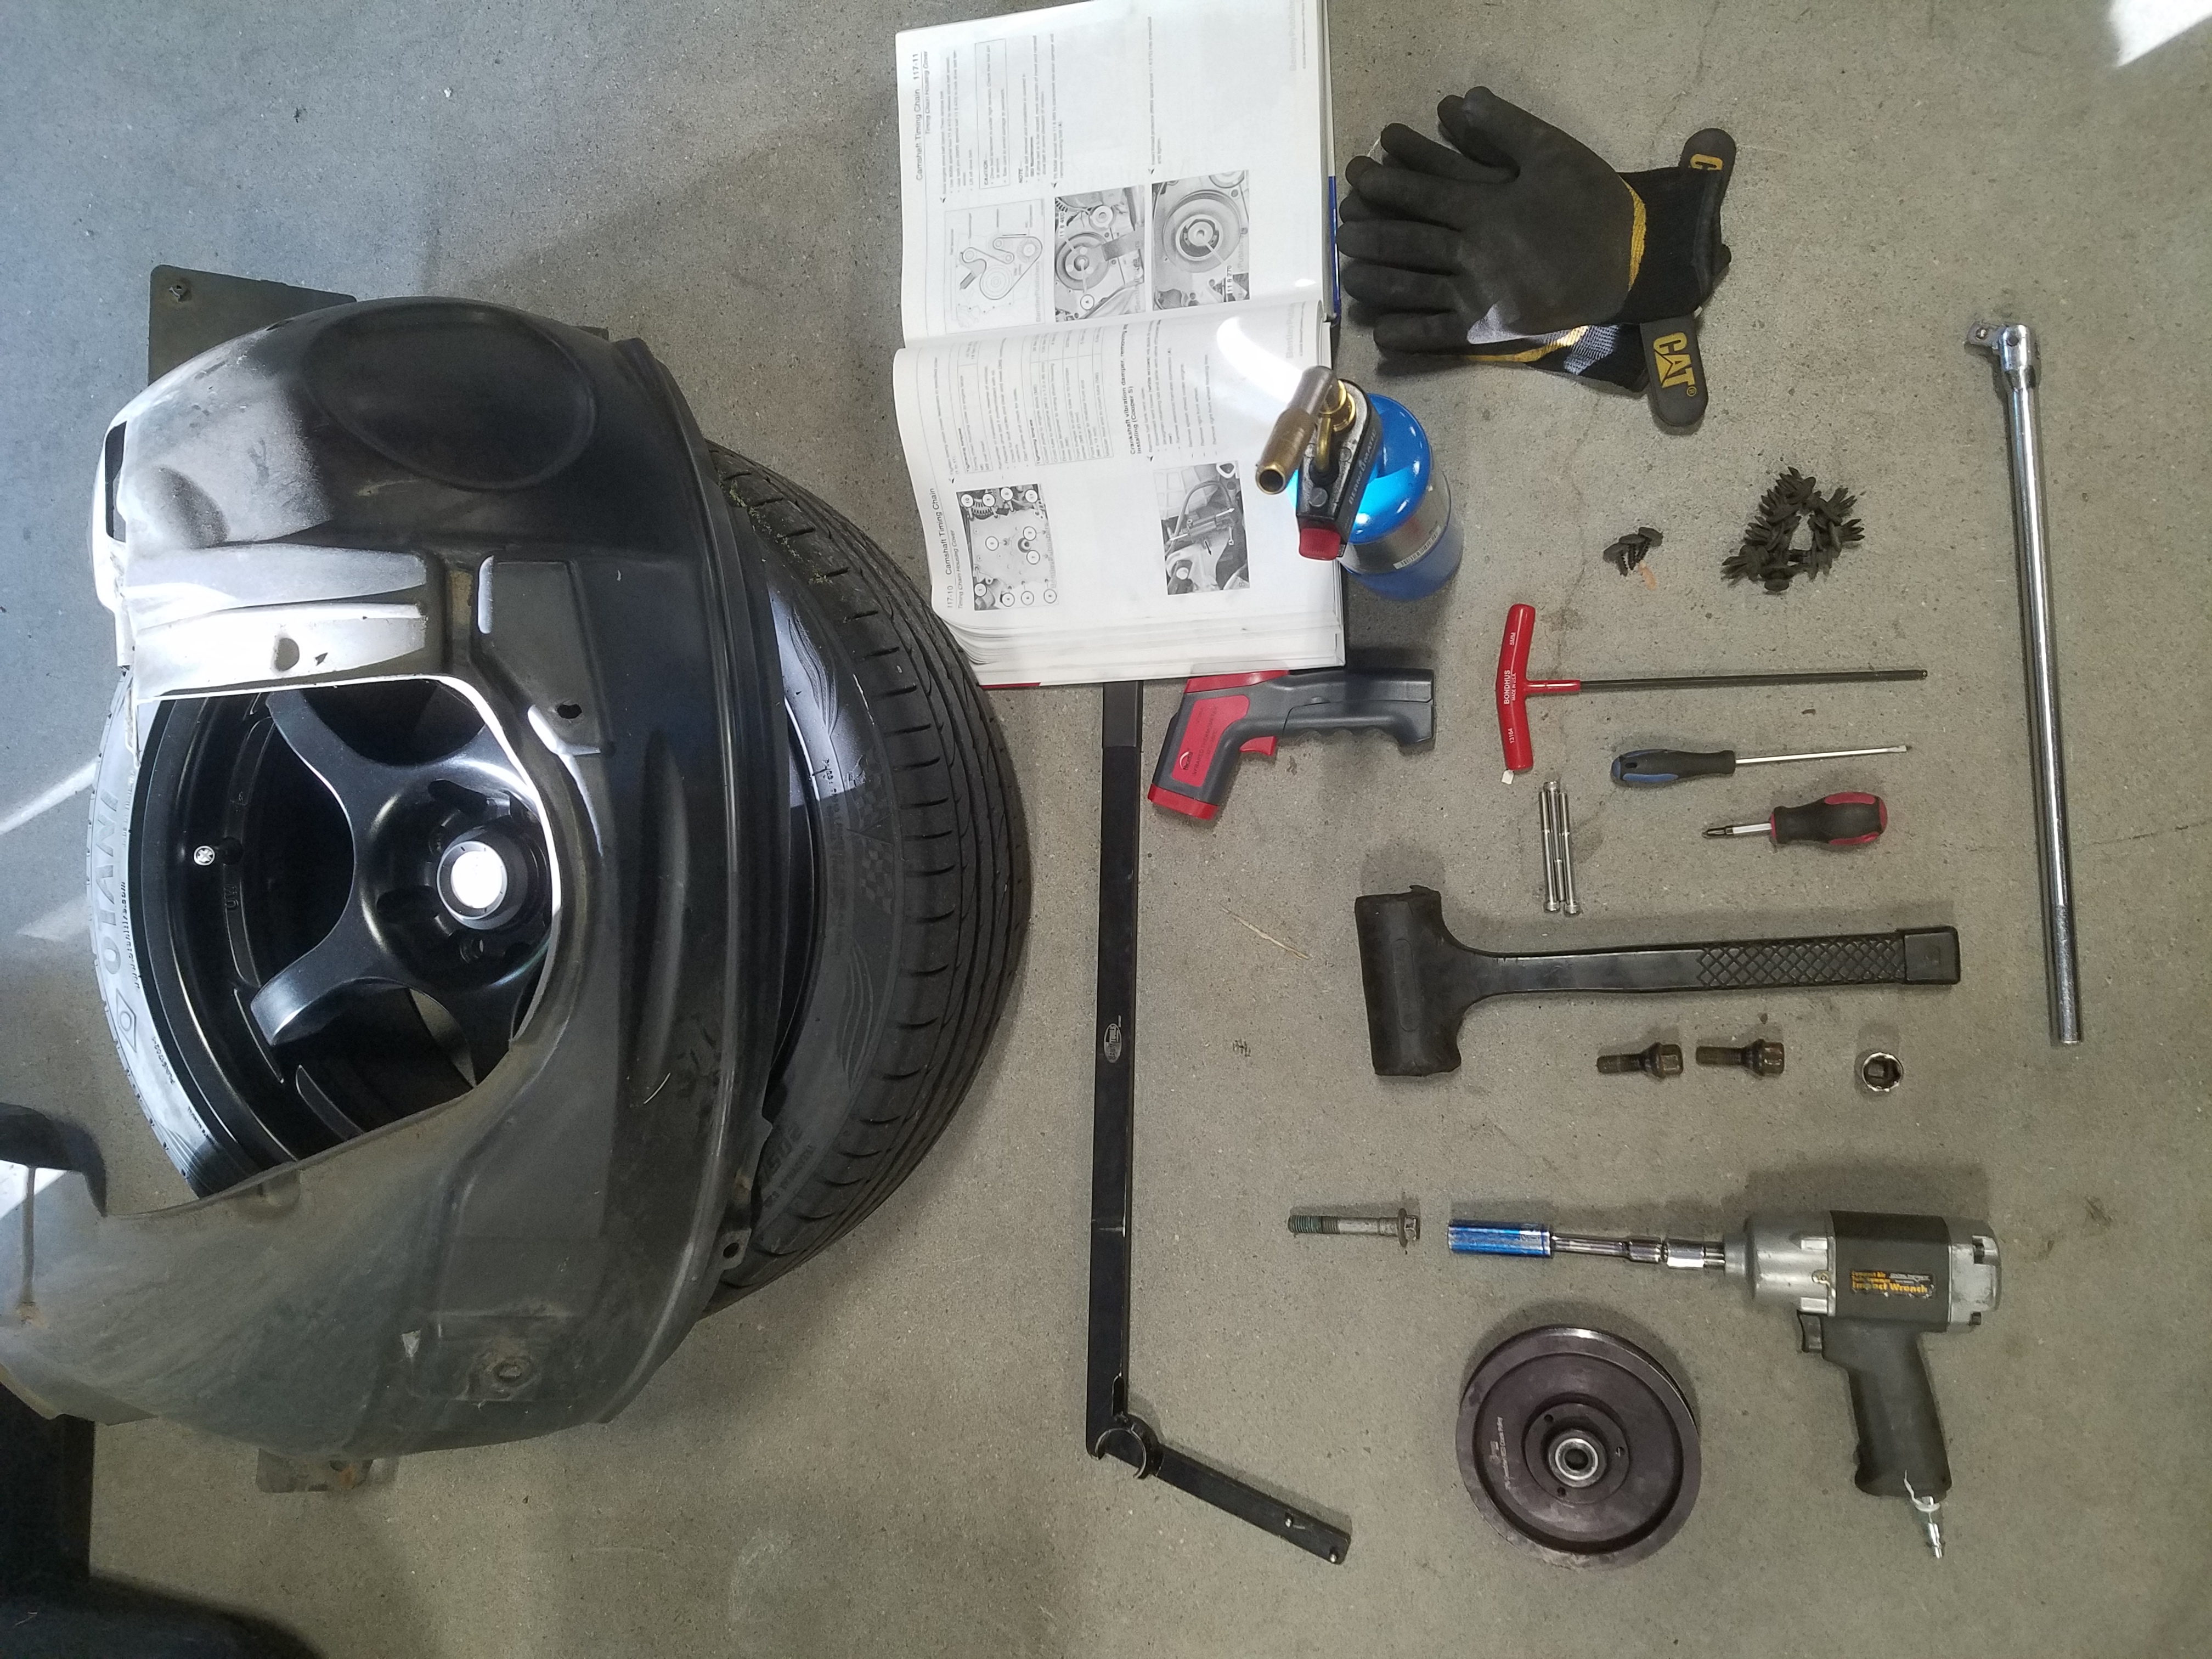
Raising the Vehicle on Jack Stand
- First, using a breaker bar or impact, break loose the 4 lug bolts on the passenger side wheel with the 17mm socket.
- Jack up the car by placing the hydraulic jack under the subframe, and then place a jack stand at the jack position.
- Remove the lug nuts, setting them aside, and then take the wheel off the hub and place it directly behind the jack stand, for safety.
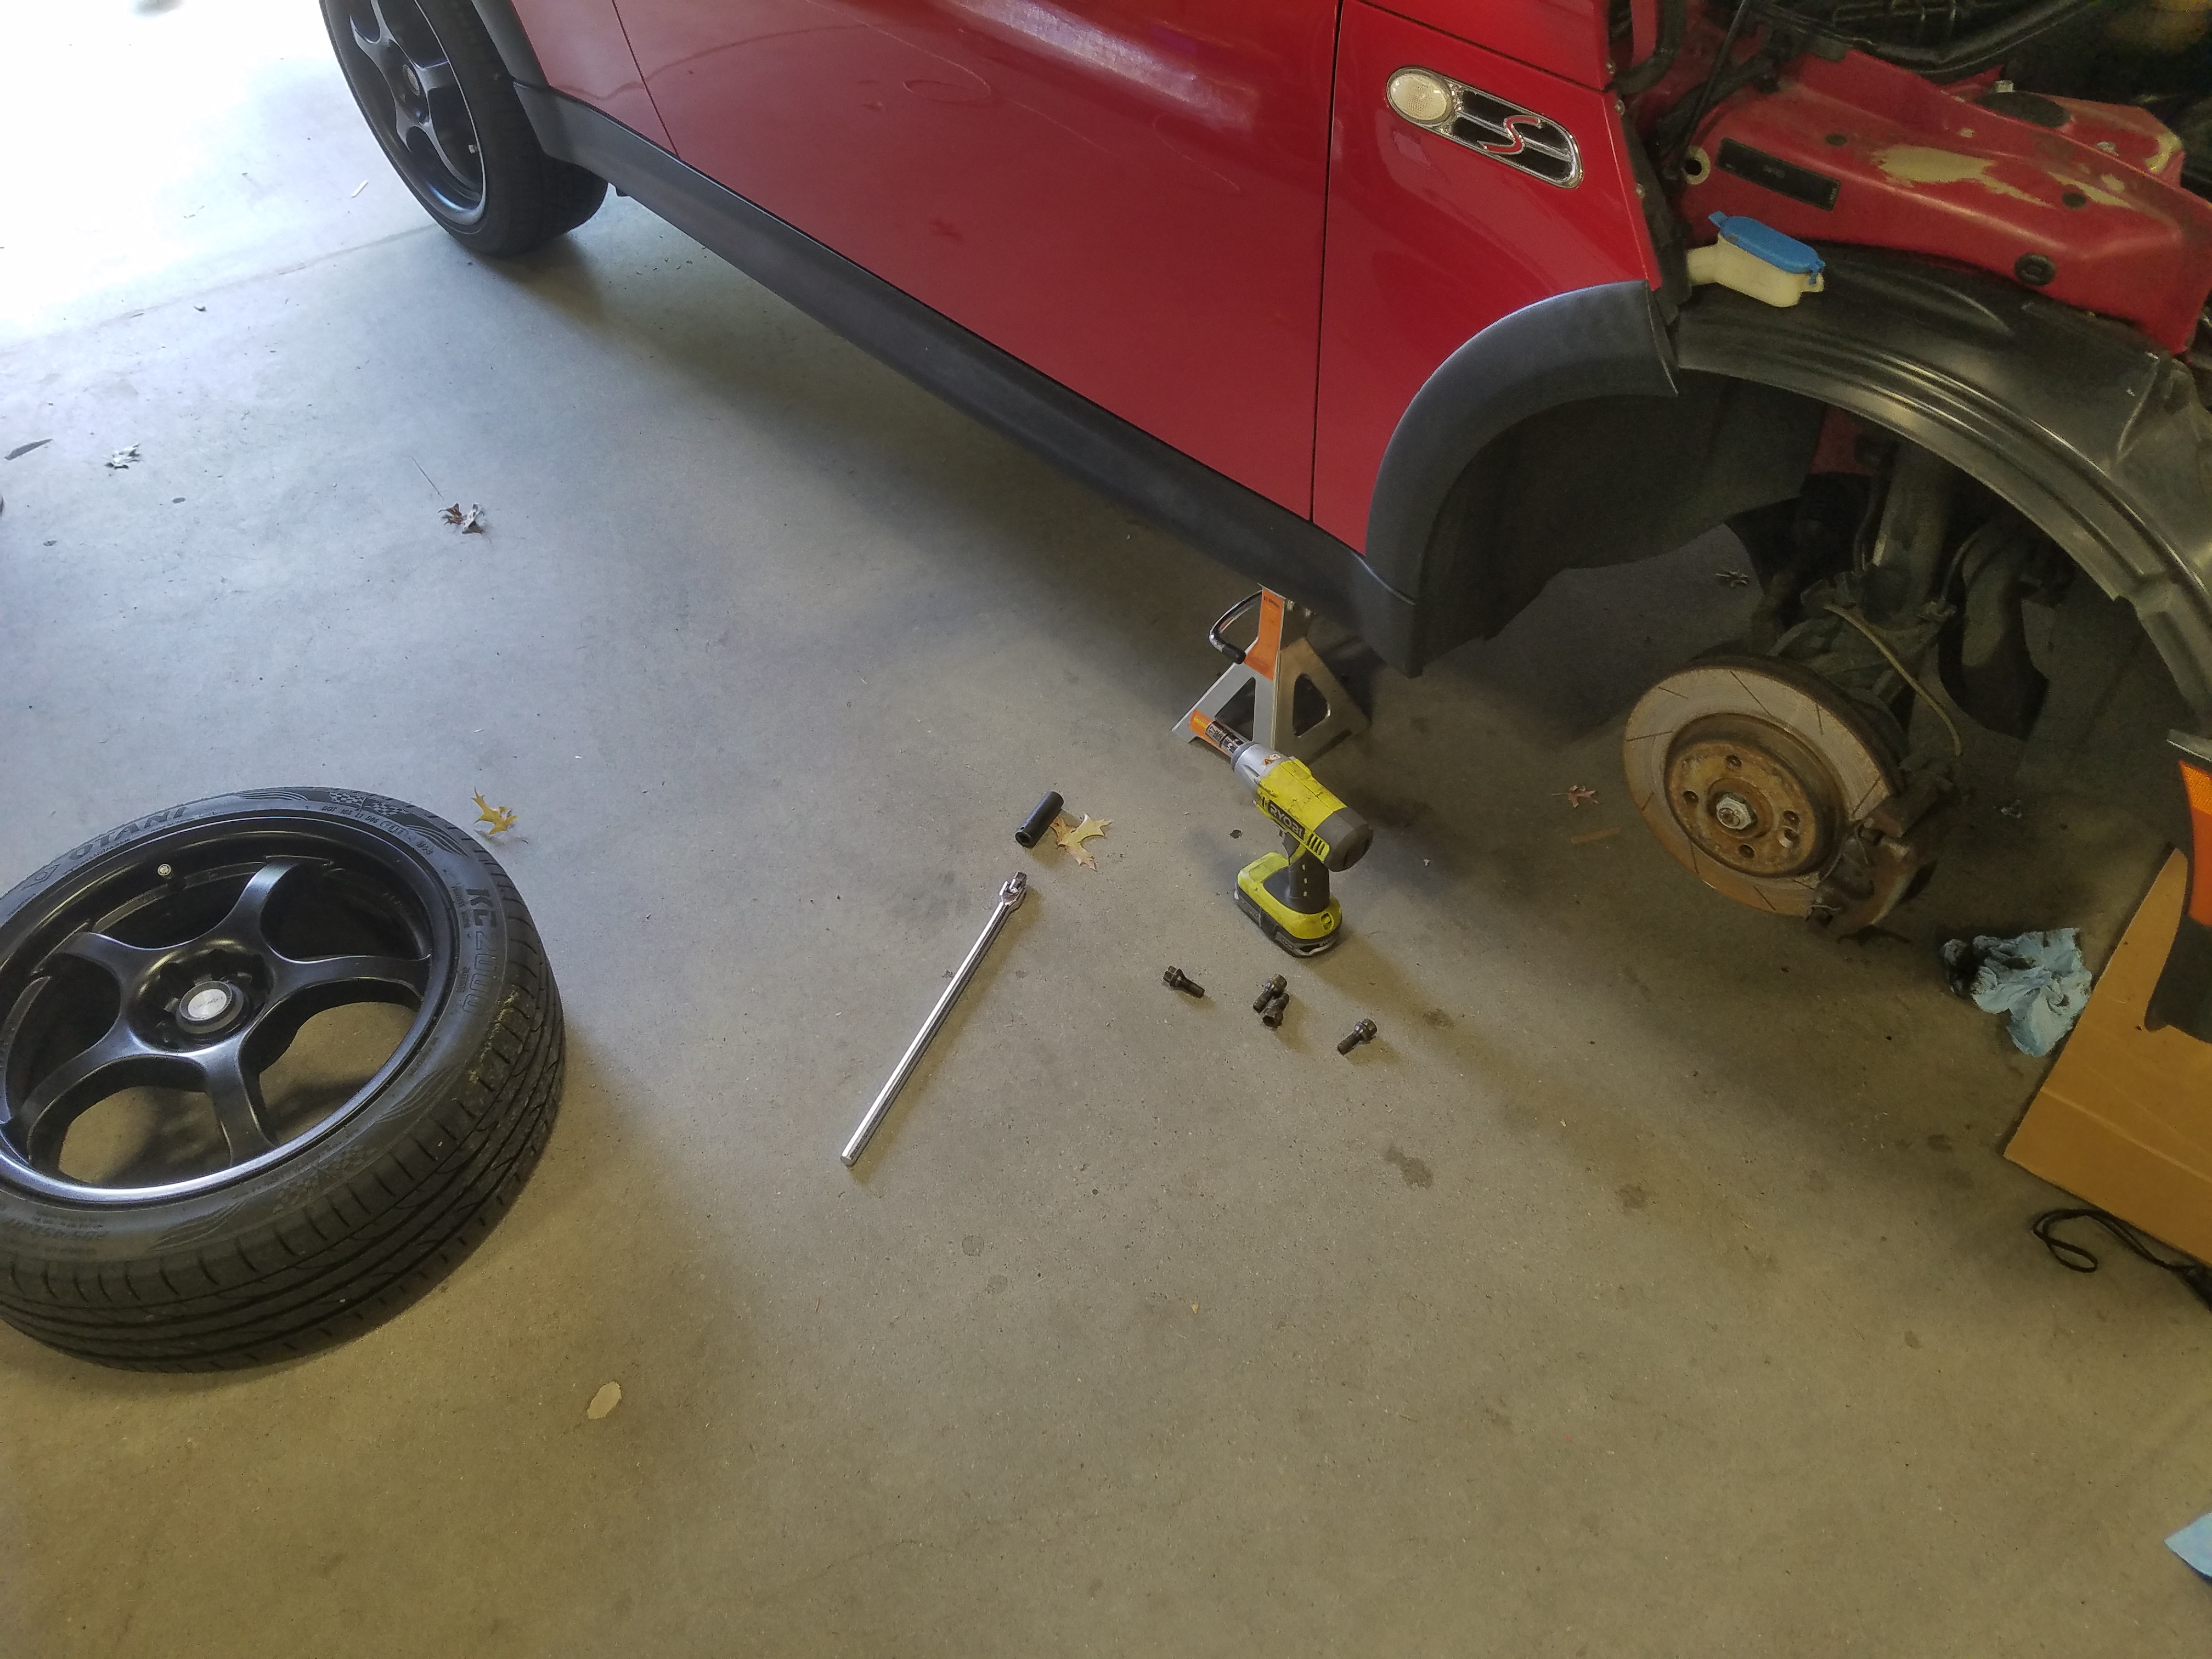
Removing the Wheel Well Liner
- The next step is to peel away the wheel well liner. The Phillips screwdriver will be needed to remove the fasteners.
- Once all of the plastic screws have been removed from the well nuts, pry the well nuts out from the wheel well liner.
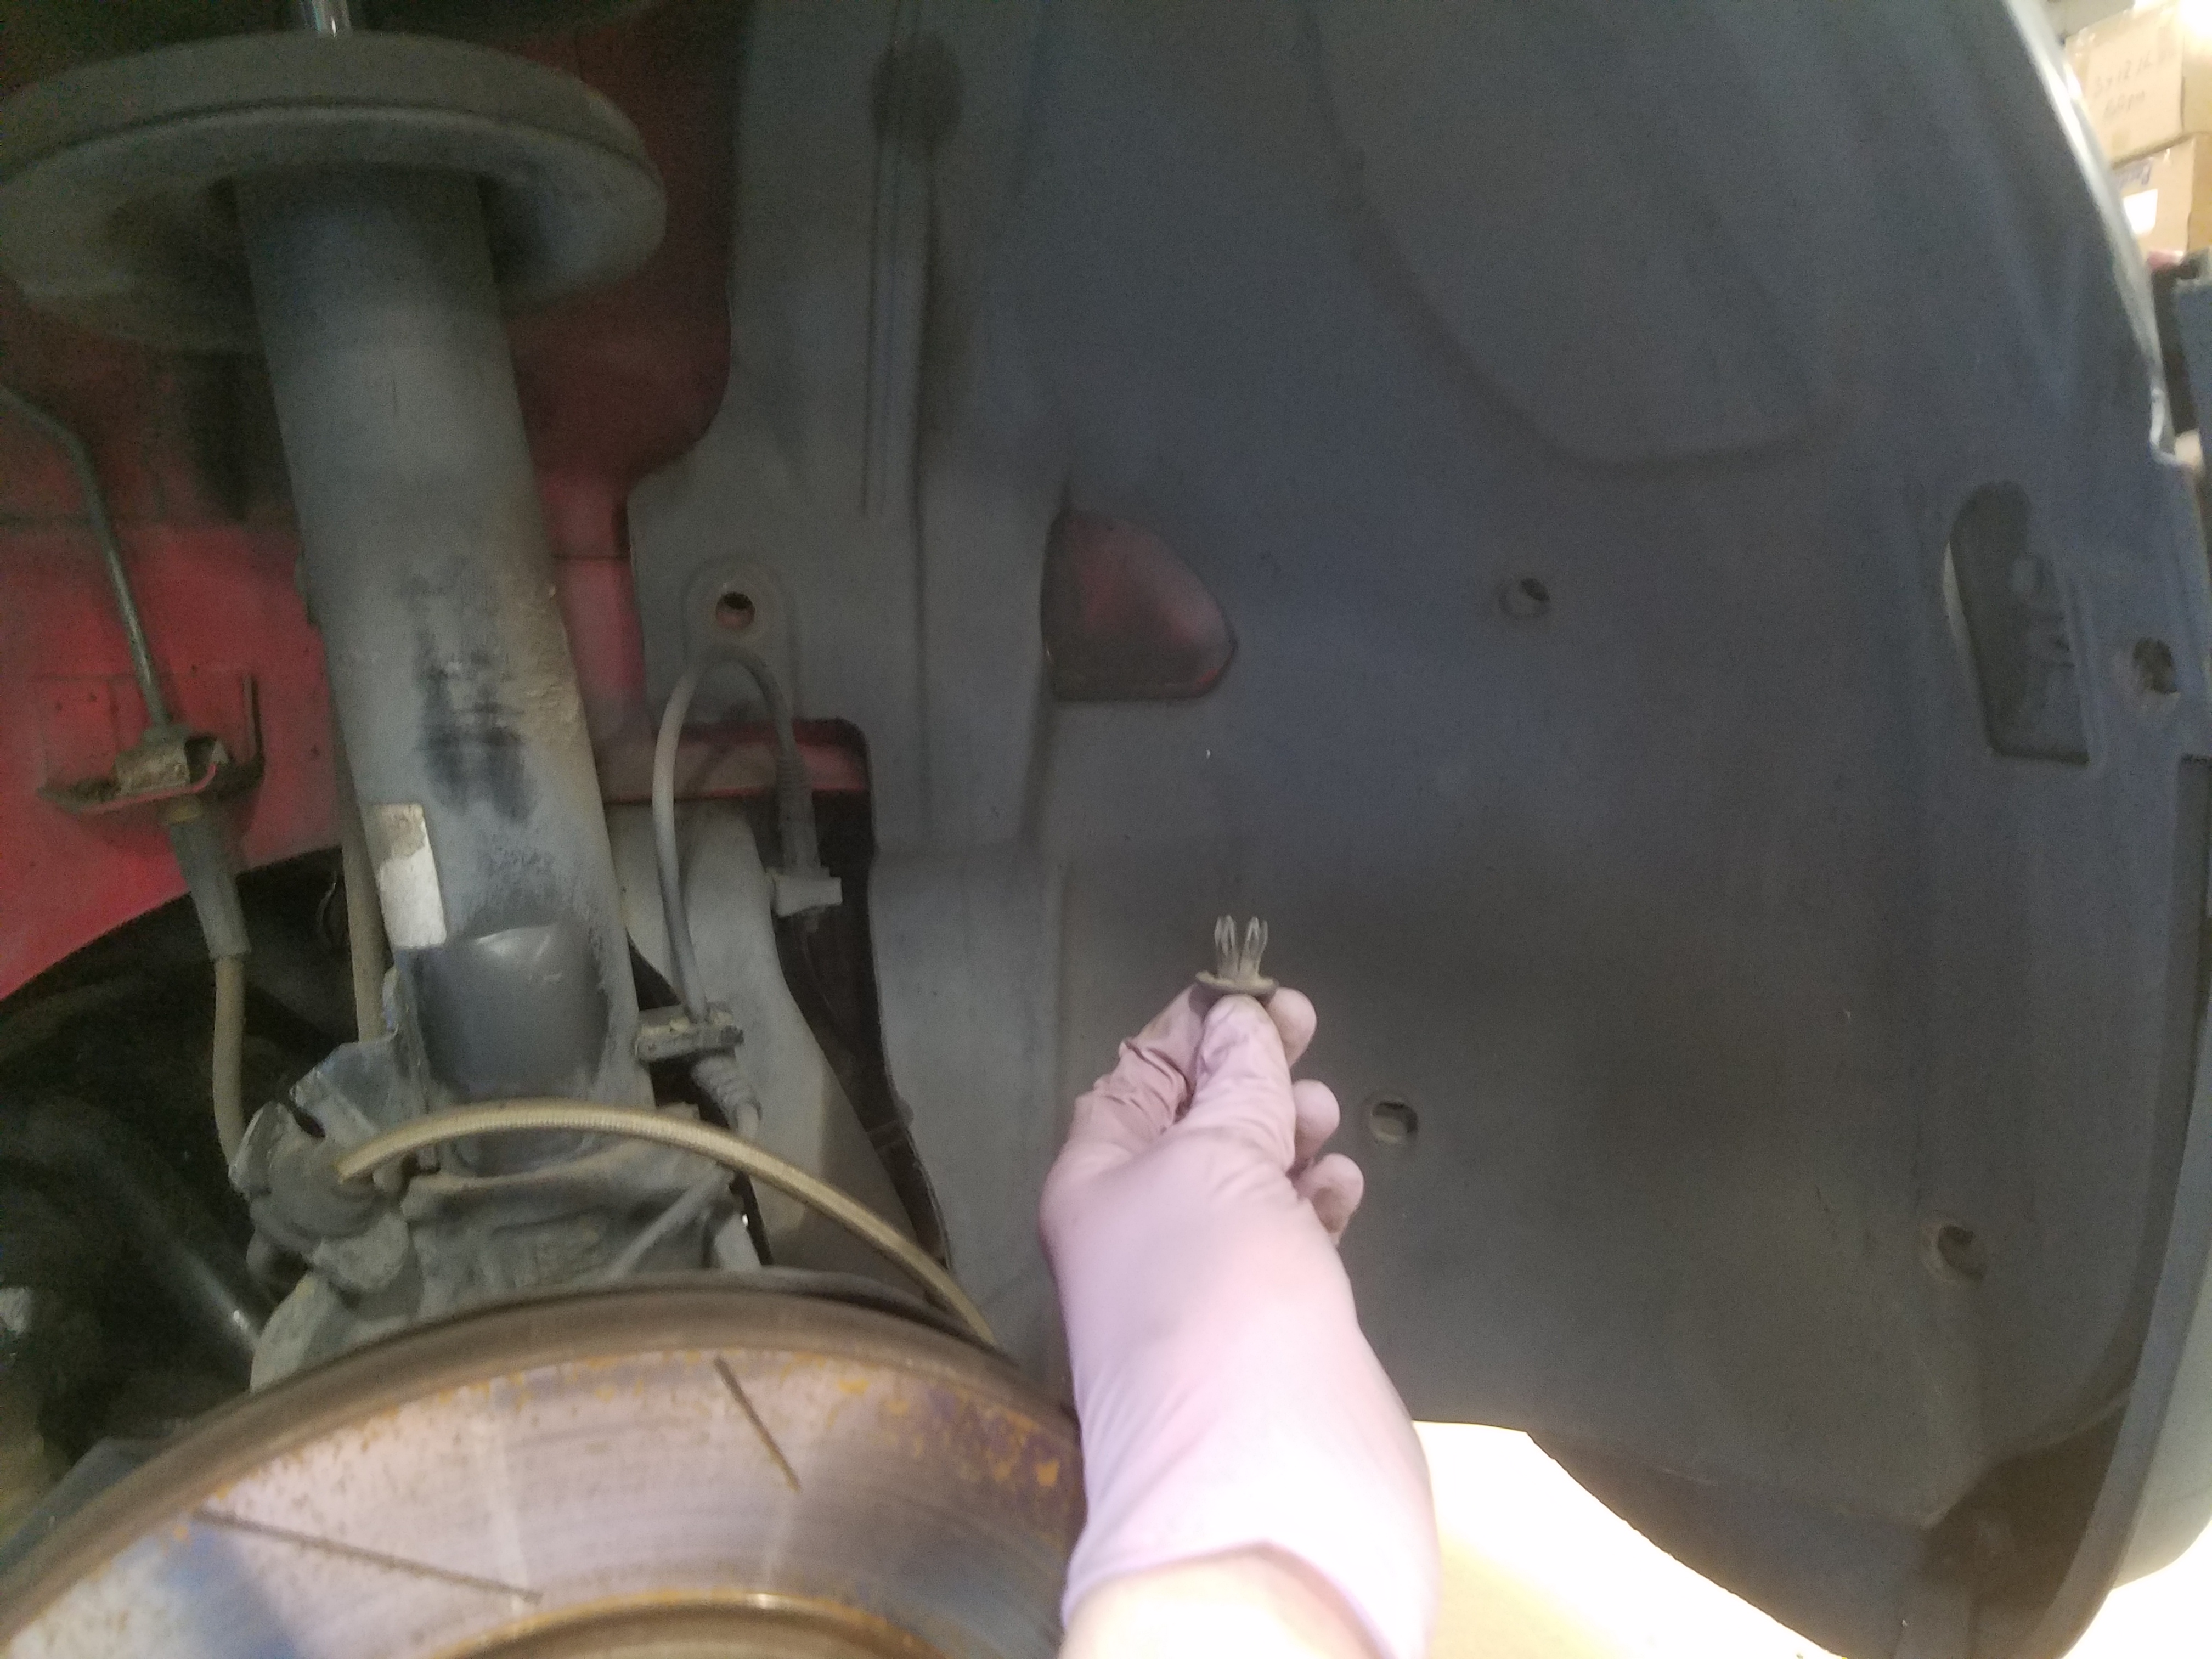
In order to remove the plastic screws from the well nuts it may be necessary to place the flathead screwdriver in one of the two slots on the face of the well nut to prevent it from spinning in place.
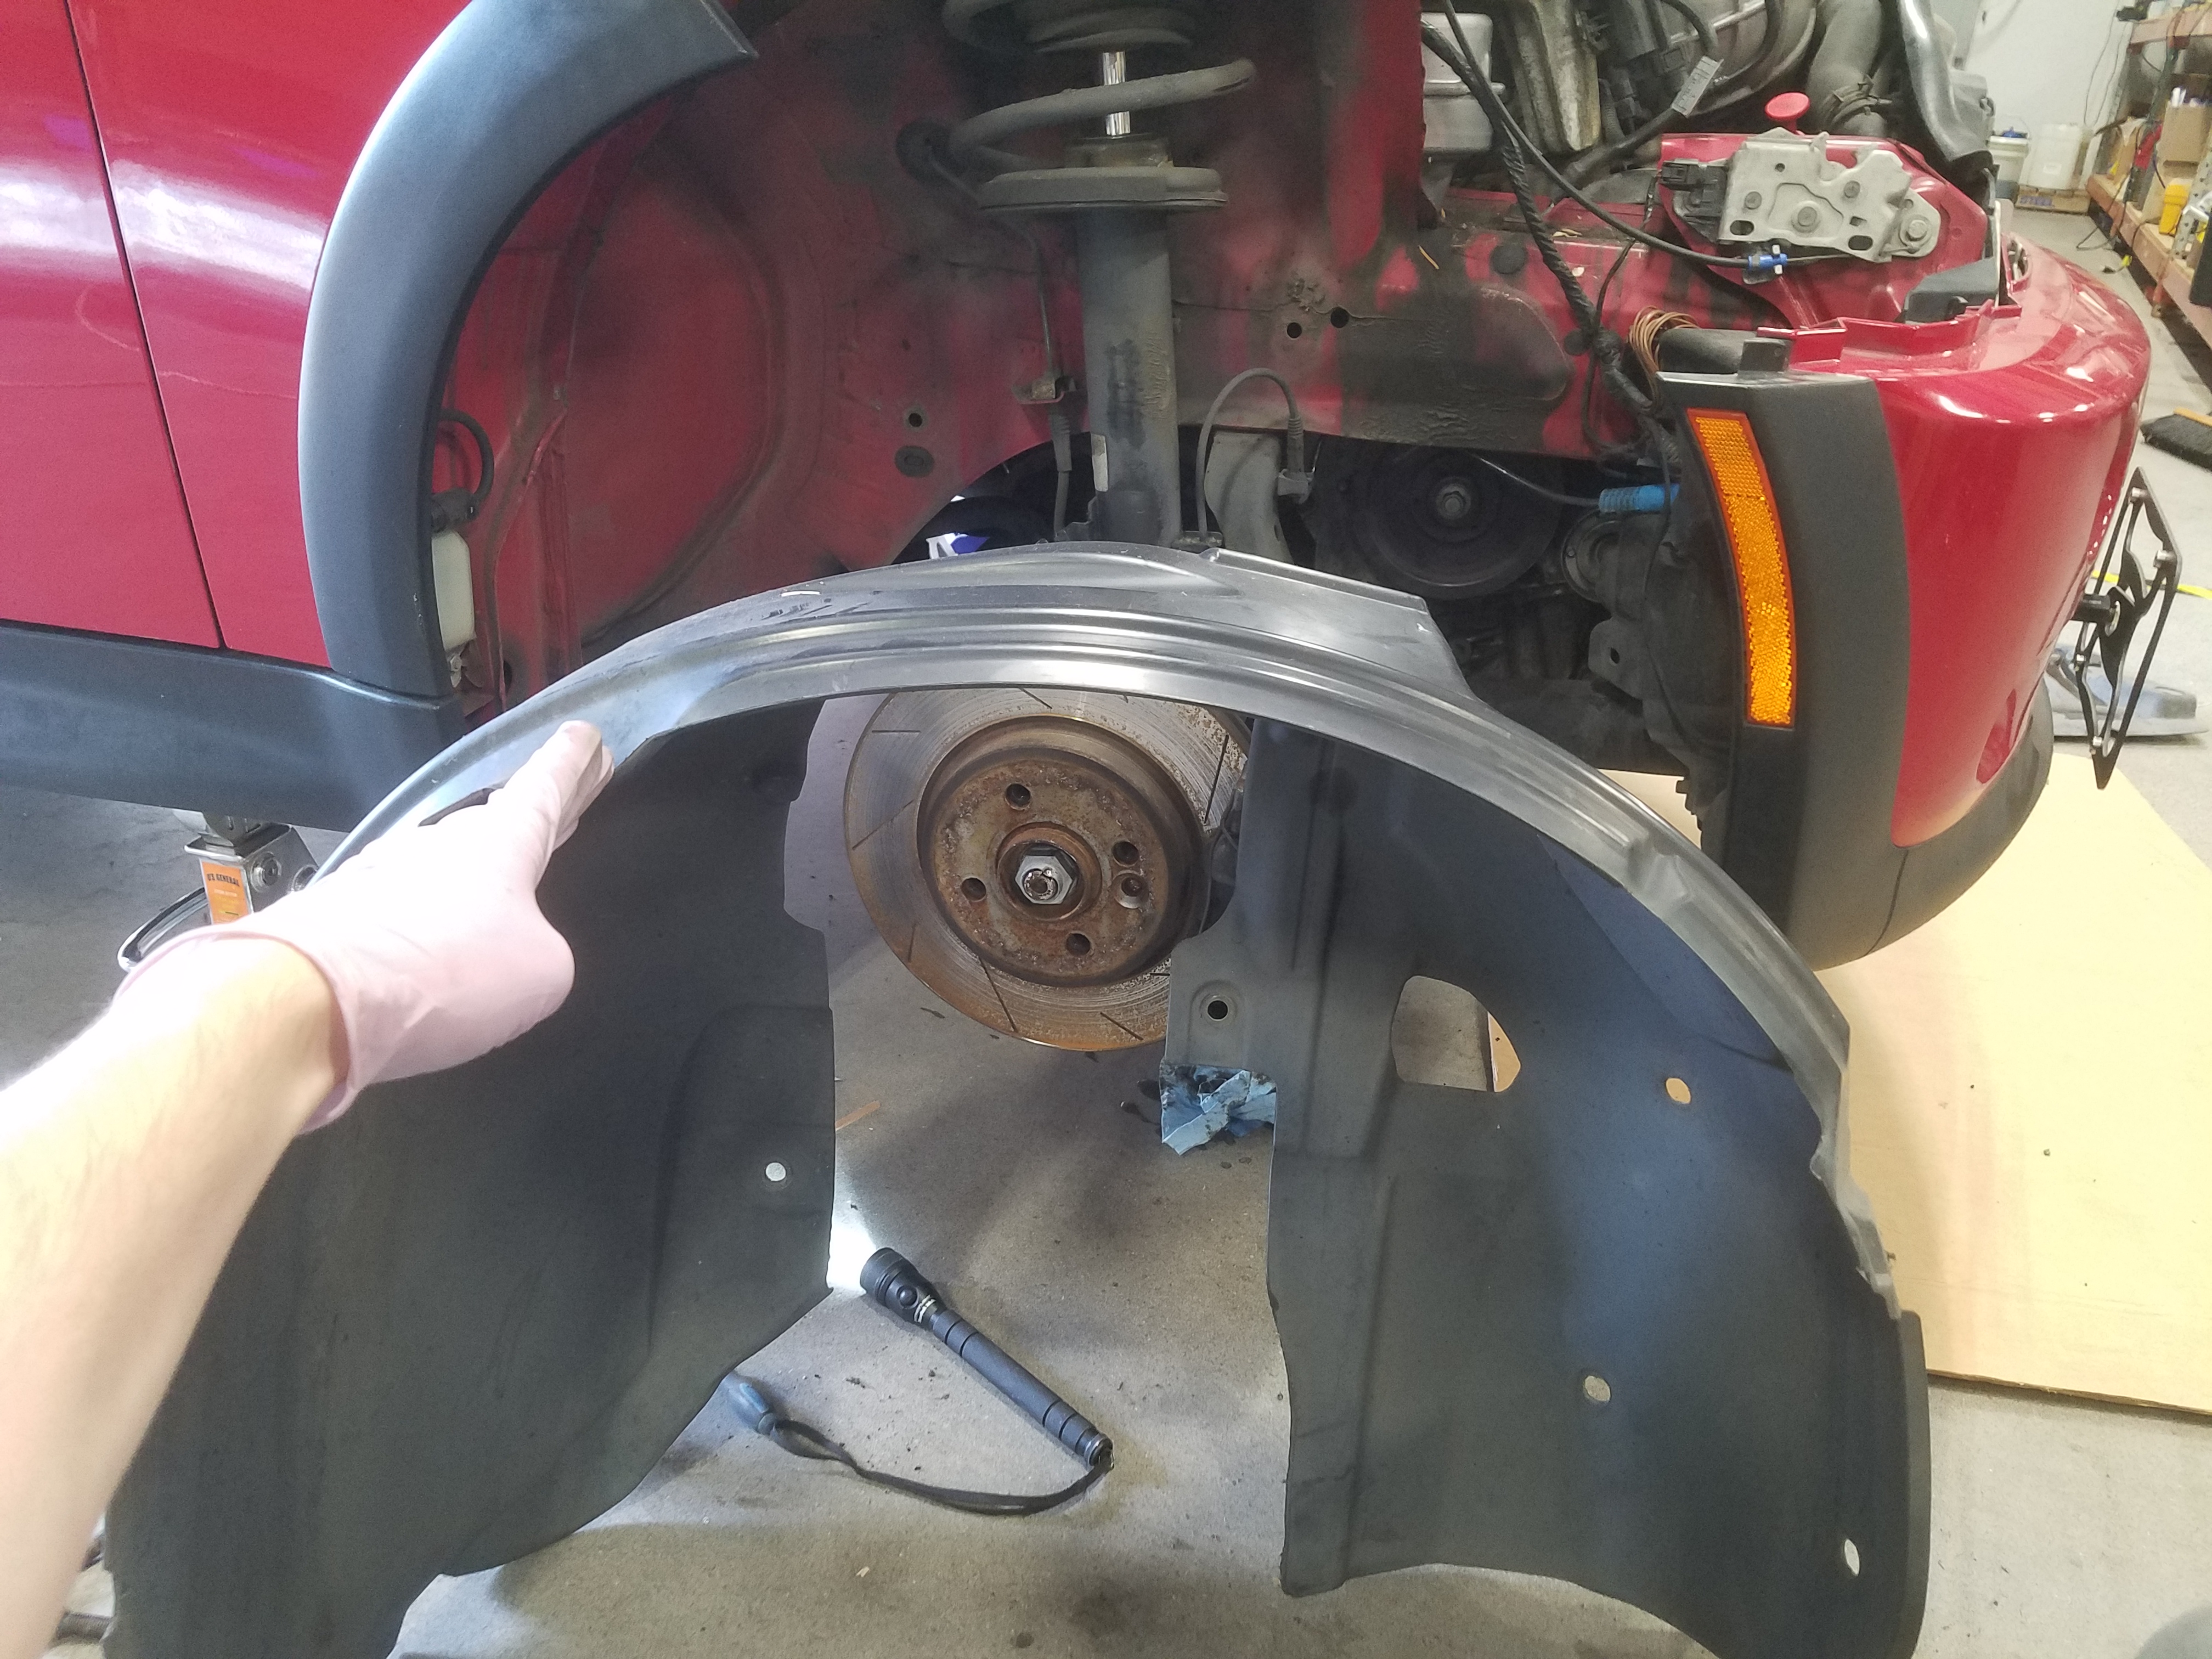
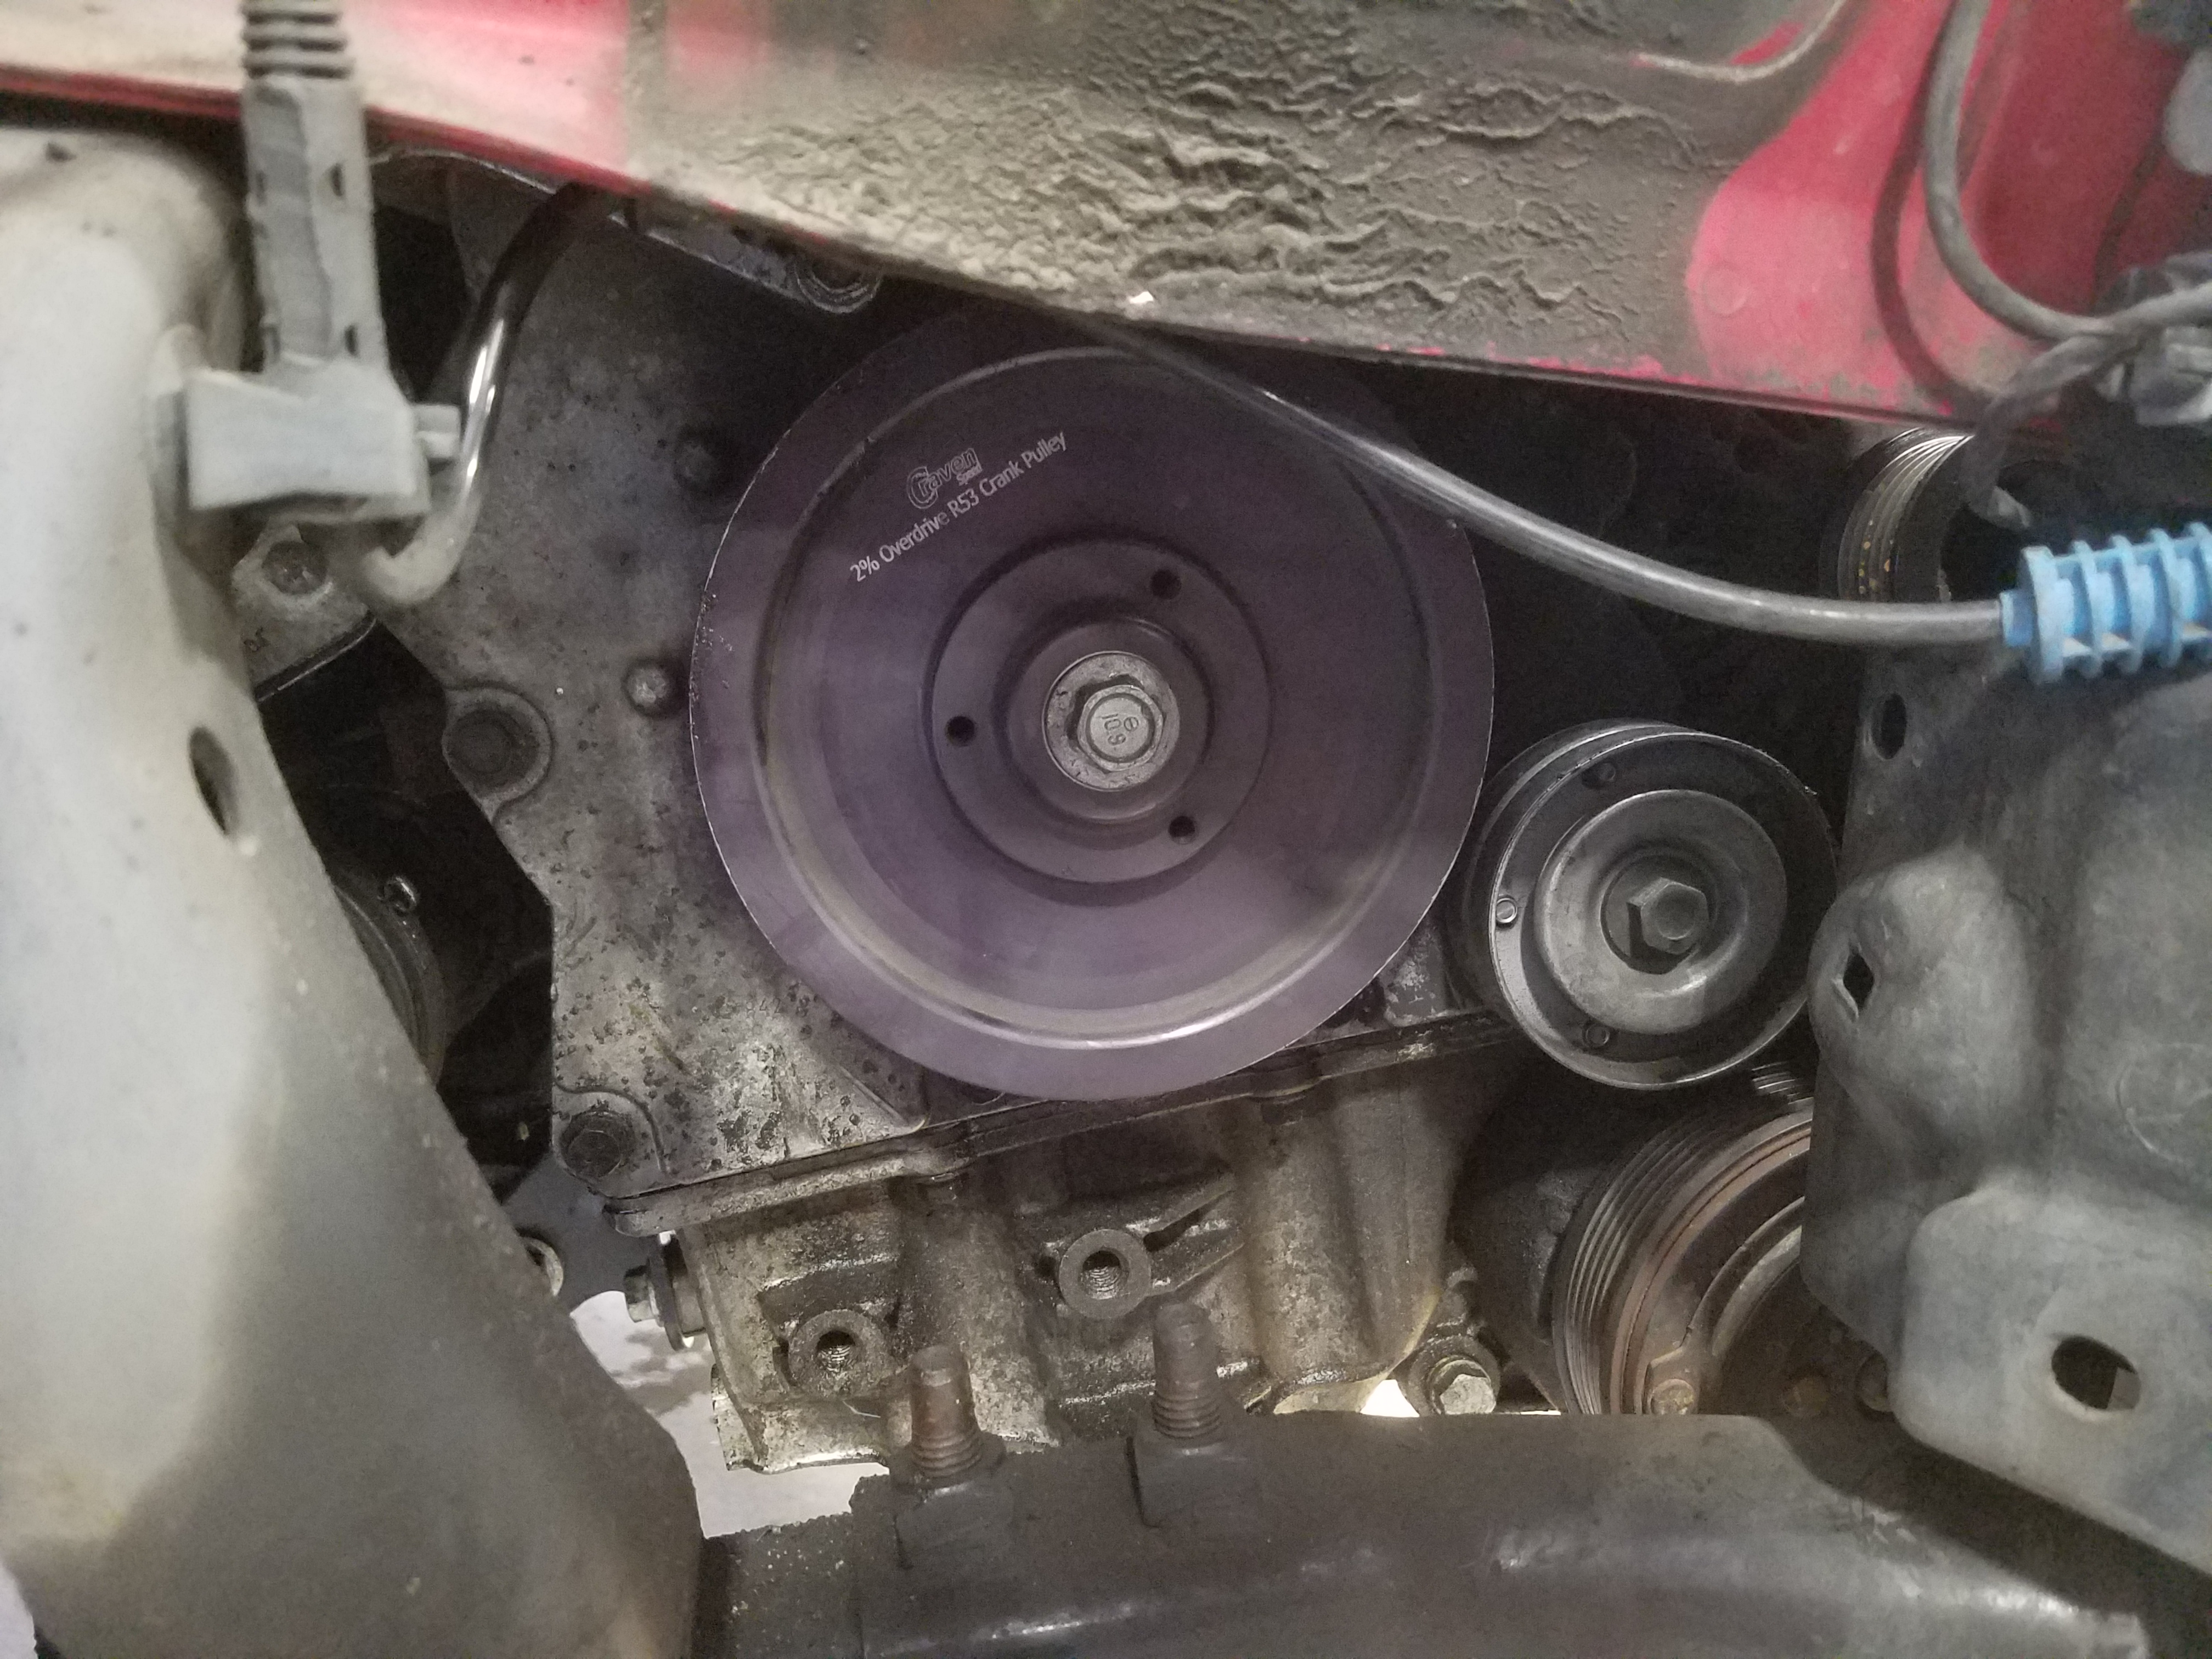
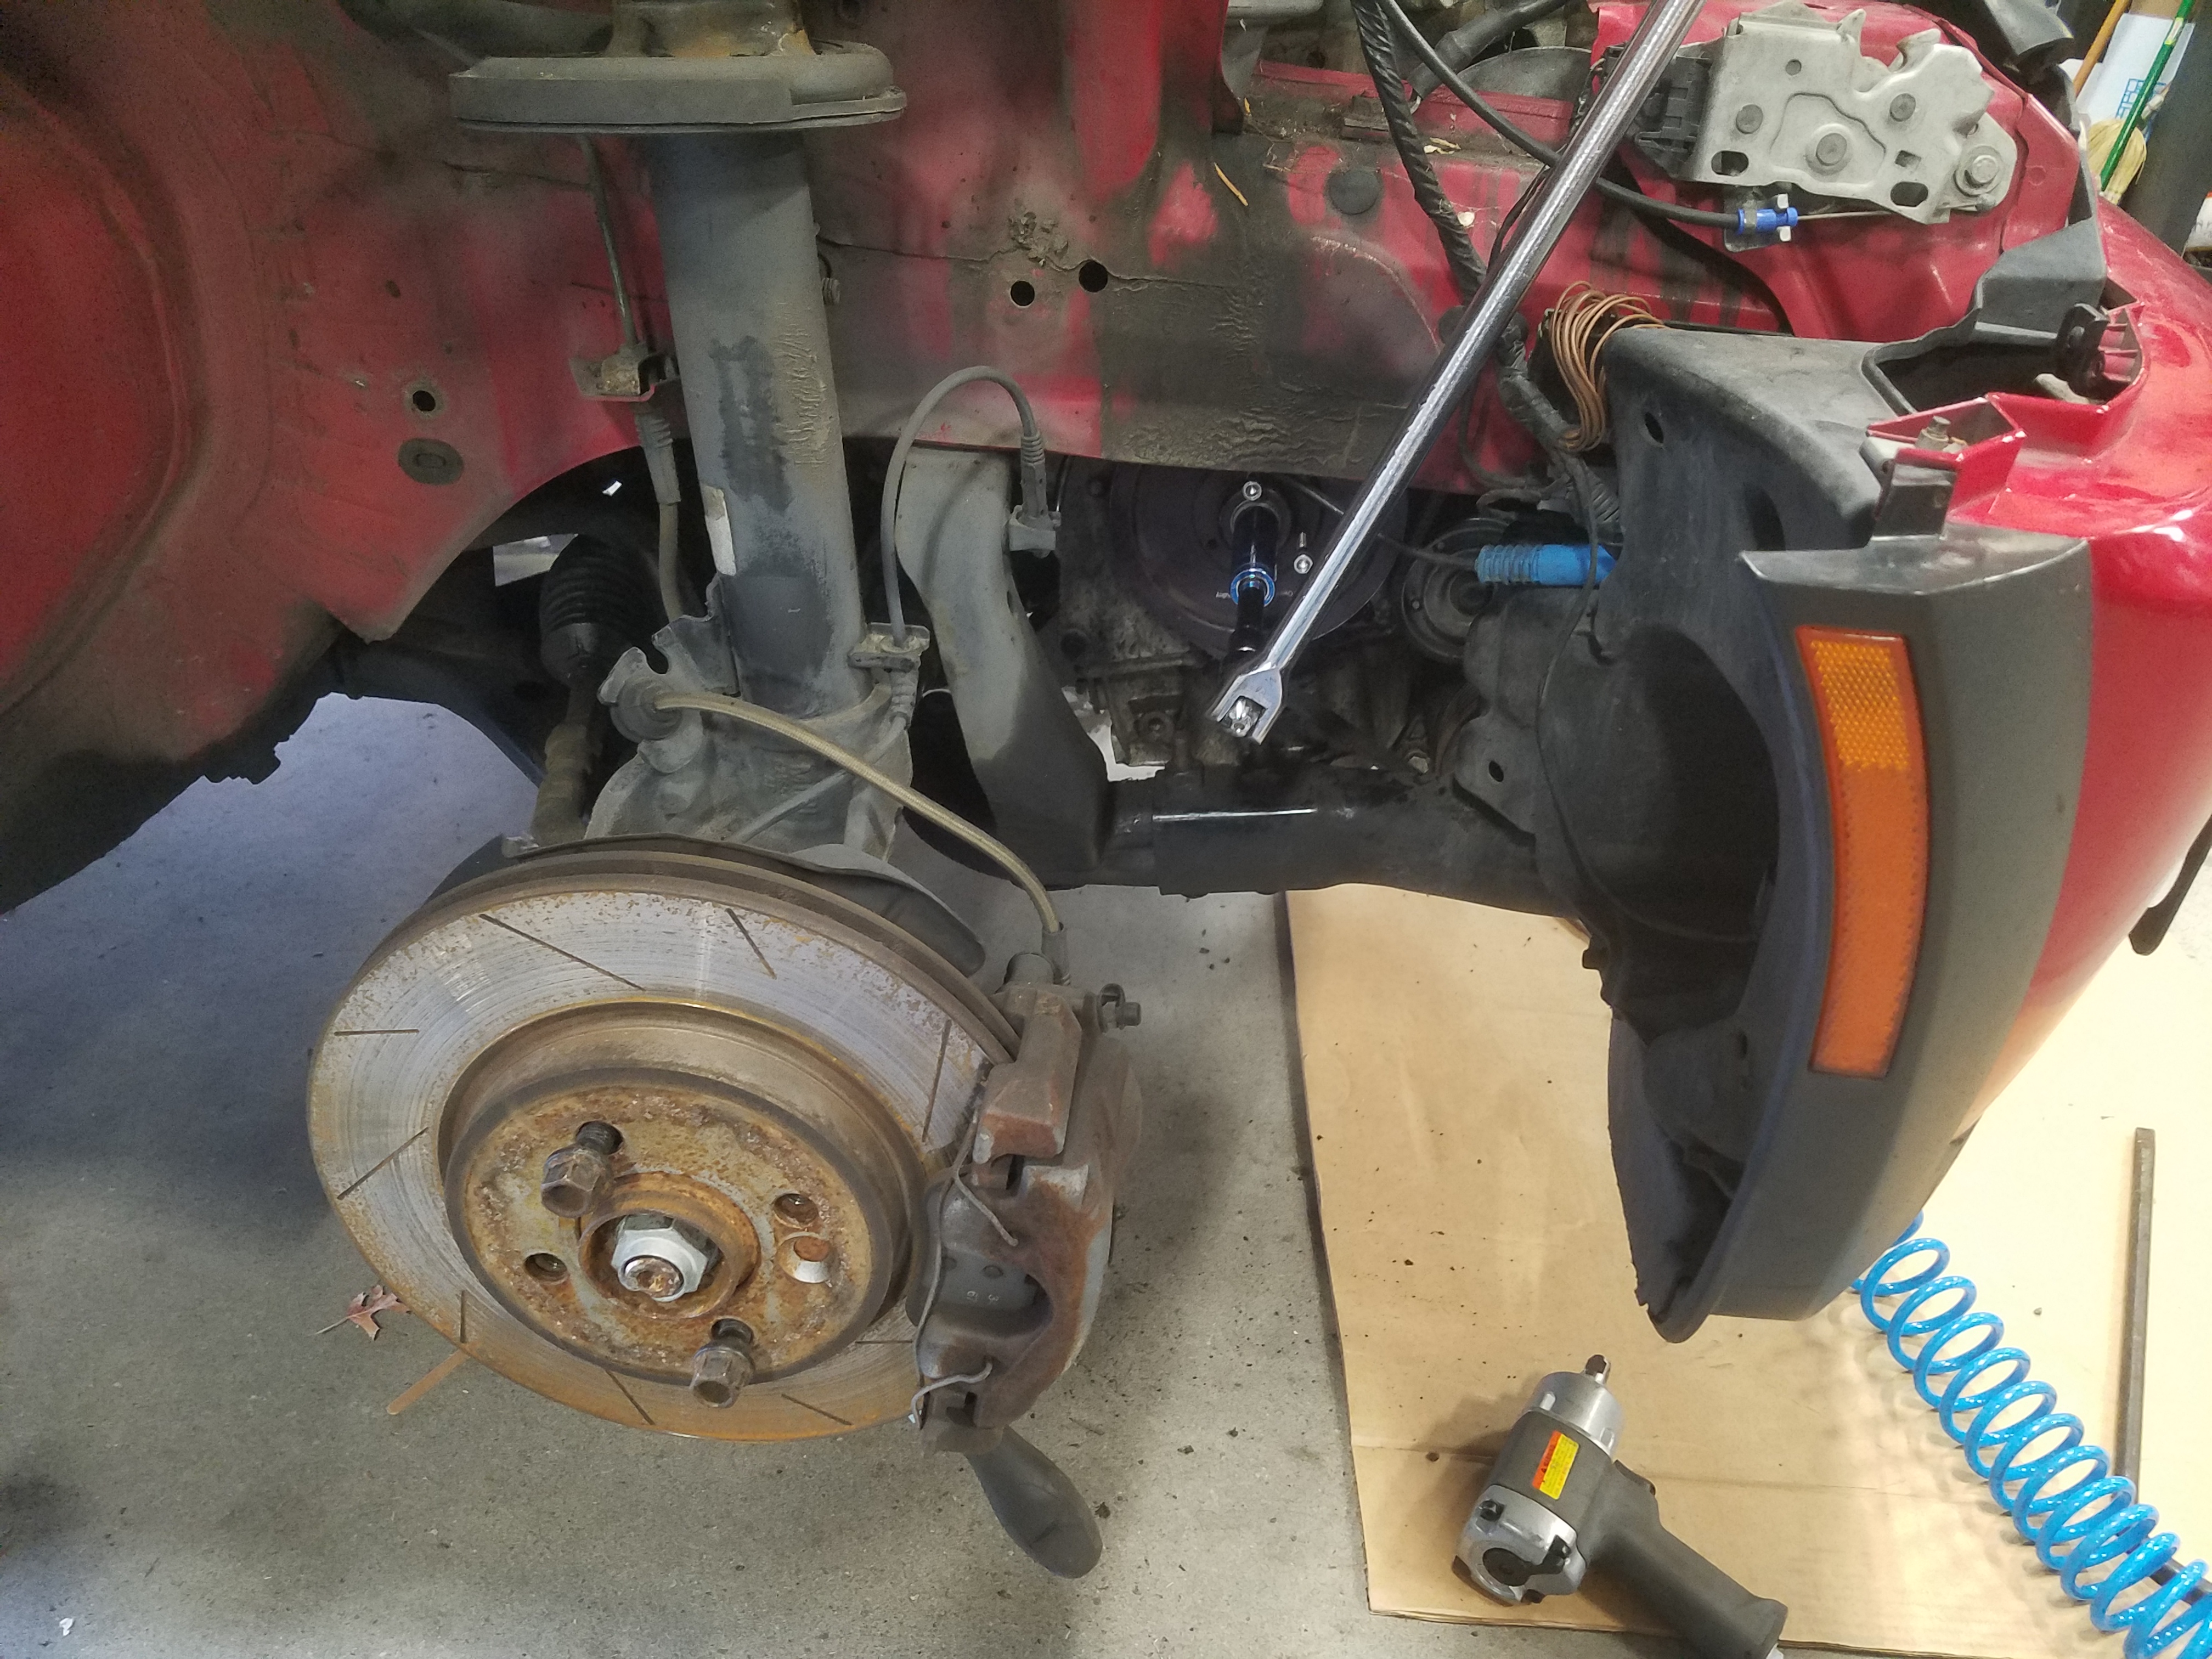
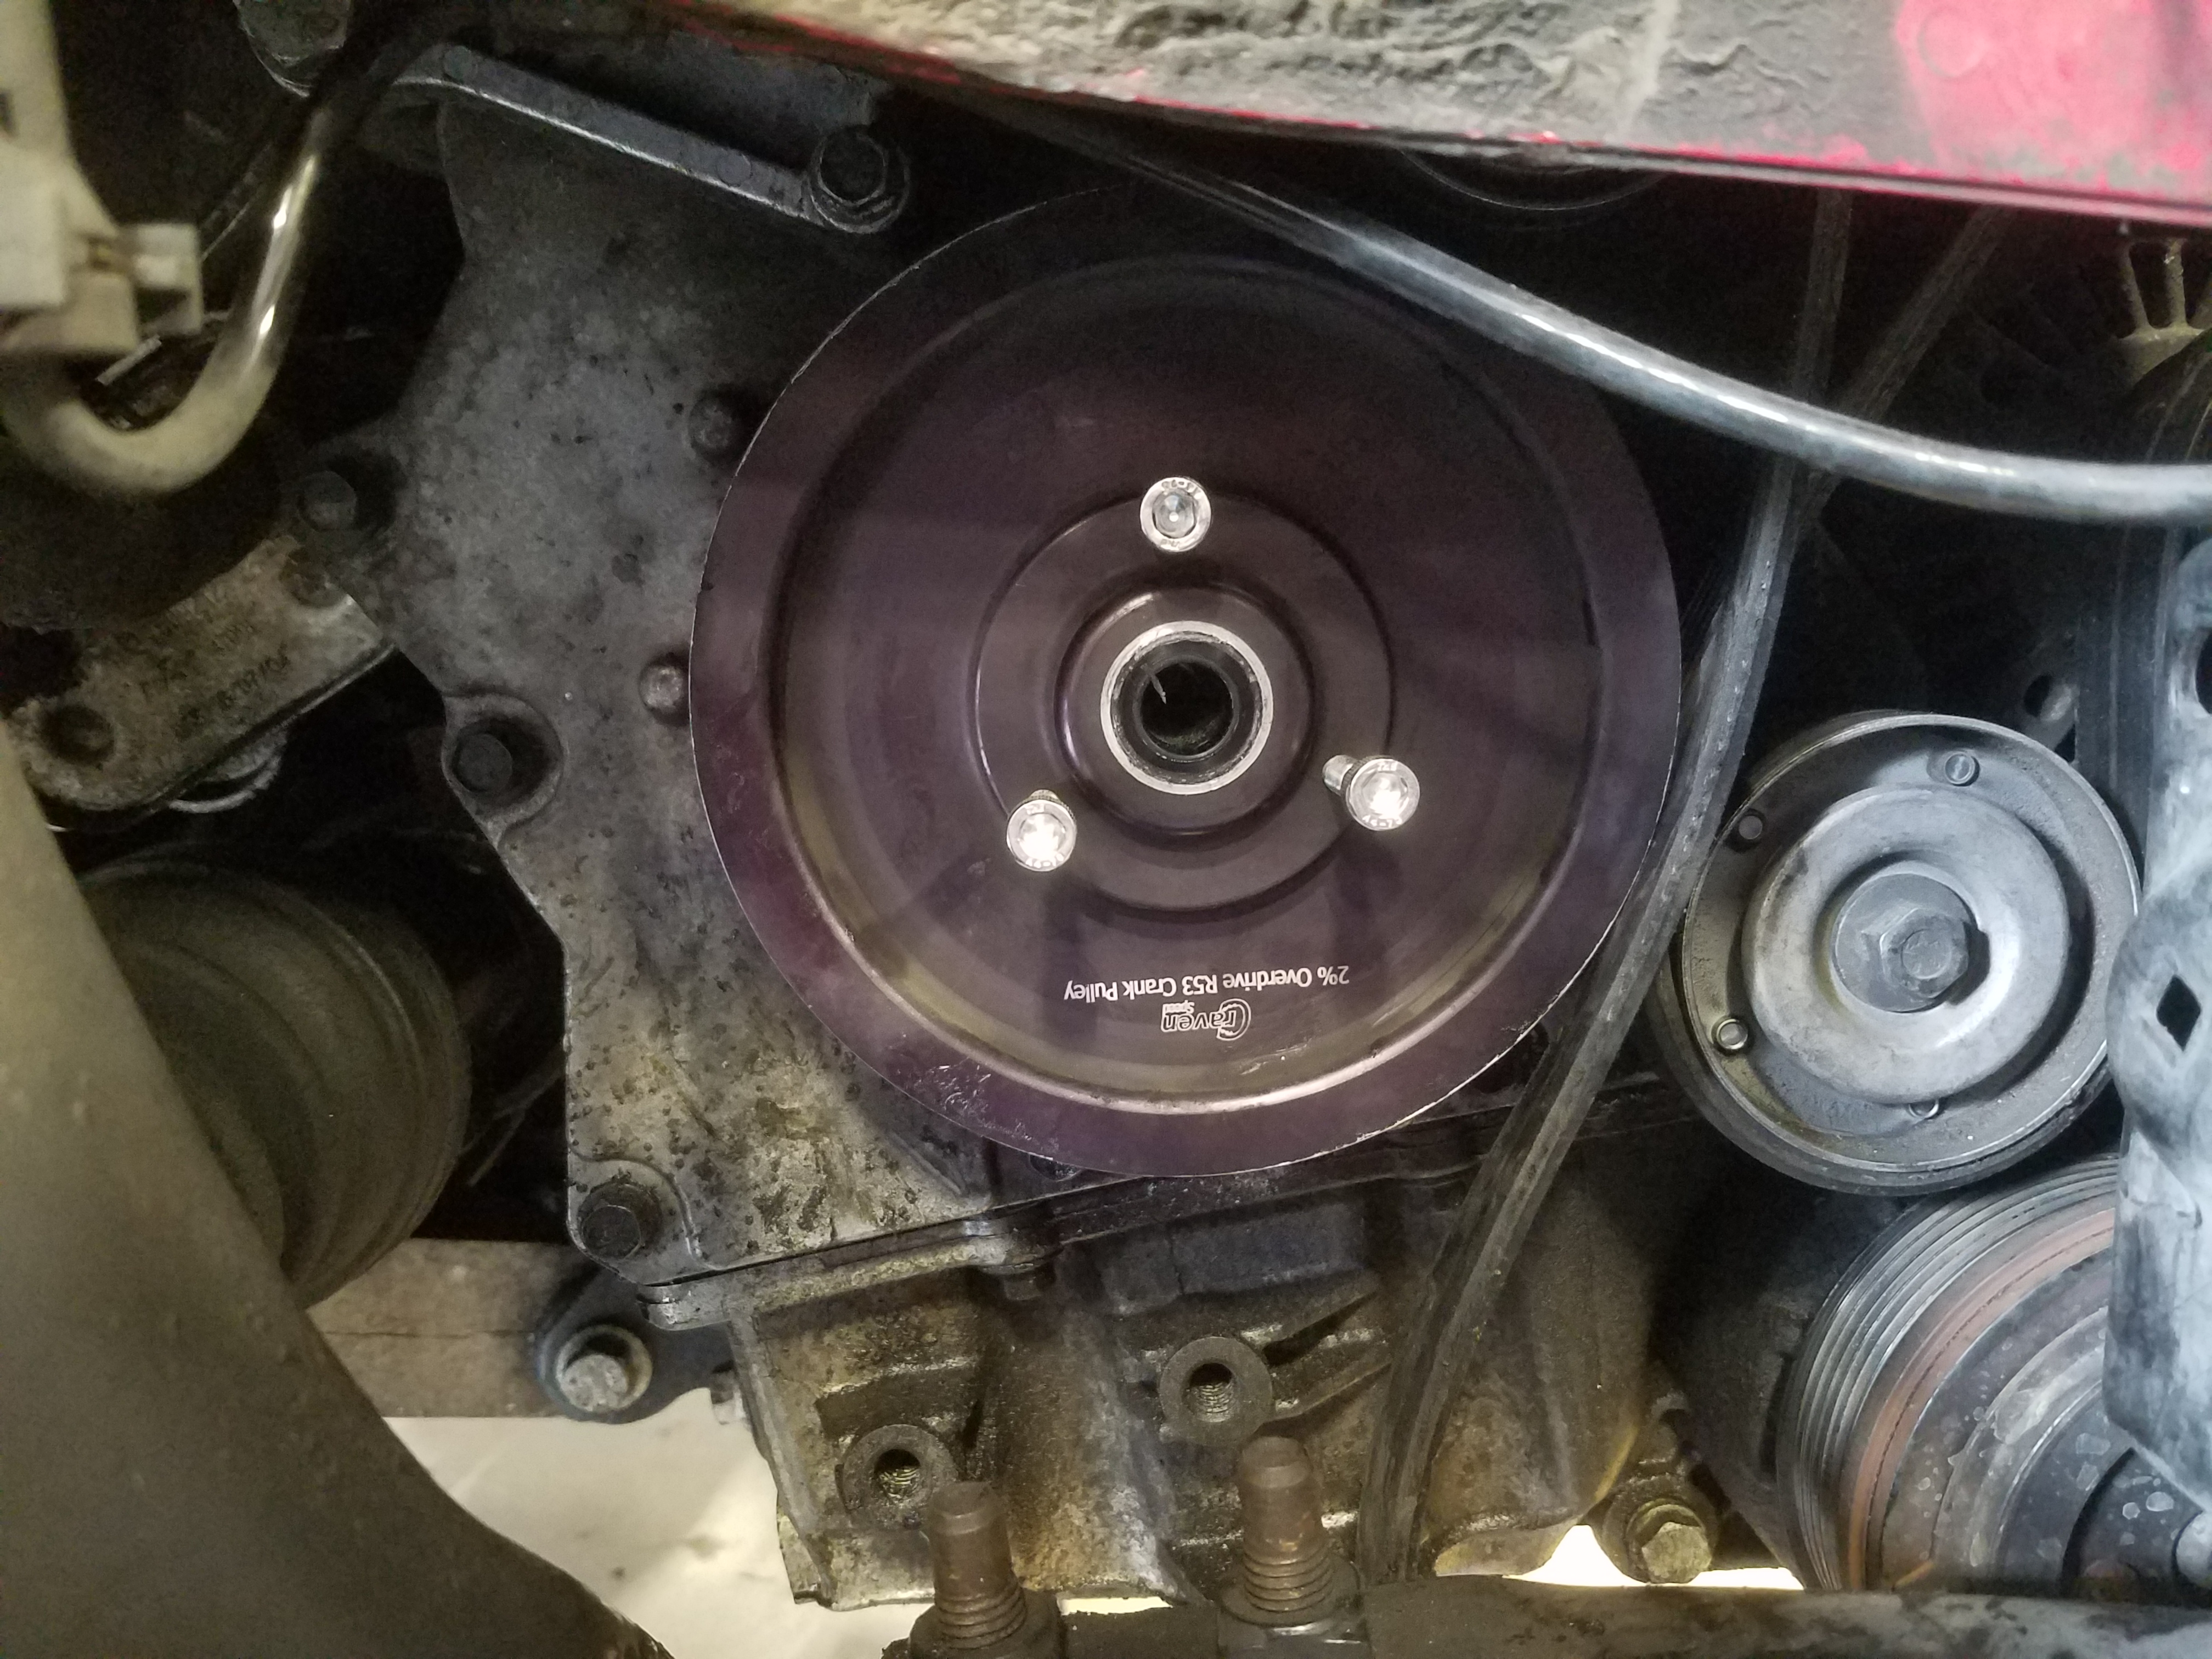
You should now have access to your crank pulley. We have one of our 2% aluminum pulleys installed on this vehicle.
Relieving Tension
- You will need to relieve tension on the belt before removing the crank pulley. To do this, you will need BMW tool 11 8 410.
- Place the two pins at the end of the tool into the tensioner and the pivot point of the wrench over the appropriate nearby bolt head.
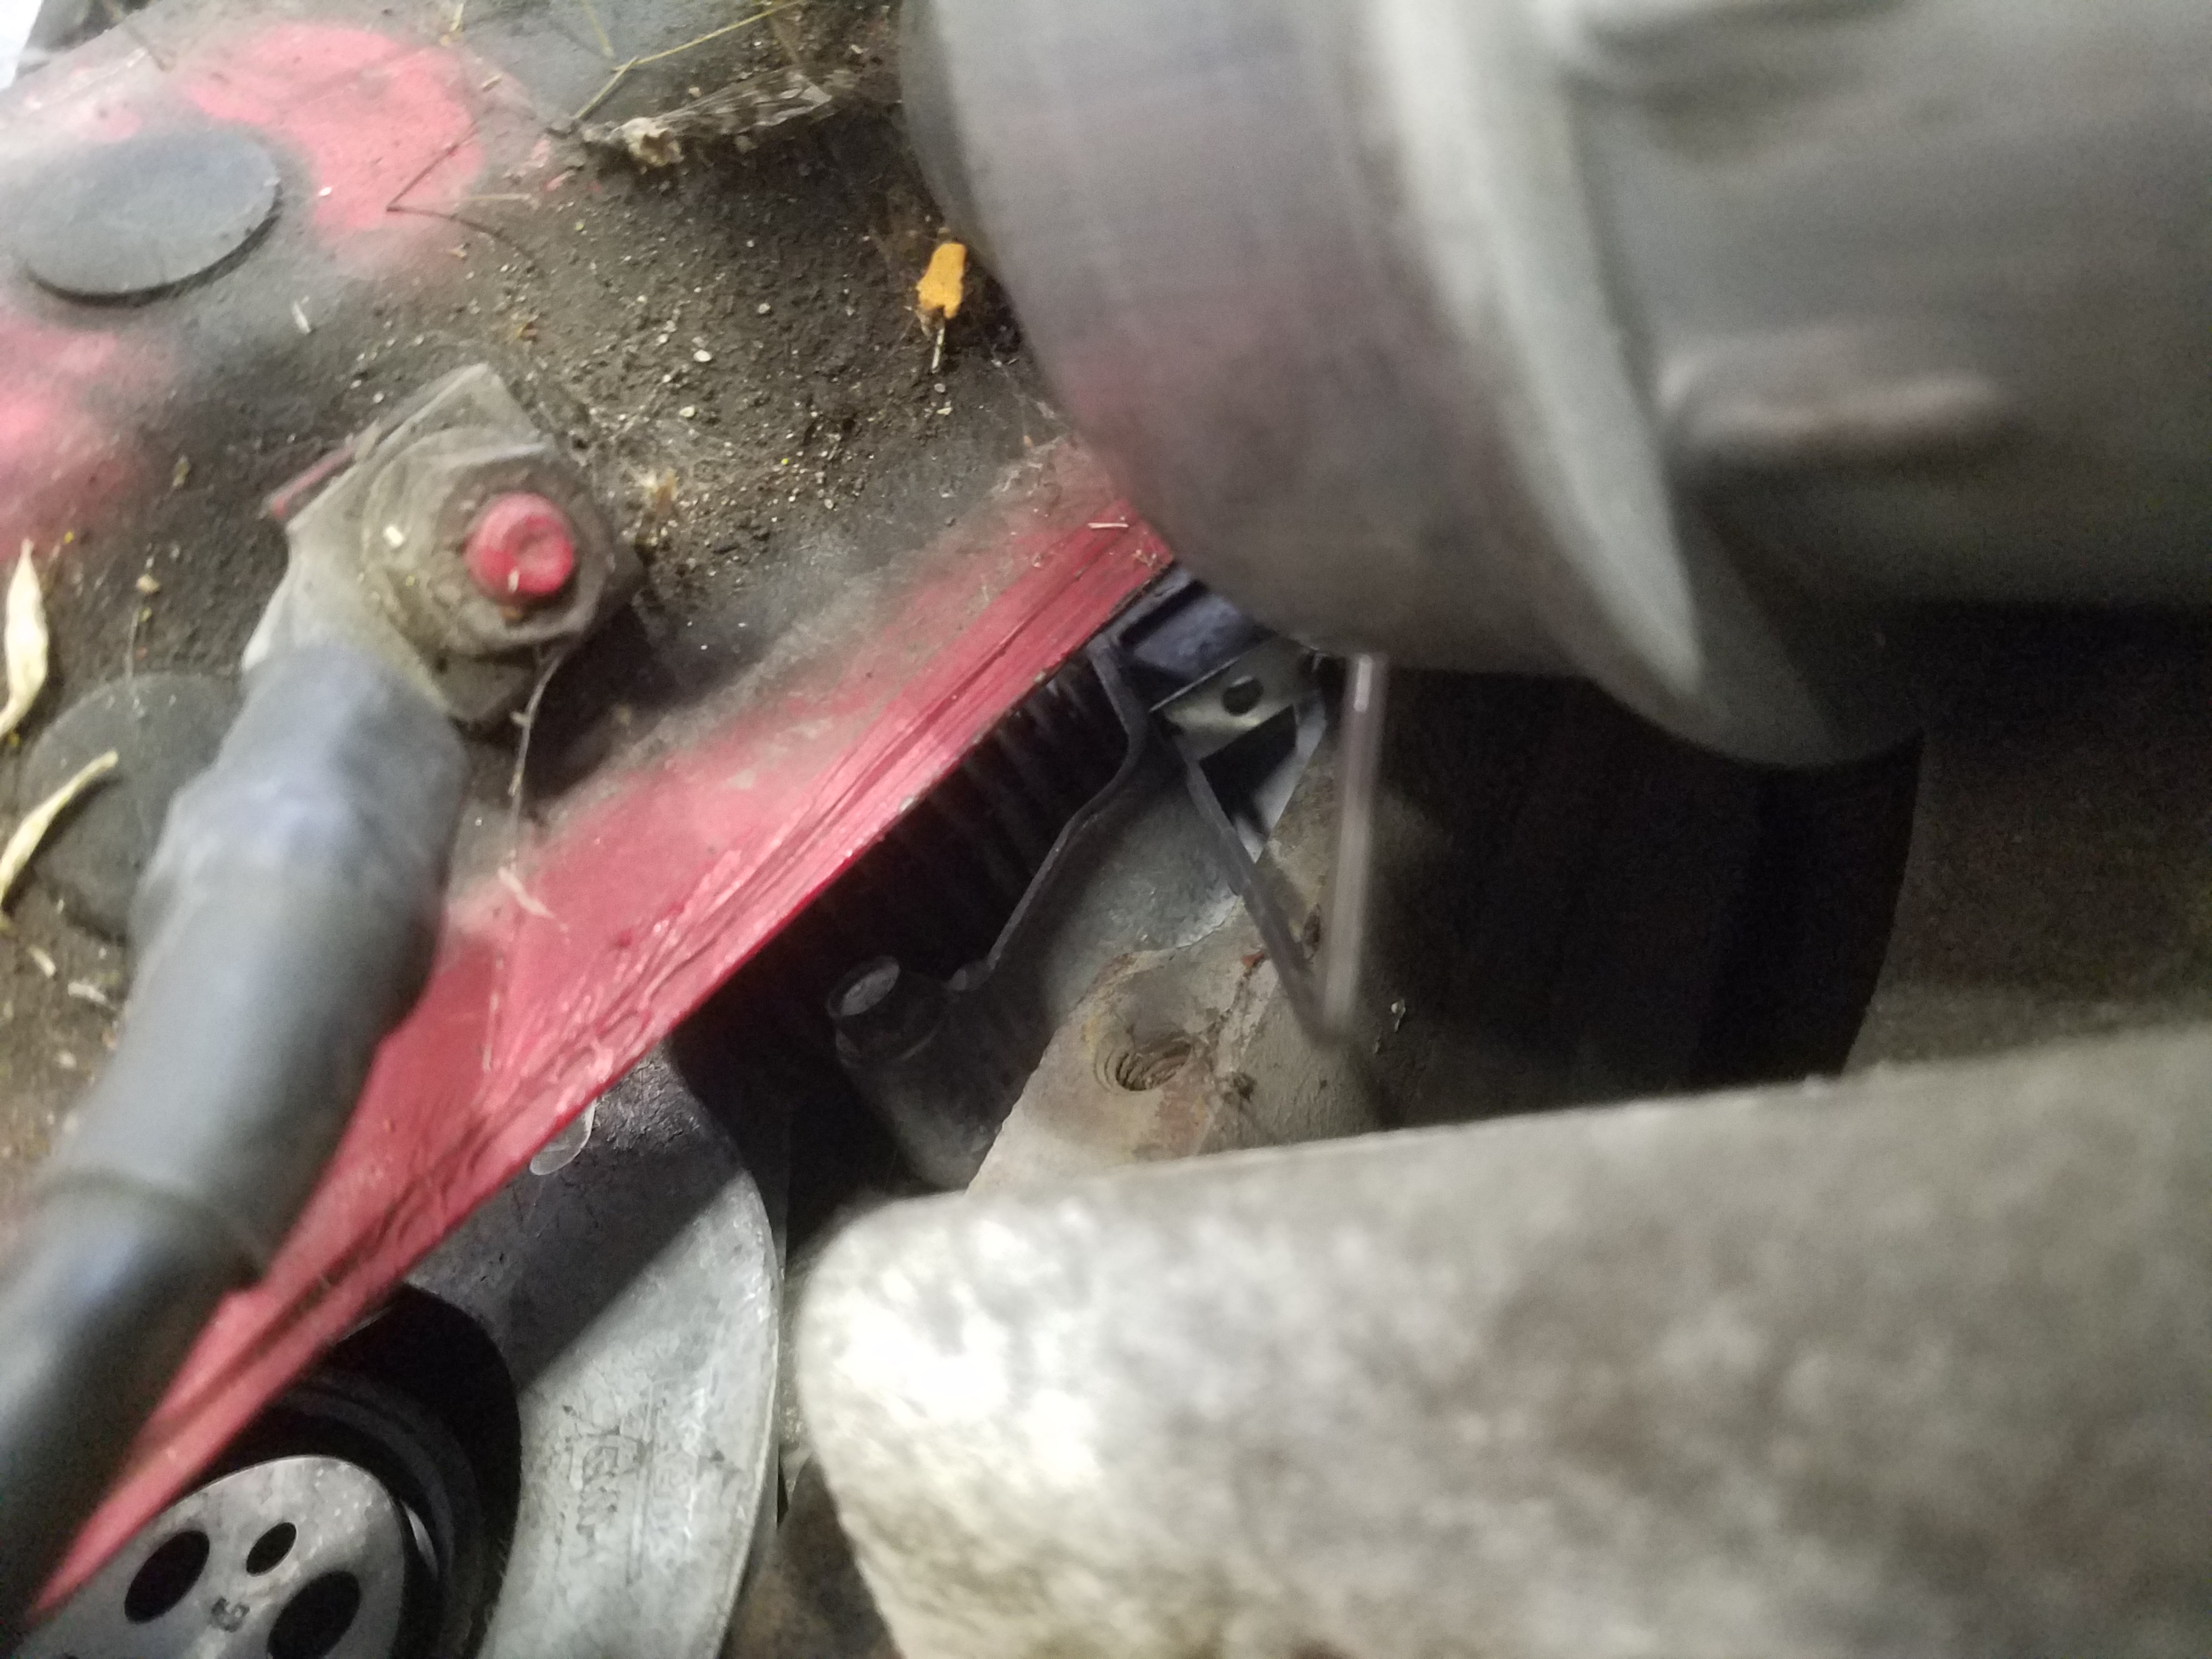
- Finally, using the tensioner lock pin or equivalent, lock the tensioner into the open position. We used a long allen wrench.
- With tension relieved, slip your drive belt off the crank pulley, and either tuck it out of the way or remove it completely.
Removing the Pulley
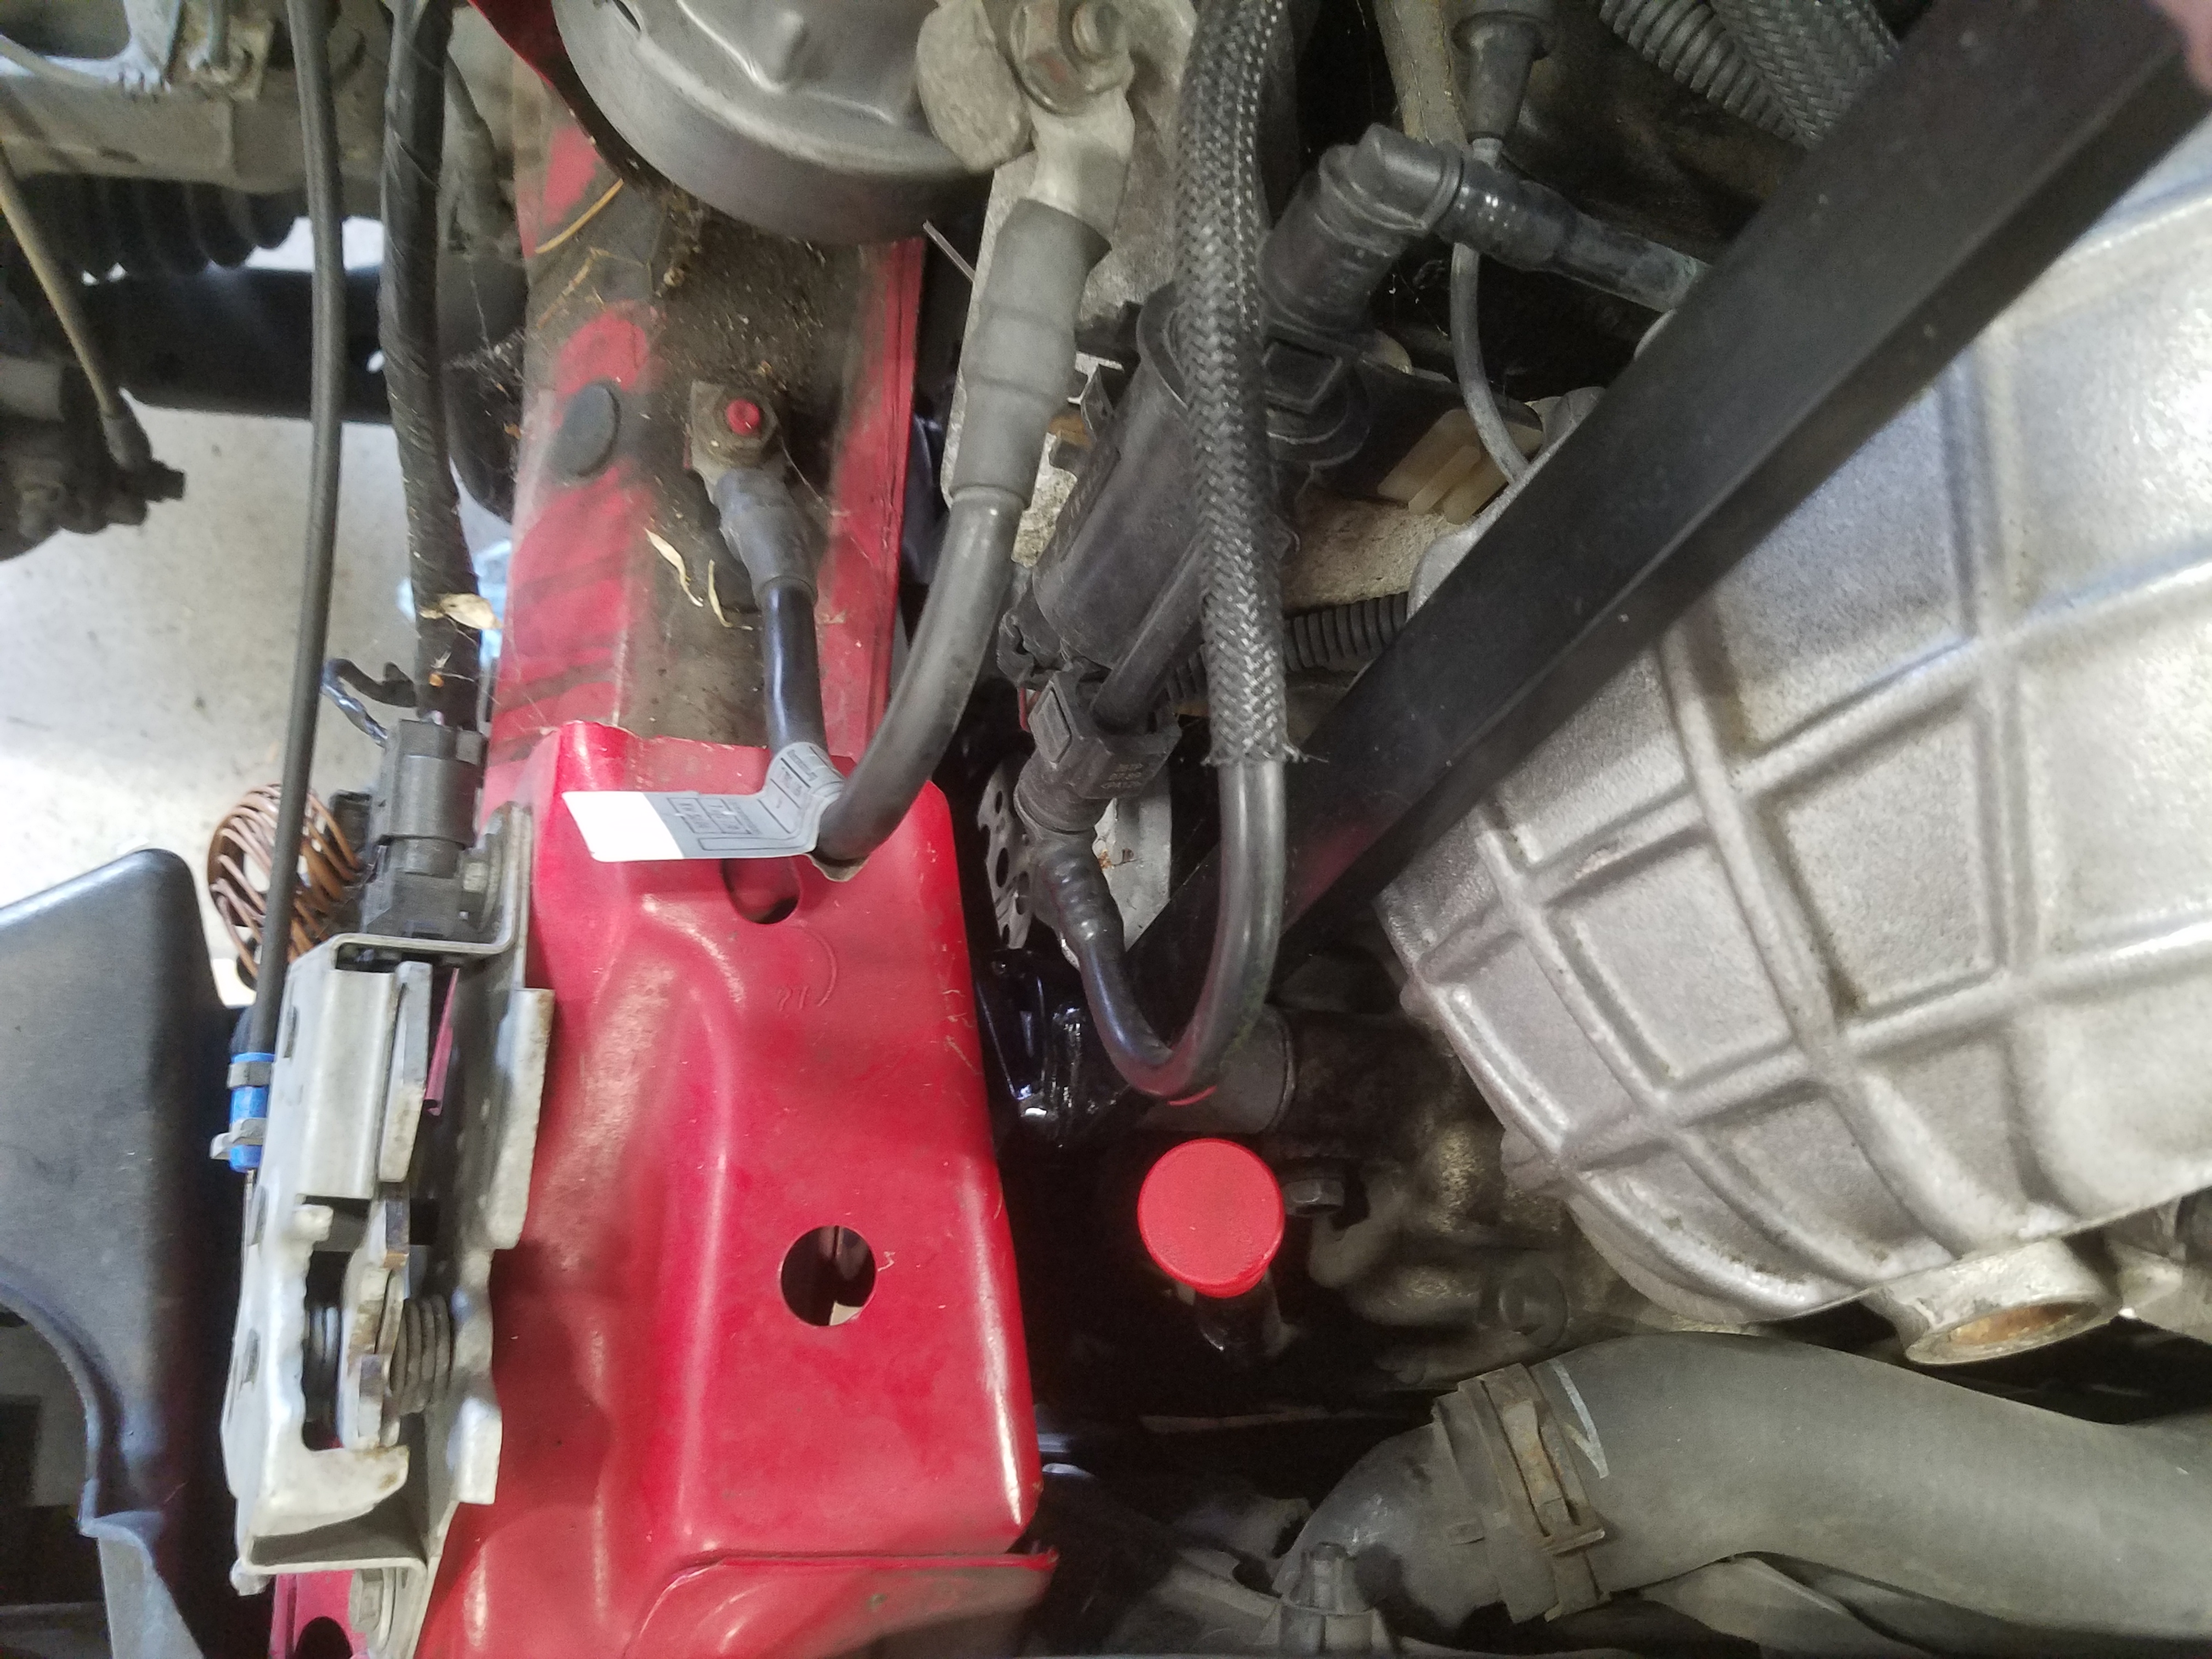
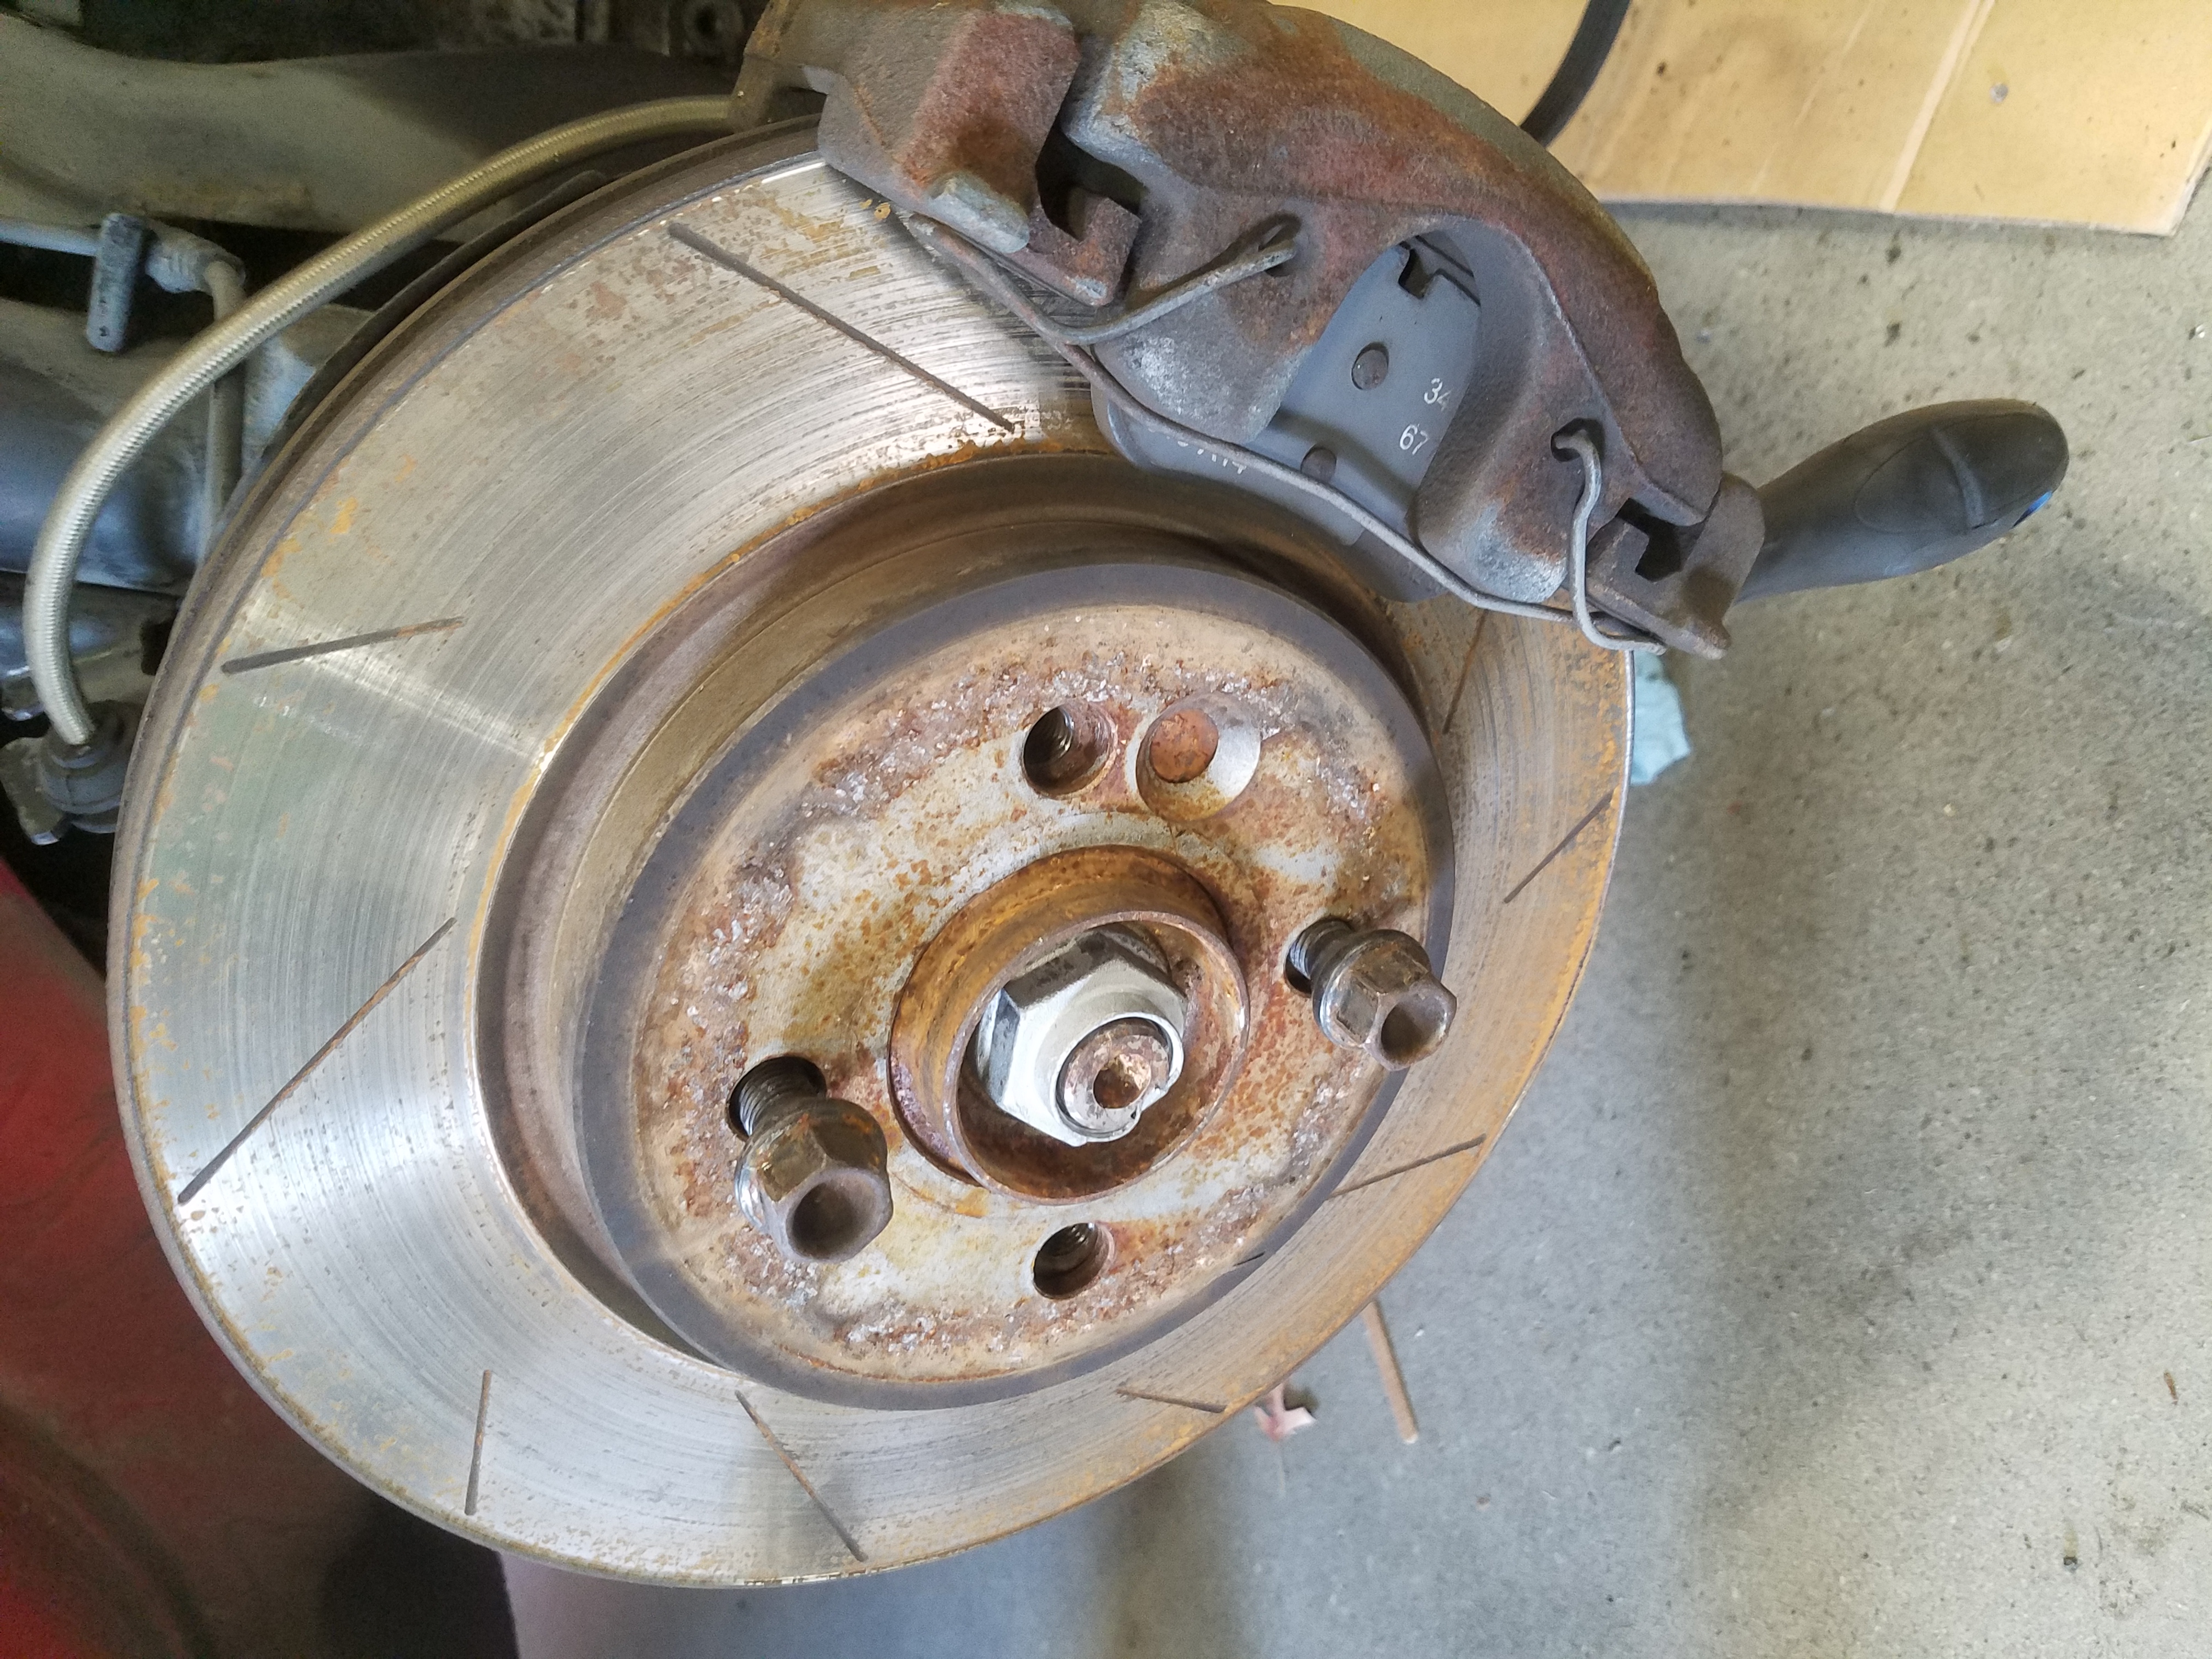
- With the car in 6th gear, place a screwdriver into each of the slotted rotors on the front of the vehicle.
- Then, using a breaker bar or impact, remove the pulley bolt.
- To remove a Cravenspeed pulley, insert three fully threaded M6 bolts @ 75mm length and tighten them in rotation to push the pulley off the crankshaft.
While it is highly recommended you use the BMW bolt remover tool in conjuntion with the 15mm socket to remove the pulley bolt, it is possible to get around this by doing the following:
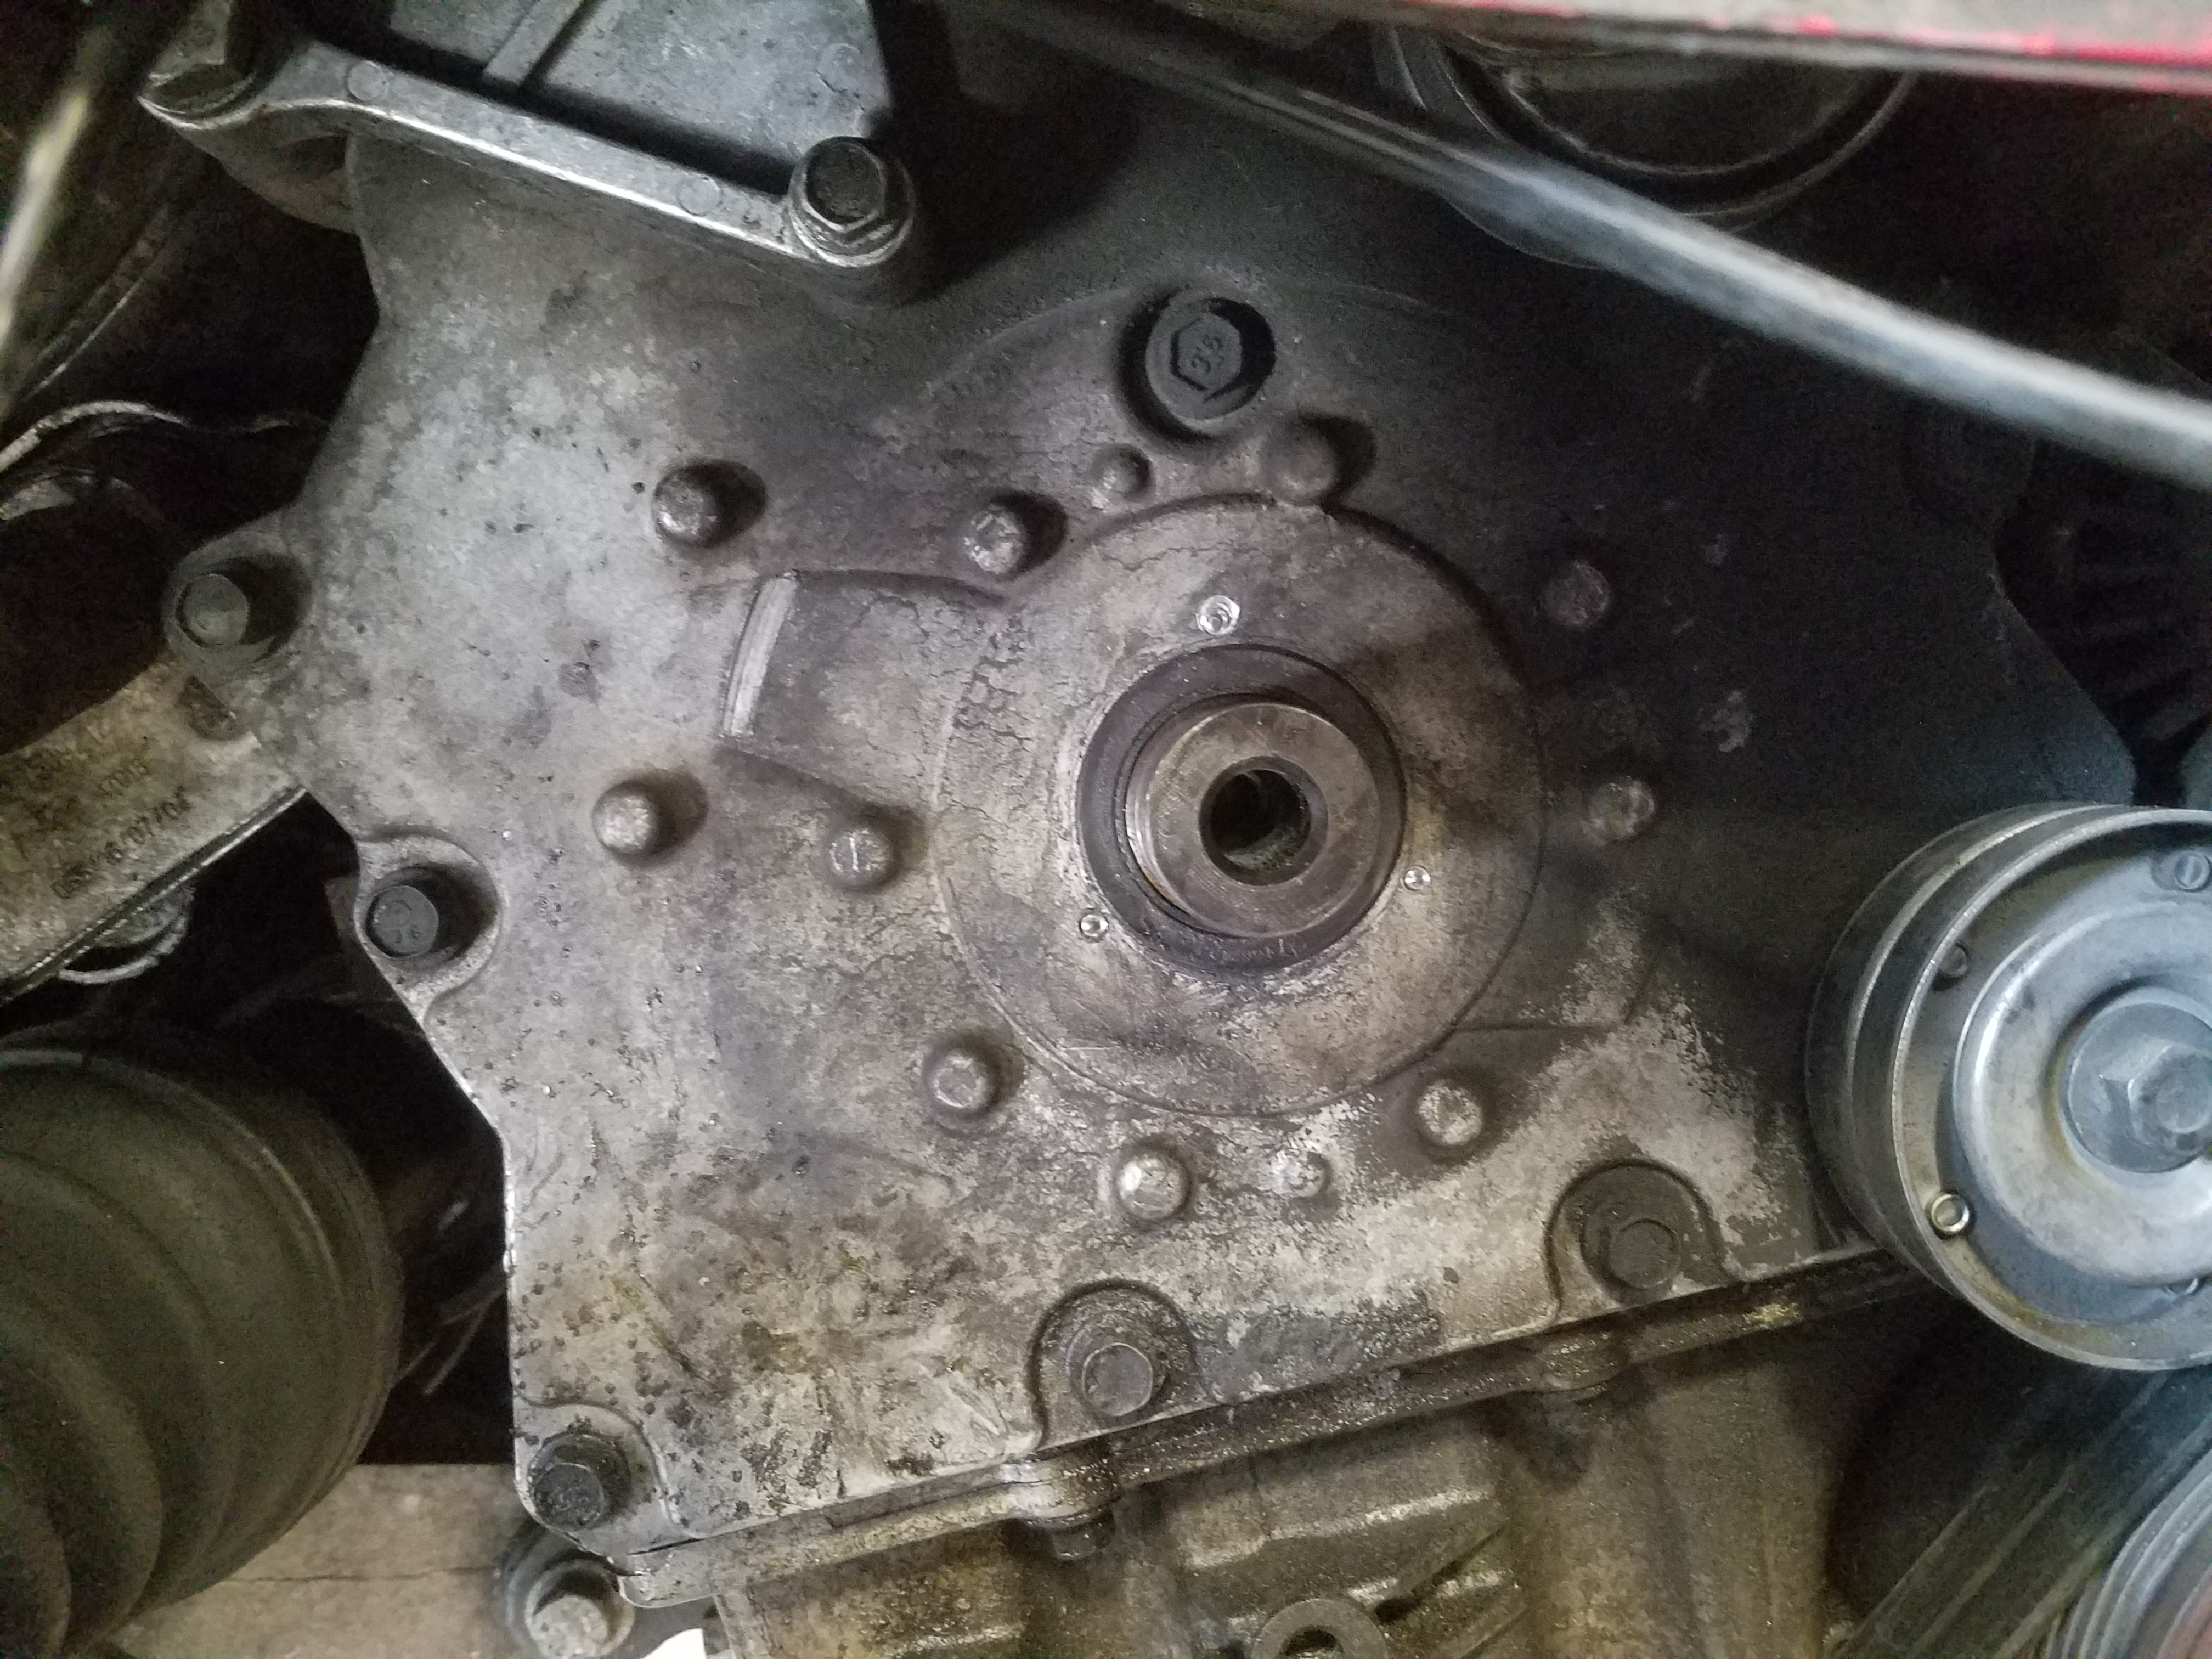
If you are removing the OEM pulley, it is necessary to use the BMW thread protector and pulley removal tool mentioned in the required tools list. Install the thread protector first, then use the pulley removal tool to back the pulley off the crankshaft. Finally remove the thread protector.
Installing the Pulley
- Using a butane torch, heat the lightweight pulley's central bore to 350-400 F (175-200 C)
- With a thick pair of gloves, place the heated pulley over the crankshaft and use a deadblow hammer to set it fully.
- Using a torque wrench, tighten your new bolt onto the pulley at 85 ft/lb (115 Nm)

Putting You Car Back Together!
- Now that this install is complete, it’s time to reverse this process and put everything back together. The first thing to do is place the drive belt back over the crank pulley.
- Use the BMW tensioner tool to remove the tensioner pin, and then place tension back on your drive belt, insuring the belt is seated correctly on all pulleys.
- Now you're able to replace your wheel well lining.
- With the lining in place, replace your wheels and loosely tighten the lug bolts.
- Lower your vehicle back to the ground, and then tighten the lug bolts with the torque wrench (set to 103 ft/lb (140 Nm)) and 17mm socket.
Congratulations… your MINI R53 Lightweight Crank Pulley install is complete! Happy Motoring