THANK YOUfor purchasing the R53 Single Gauge Kit (Oil PSI) from CravenSpeed. This product is made from the highest grade materials, and is guaranteed to be free from defects.
You can buy our CravenSpeed FlexPod Bracket Z for MINI Gen 1 here
Parts Included:
- 1x Oil Pressure Gauge
- Tapless Adapter
- 1x Gauge Cup
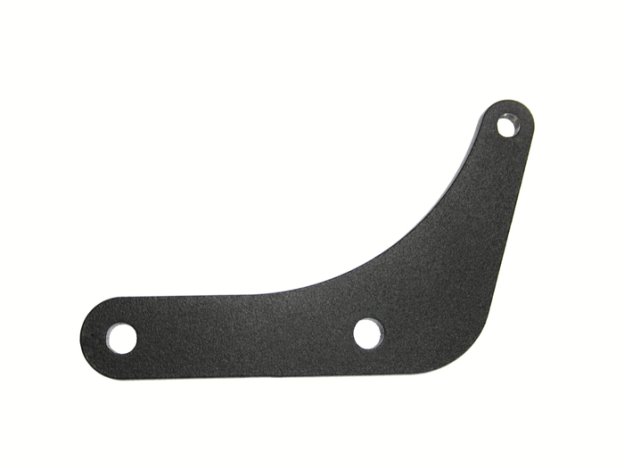
- 1x Bracket Z
- 2x Plastite Screws
- 2x Small Spacers
- 2x Washers
- 2x ¼-20 Bolts
- 1x Large Spacer
- 1x Plastic Plug
- 1x Back Plate (Crescent-Shaped)
- 3x Foam Rubber Pads
- 3x Posi-Tap Connectors
- 2ft Orange Wire
- 2ft Purple Wire
- 2ft Red Wire
- 4ft Black Wire
- 6ft Green Wire
Tools Required:
- T-25 Torx Driver
- 27mm Deep Well Socket
- 10mm Socket
- Socket and Adjustable Wrench
- Teflon Tape or Thread Sealant
- Zip Ties
- Awl (or similar sharp implement))
- 3/16" Allen Wrench
- Phillips Screwdriver
- Wire Stripper
- Utility Knife or Scissors
Procedure
NOTE: The following instructions show the installation onto a "Chrono Package" equipped MINI, however the procedure is the same for MINIs equipped with the single tach dial gauge.
***PLEASE NOTE*** For the final portion of this installation procedure, it is extremely important that the engine is cool as we will be coming into contact with engine oil.
It is also a good habit to disconnect the negative (-) battery terminal while working around the electrical system of your MINI, so grab your trusty 10mm socket and do this now. For your Gen1 MINI, the battery will be located in the boot (trunk).
- Utilizing a T-25 Torx driver, remove the factory mounting screws from behind tach/speedometer unit. Press the release button on the green wiring harness to detach it from the back of the unit and lift it off the steering column. Keep the factory T-25 Torx screws as you'll need them for the re-installation.
- Using your Philips head screwdriver, remove the two factory screws from the back of the tachometer or the two from the back of the speedometer (If you have the Chrono Package and want to mount your device on that side).
- Set the two plastic spacers into the holes where the screws were and secure the mounting bracket with the included washers and Plastite screws. Do not over tighten and risk stripping out the threads of the housing.
- Re-connect the wiring harness onto the back of the gauge unit and set it onto the steering column. Re-install and tighten the factory T-25 Torx screws to finish the job.
- Attach gauge cup to mounting hole in bracket using a ¼-20 Bolt and adjust to desired height. Use the large spacer if desired and finish the gauge cup installation by fitting the included plastic plug to hide the mounting screw.
- Insert gauge, allowing the studs on the back to fit through the holes in the crescent-shaped back plate. Orient the opening of the back plate so that your gauge wires are guided in the proper direction. Tighten the thumb nuts included with your gauge onto the gauge studs. Trim their length if necessary.
- For gauges that do not have mounting studs, you may use one of the included foam rubber pads to create a resistance fit between the gauge and the cup. Begin by applying one the foam rubber pads to the inside mid-point of the gauge cup and slowly, but firmly insert your gauge. If it is not tight enough, add a second or third foam rubber pad.
- Moving on to the final stretch of this installation procedure, you'll need to locate the stock oil pressure sensor that is located underneath and slightly to the right of the oil filter in the engine compartment. Remove the red plastic locking tab/clip from the wiring plug and disconnect the plug.
- Utilize a 27mm deep well socket and remove the OEM oil pressure sensor then temporarily set it aside as you'll be reinstalling it onto the end of the tapless adapter. There’s not a lot of room to perform this step, so you may need to experiment with a few different tool configurations to successfully remove the sensor.
- Clean any residual oil off of the OEM oil pressure sensor and then apply some thread sealant or Teflon tape to its threads. Install the OEM oil pressure sensor onto the end of the CravenSpeed Tapless Oil Adapter and then apply some thread sealant/teflon tape to the threads of the CravenSpeed Tapless Oil Adapter.
- Install this assembly back into the oil pressure sensor port on the engine block and tighten with your preferred method. Reconnect the sensors wiring plug.
- Take the oil pressure sending unit that was included with your gauge (if applicable), and apply thread sealant to its threads, then Install it into the ⅛ NPT port on the side of the CravenSpeed Tapless Oil Adapter and tighten with an adjustable wrench.
- Taking note of the terminal markings, attach your sender signal wire (green, provided in kit) and ground wire (black, provided in kit) to the oil pressure sending unit. Feel free to connect the ground wire to the closest nut or bolt that is grounded to the vehicles frame and then strategically route the green signal wire along existing wires or tubes until you end up at the firewall plug behind the brake booster. Zip-tie the wires into place as you go so that they are kept away from any hot or rotating components in the engine compartment.
- Utilize a sharp tool such as an awl to poke a hole through the rubber firewall plug, being careful that you do not damage anything on the interior side behind the dashboard.
- Back inside the car, the firewall entry point can be accessed by dropping the drivers side lower dash panel. Place your fingers in the gap under steering column and pull/push down. This will detach the lower panel along the top and it will pivot down on hinges.
- Utilize a flashlight and look up into the dash to locate the green signal wire that should now be passing through the firewall. Carefully pull the wire through, being mindful of leaving a bit of slack in it. It helps to have an assistant let you know when you’ve pulled enough of the wire through.
- Proceed with the wiring installation instructions enclosed with your gauges. When you’ve finished with the gauges, reconnect the negative (-) battery terminal and check their functionality. While running the engine, take a look at the installation area of the CravenSpeed Tapless Oil Adapter to ensure there are no oil leaks. If you’re good to go, tidy up and take it for a spin! You’re done!


