THANK YOU for purchasing the RAM Door Lock Plunger Delete Kit from CravenSpeed. This product is made from the highest grade materials and is guaranteed to be free from defects.
Parts Included:
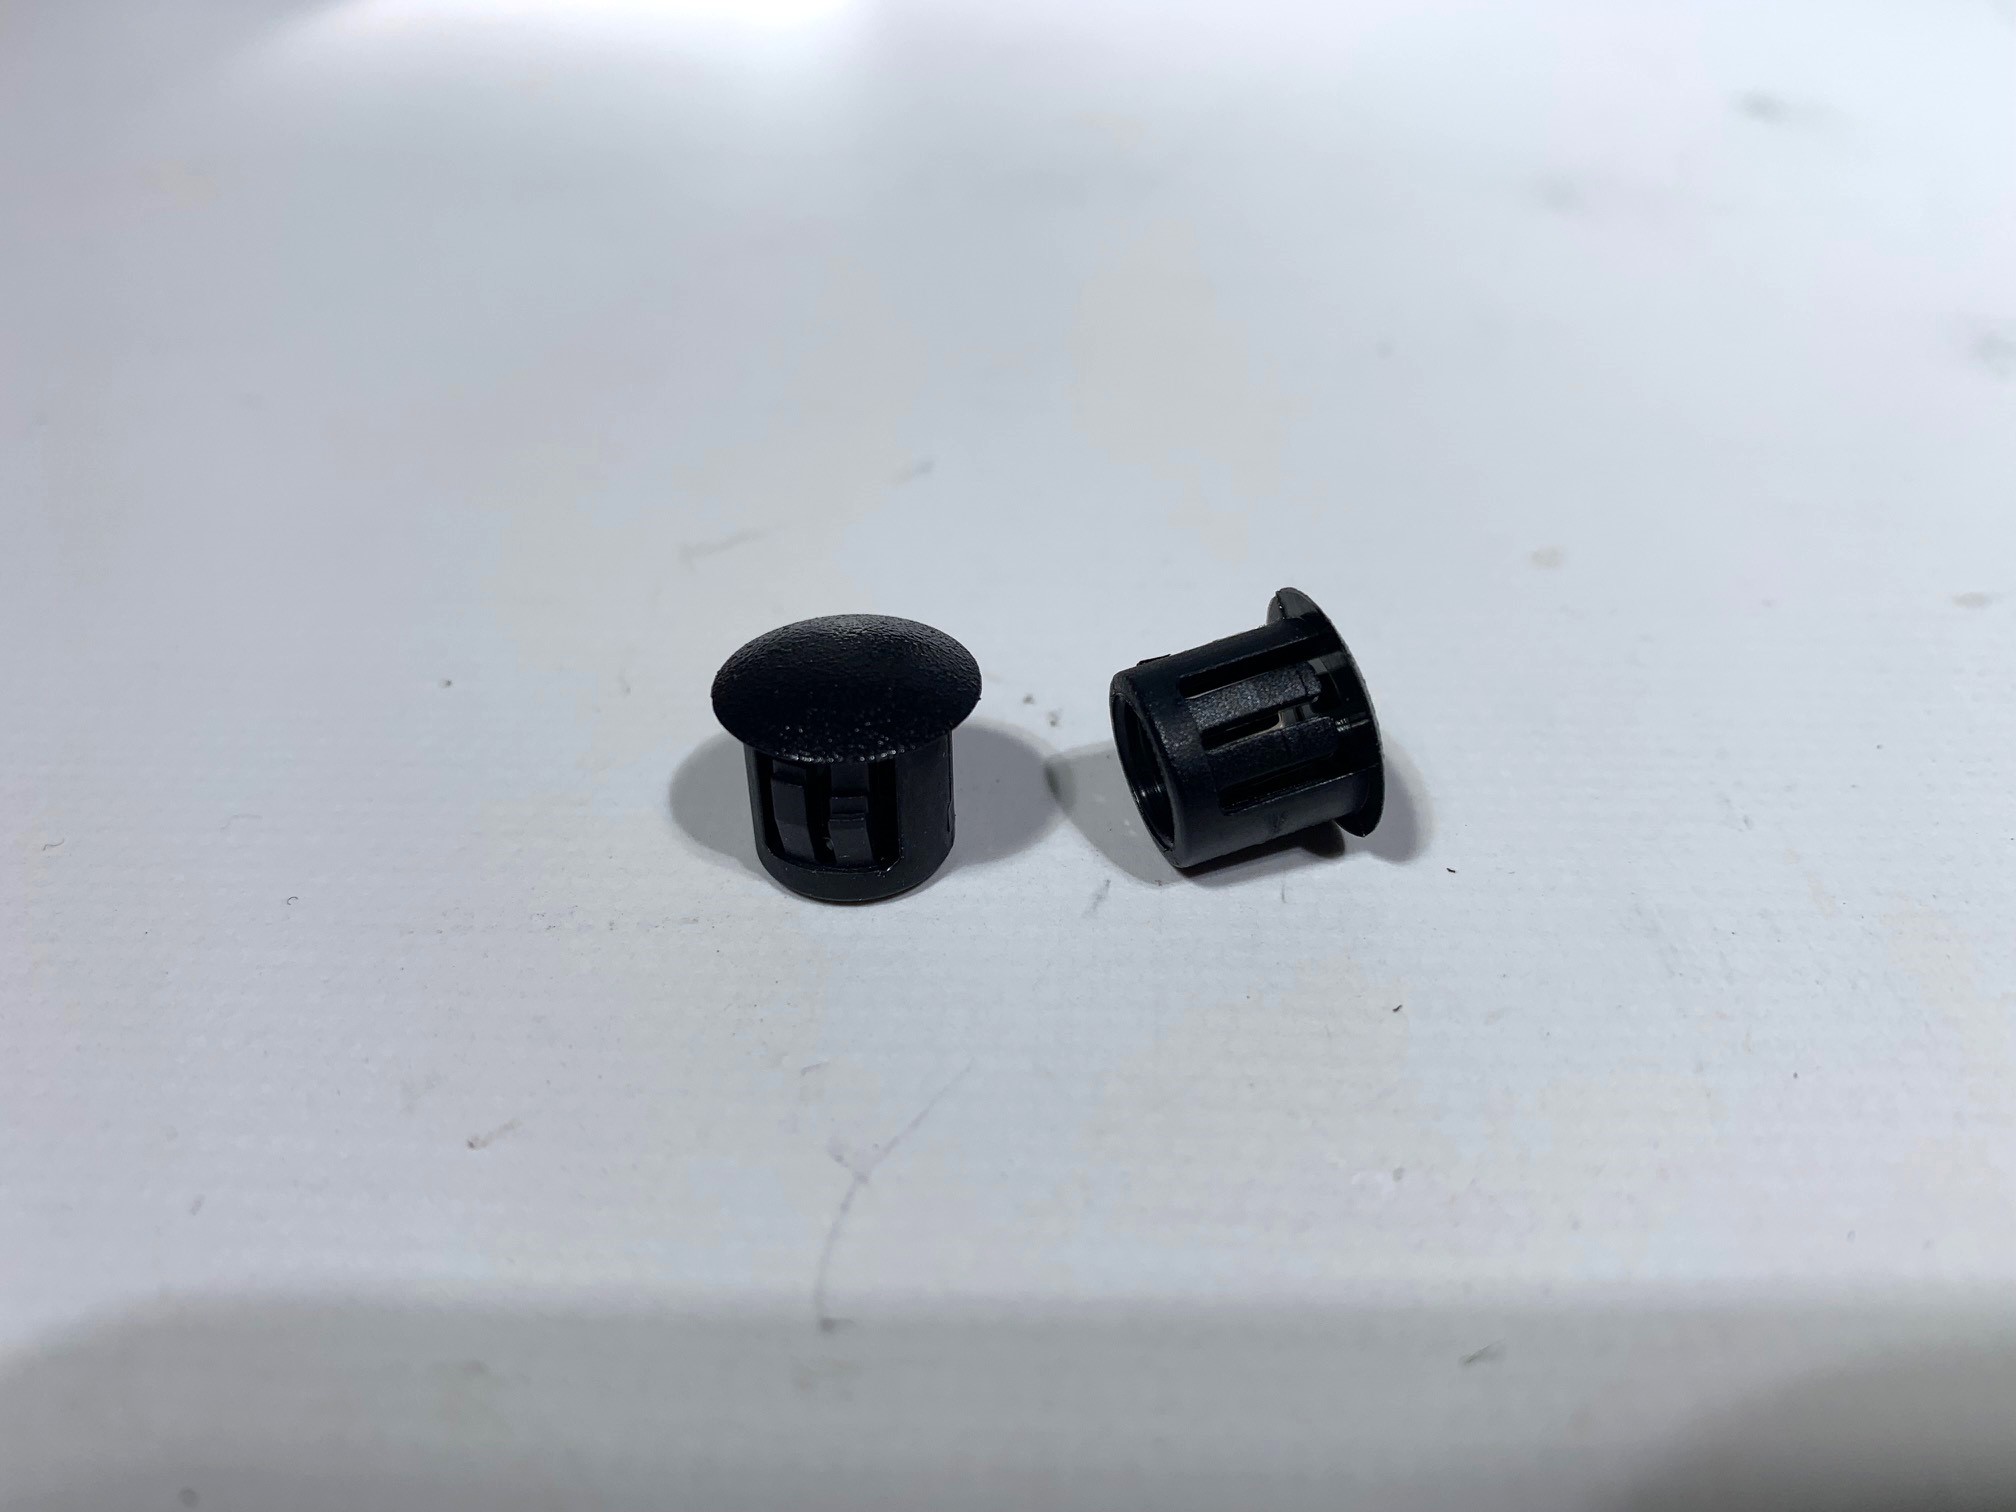
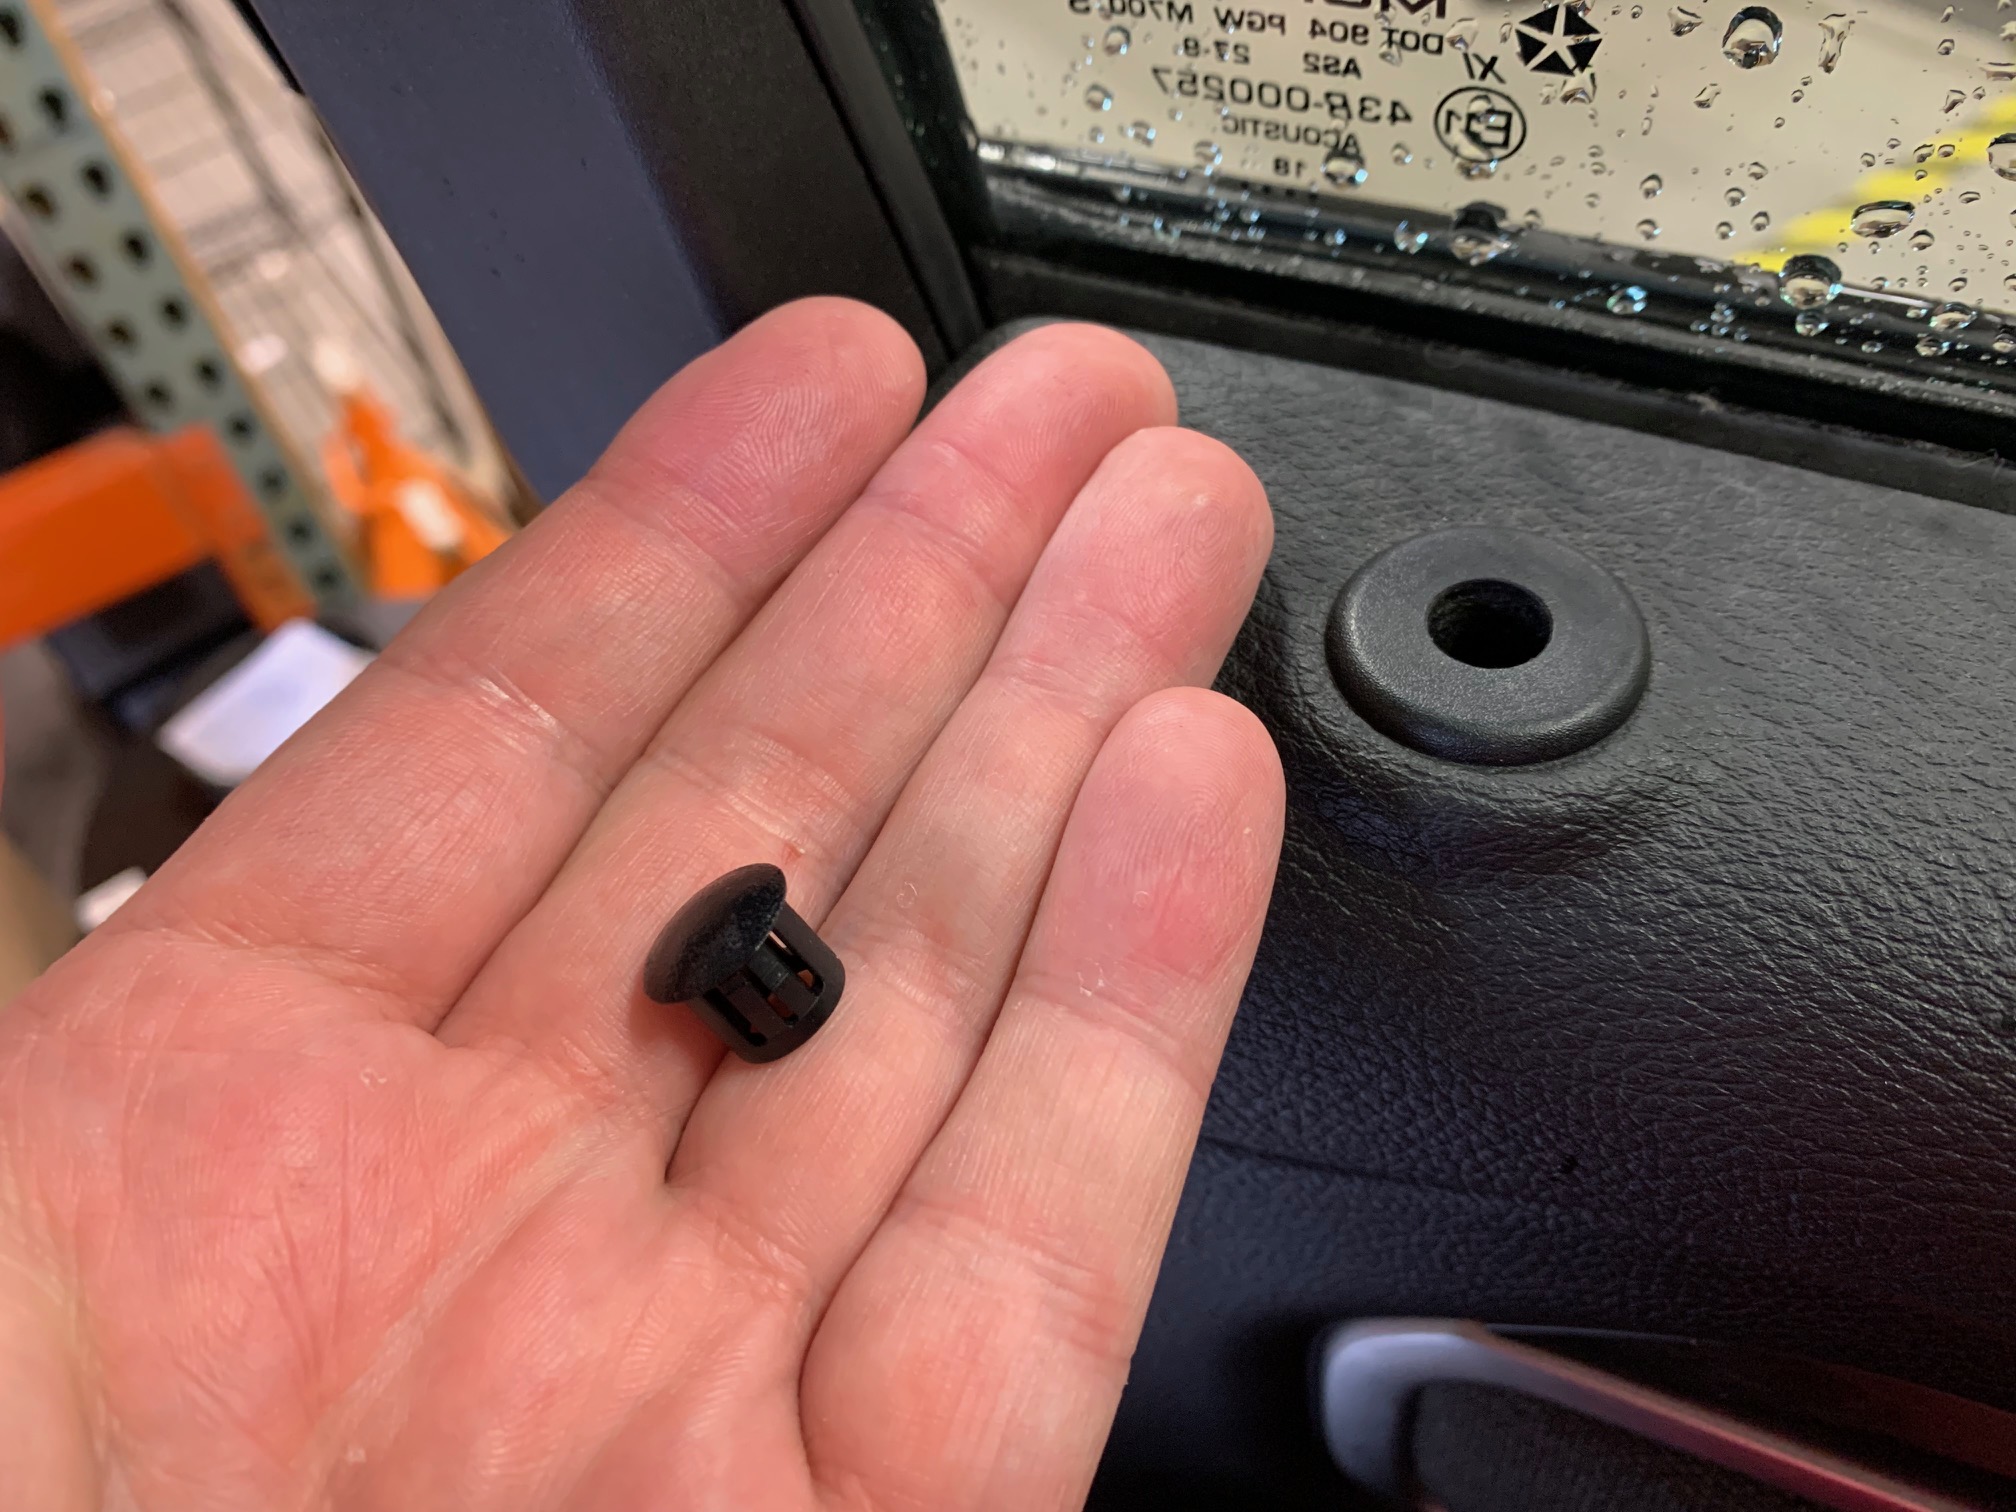
- 2x Plastic Caps
Procedure
- Gather Your Materials: Make sure you have the plastic caps at the ready. Check!
- Preparing the Work Area: Park your truck in a well-lit and safe area.
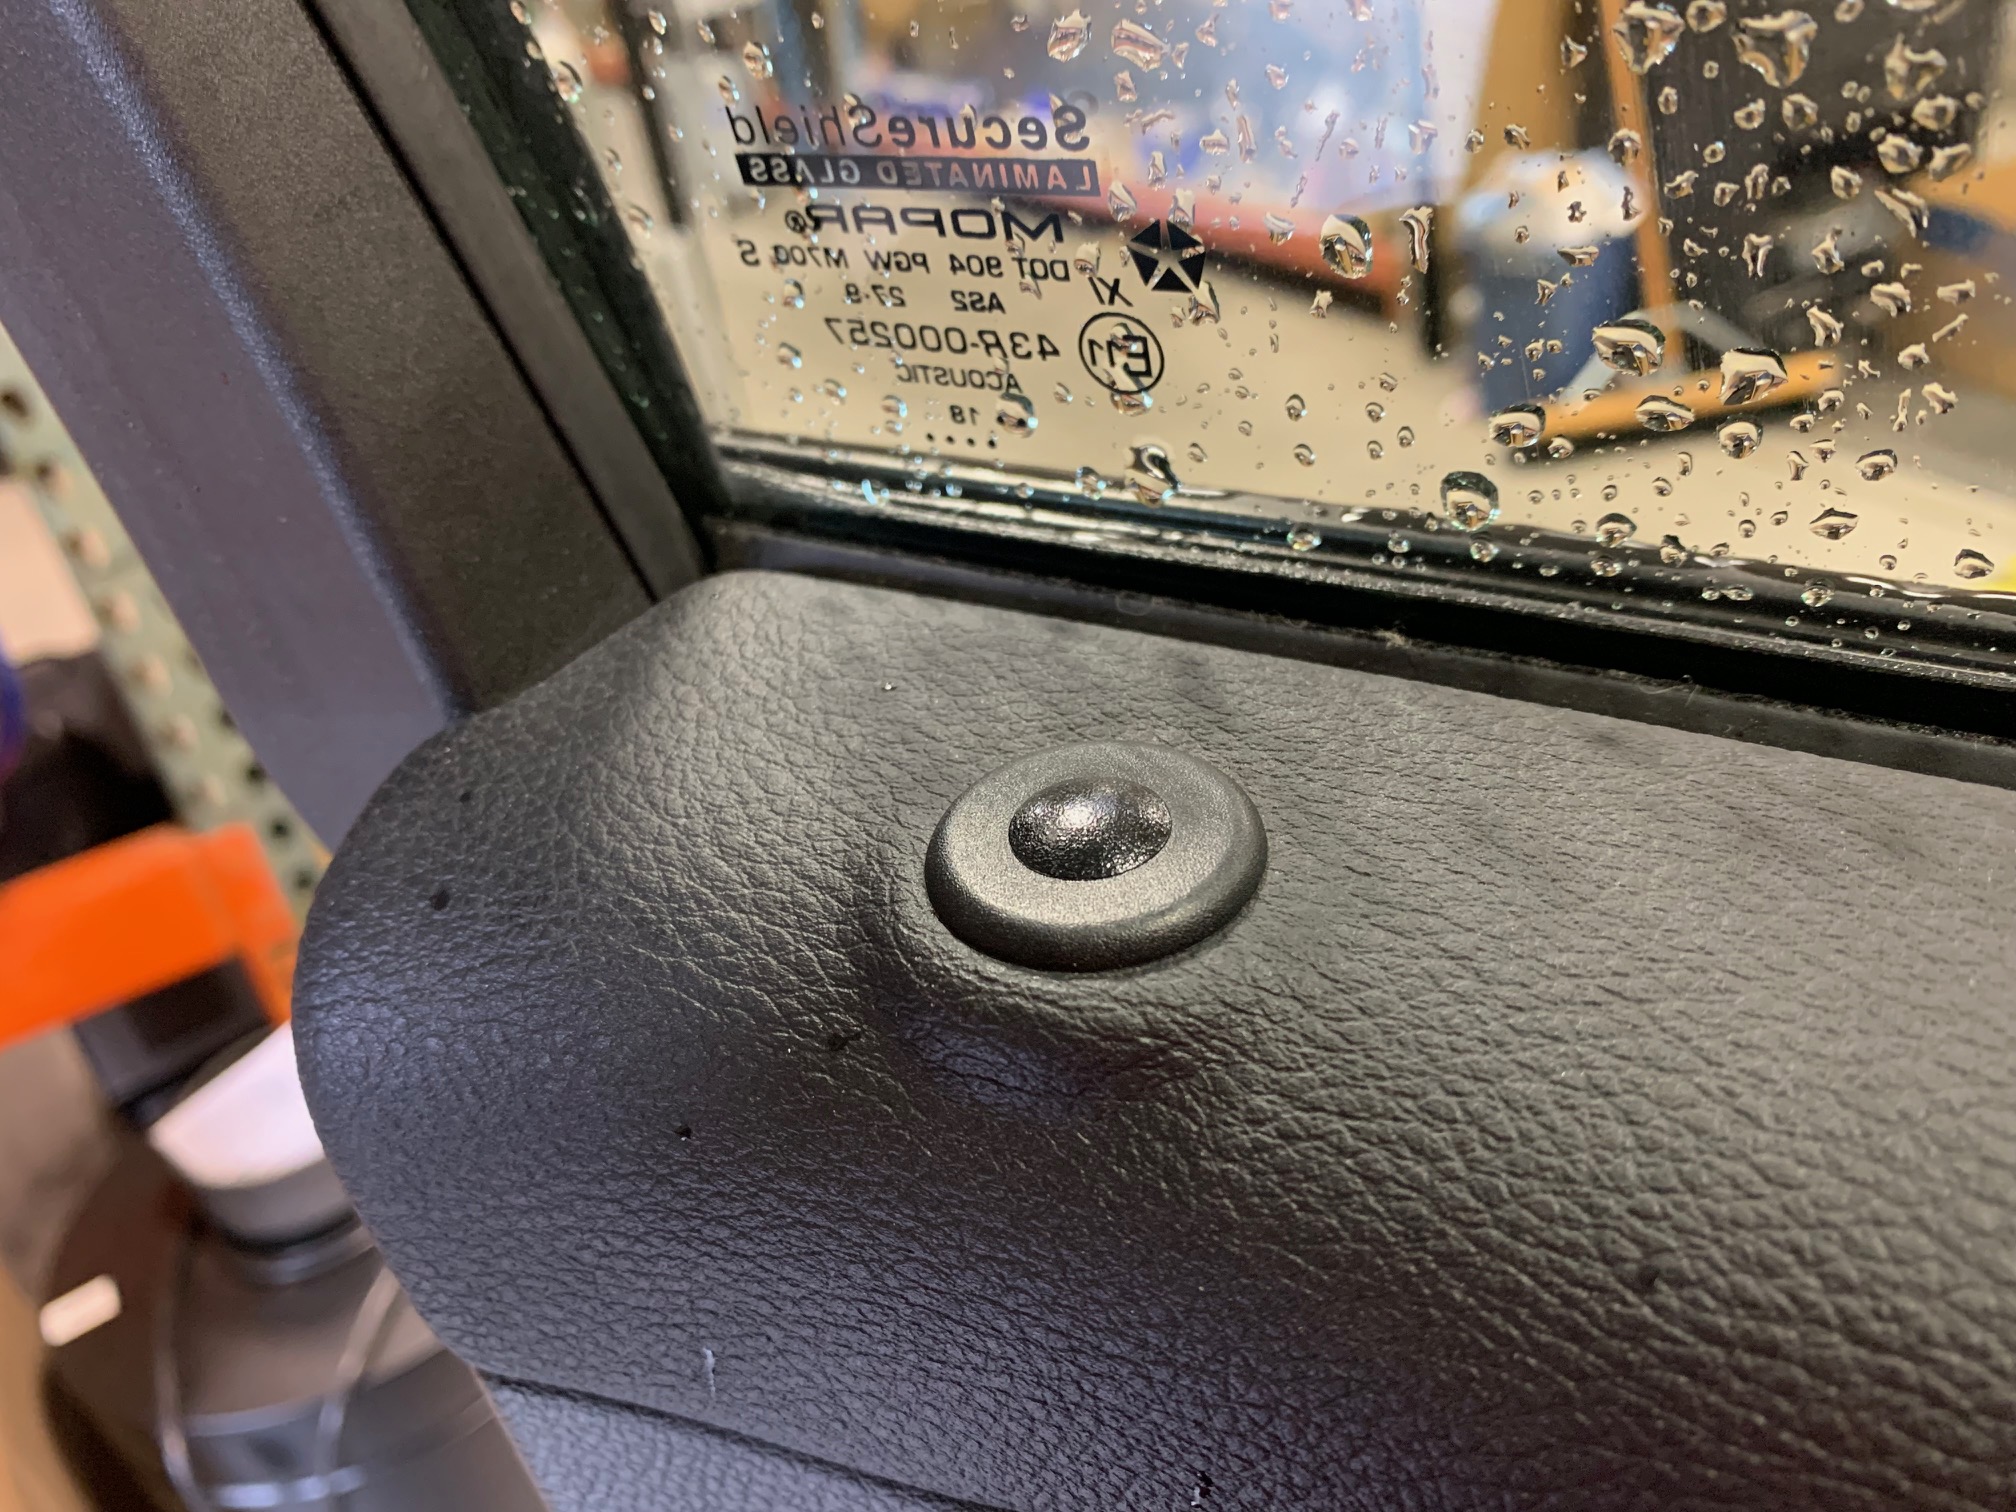
- Identify the Door Lock Plungers: You know where they are as you wouldn't be removing them if they weren't an issue.
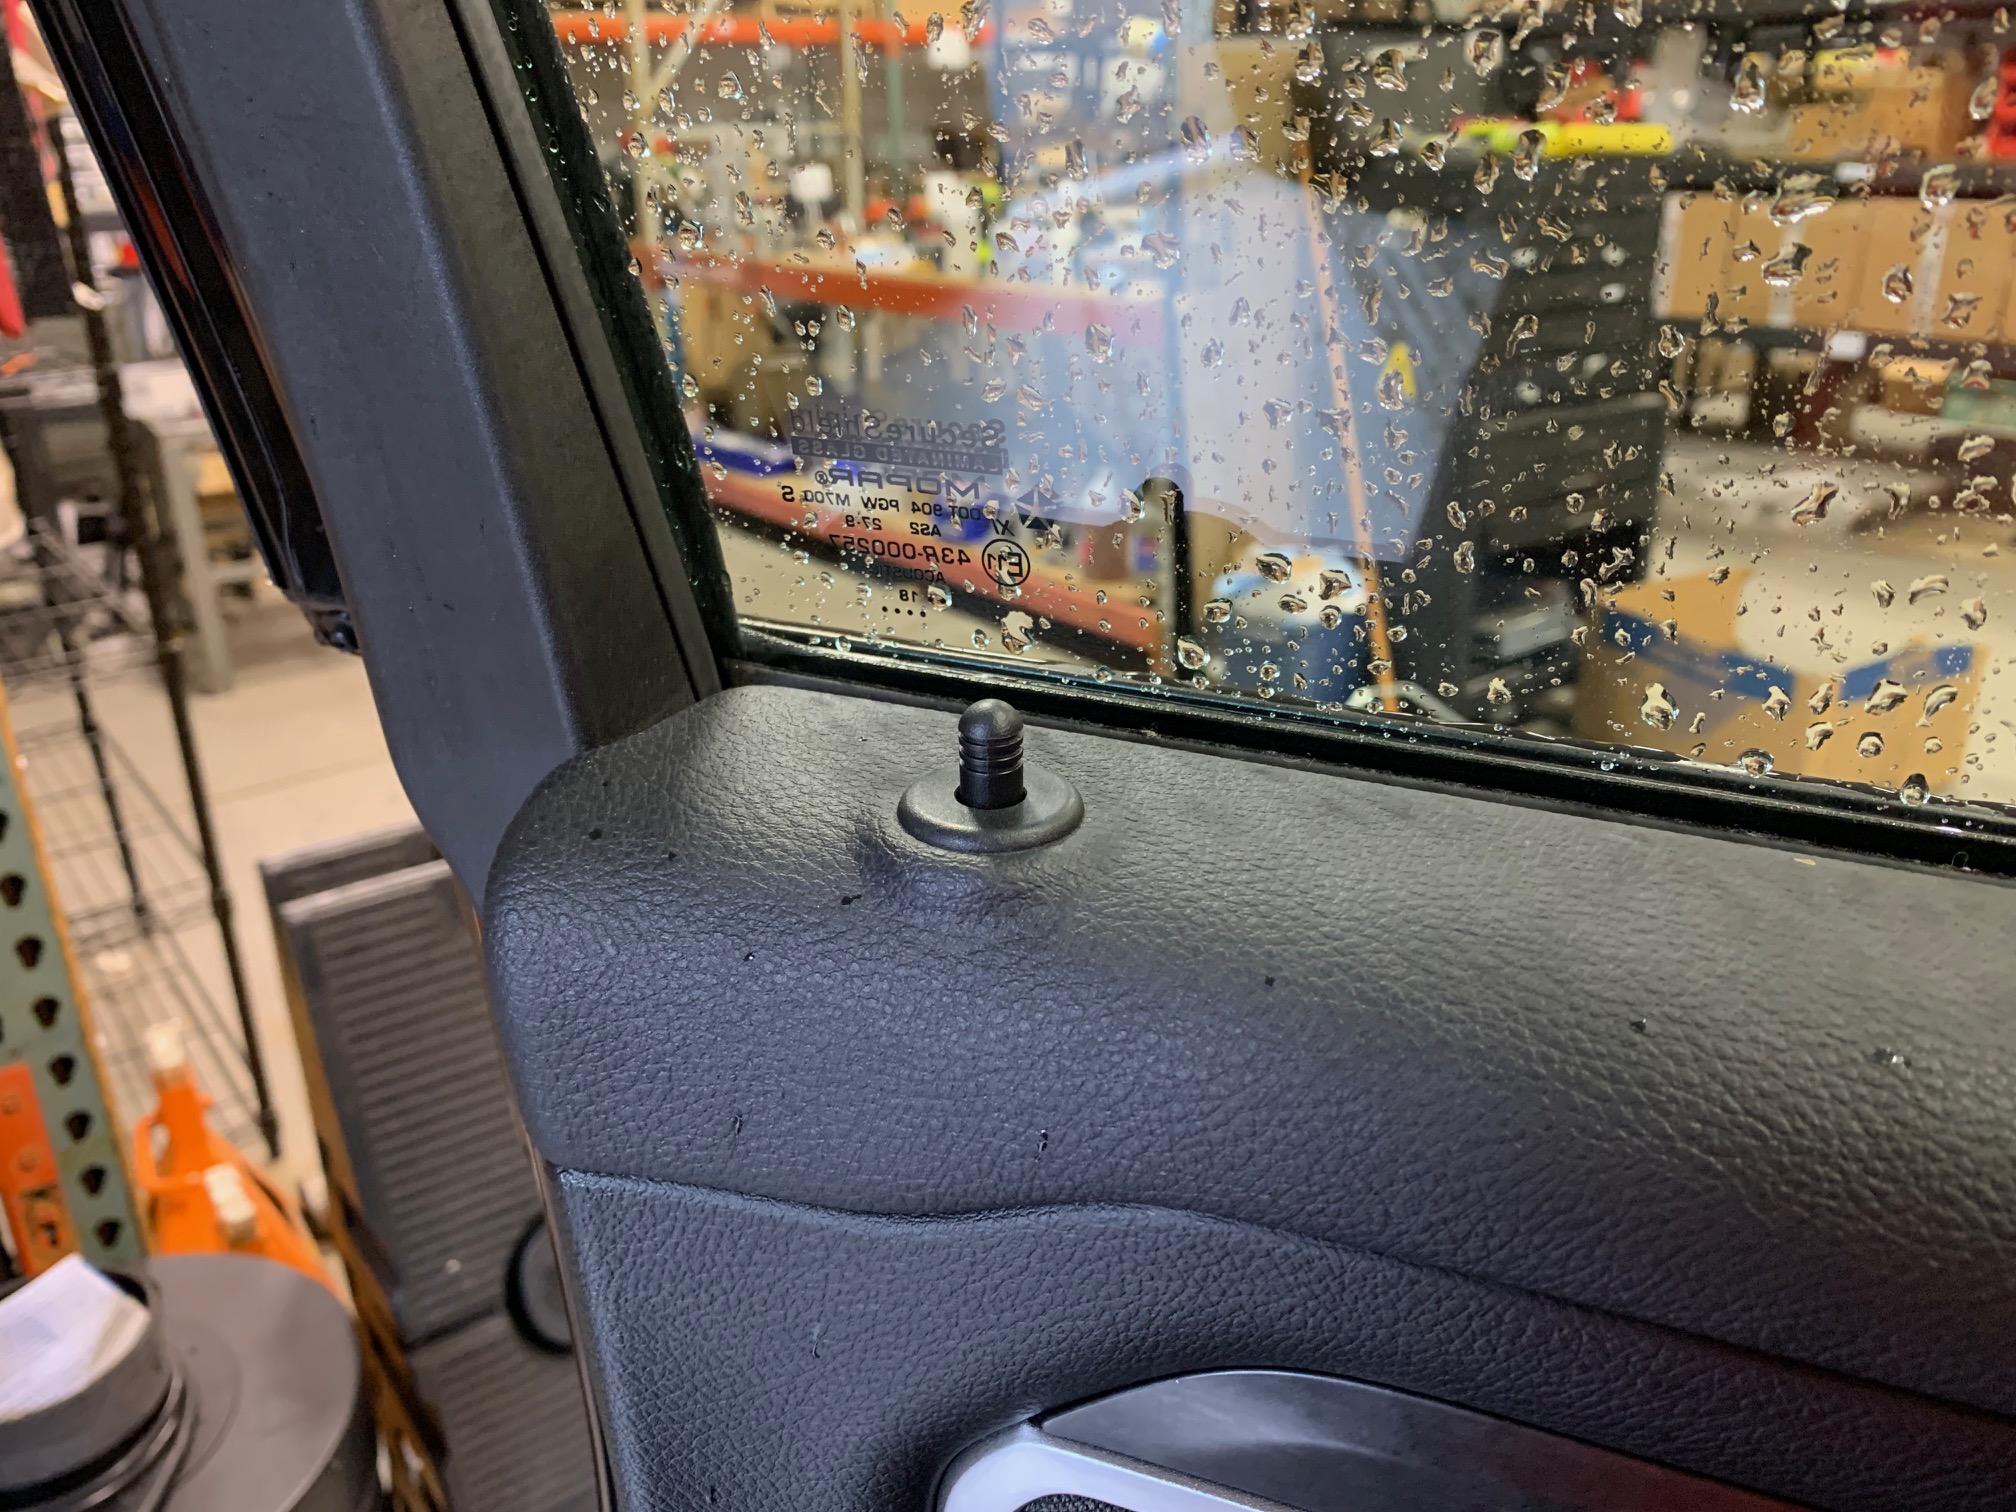
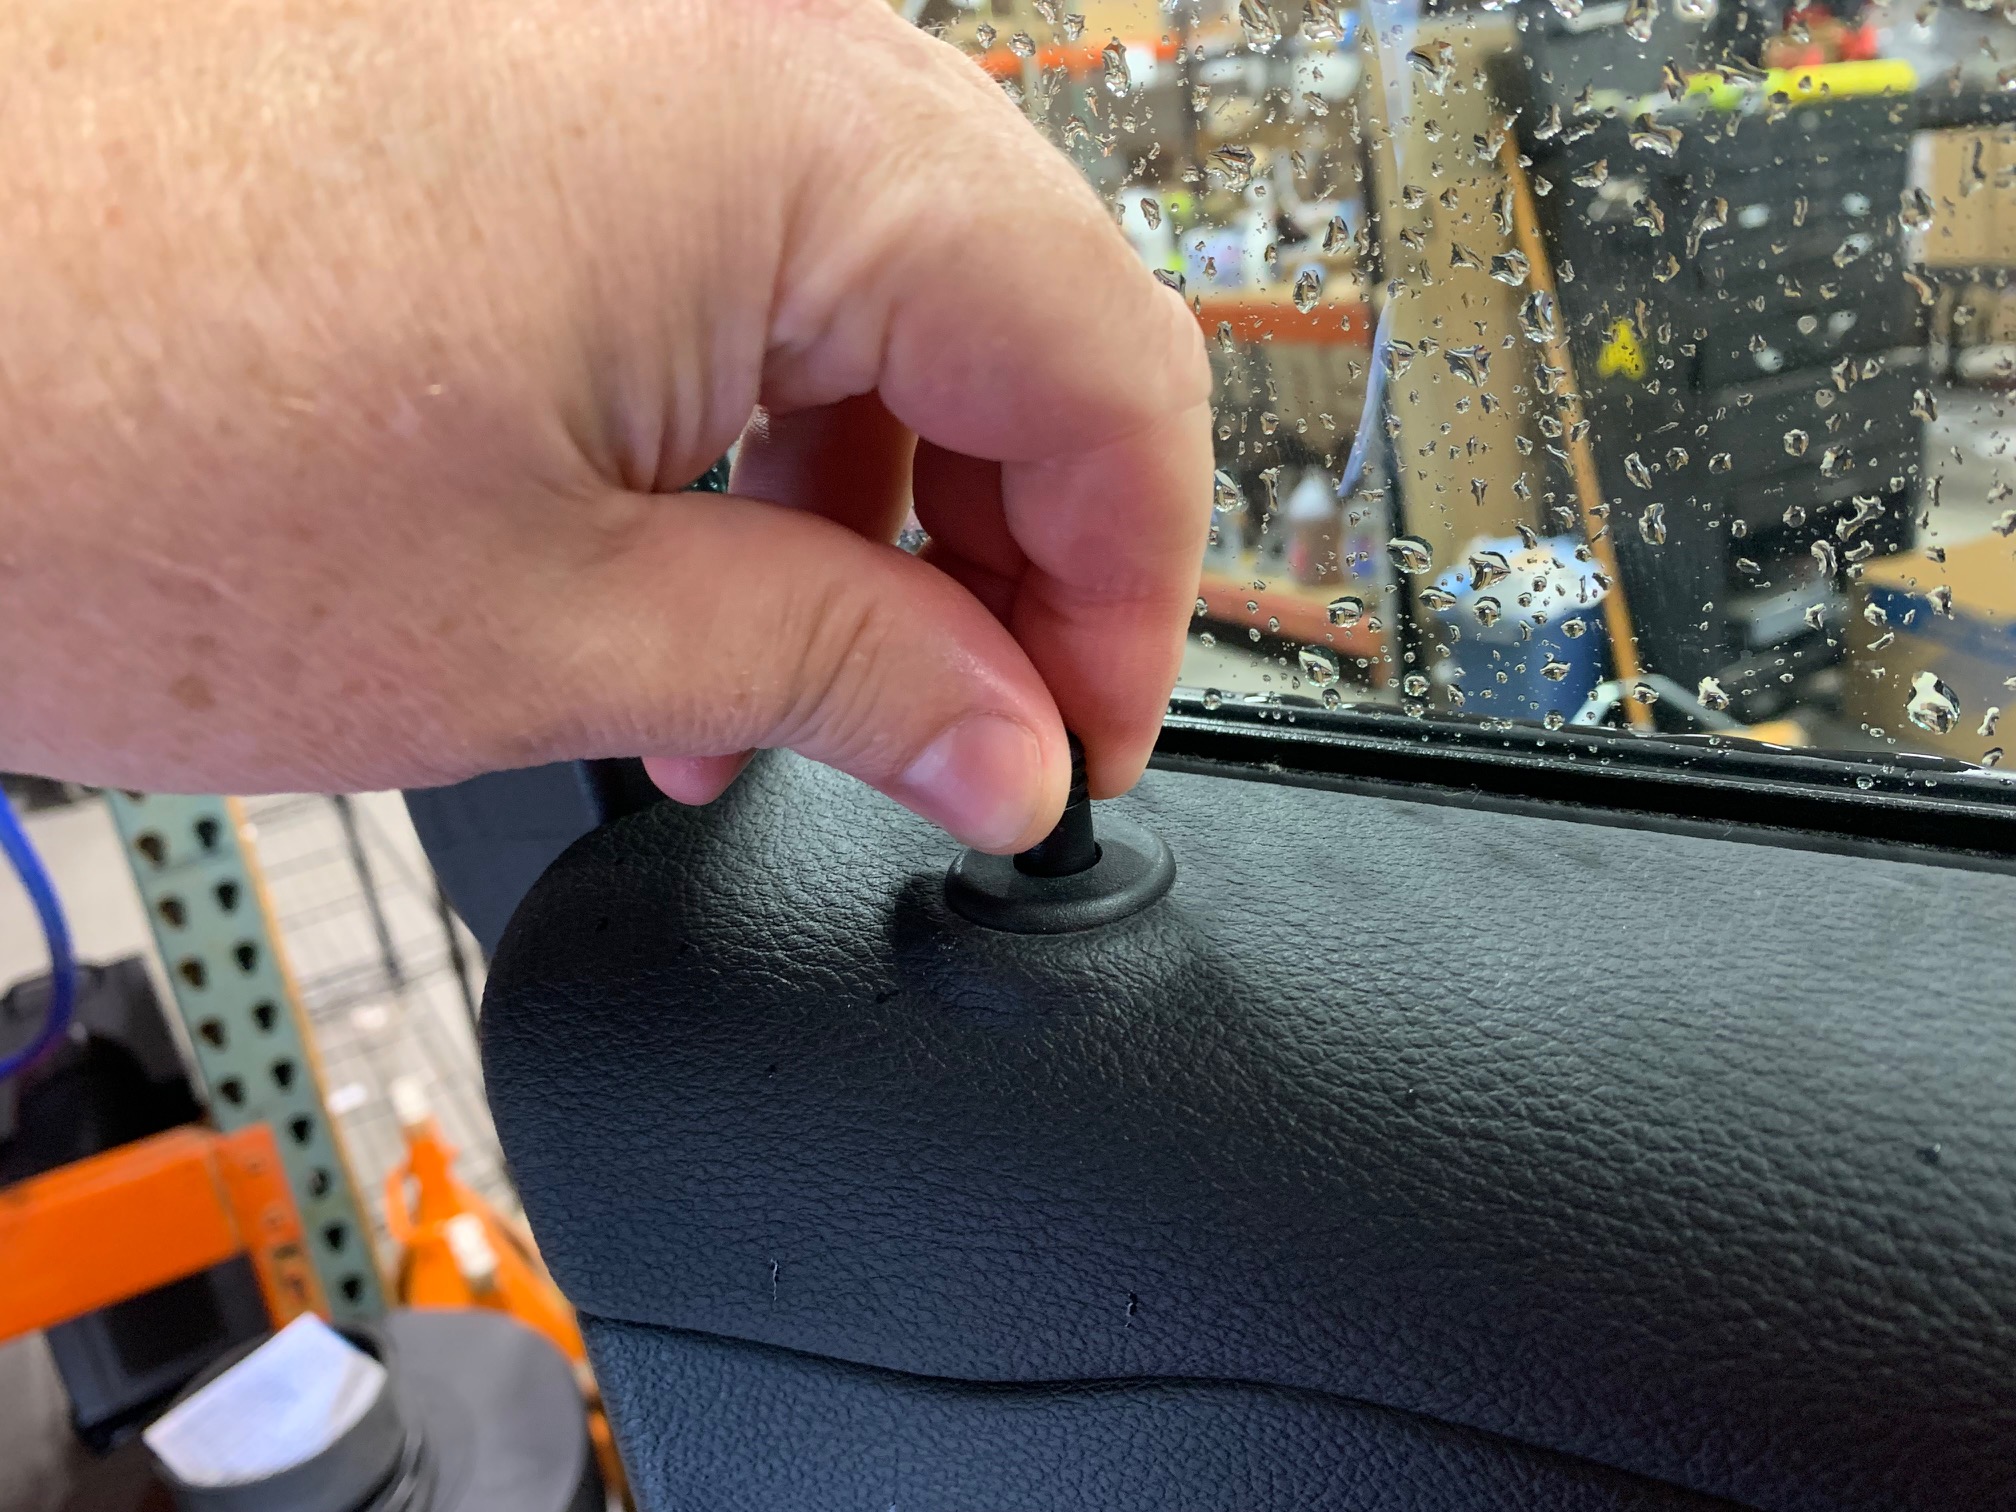
- Removal of Door Lock Plungers: Using your fingers, grab the door lock plunger and turn them counterclockwise (lefty loosey) to unscrew them from the lock rod inside the door. If you find that they're too tight, you may utilize some pliers to persuade them.
- Clean the Exposed Holes: After removing the door lock plungers, you will now have exposed holes along the top edge of the door panel. Clean the holes thoroughly to remove any dirt or debris.
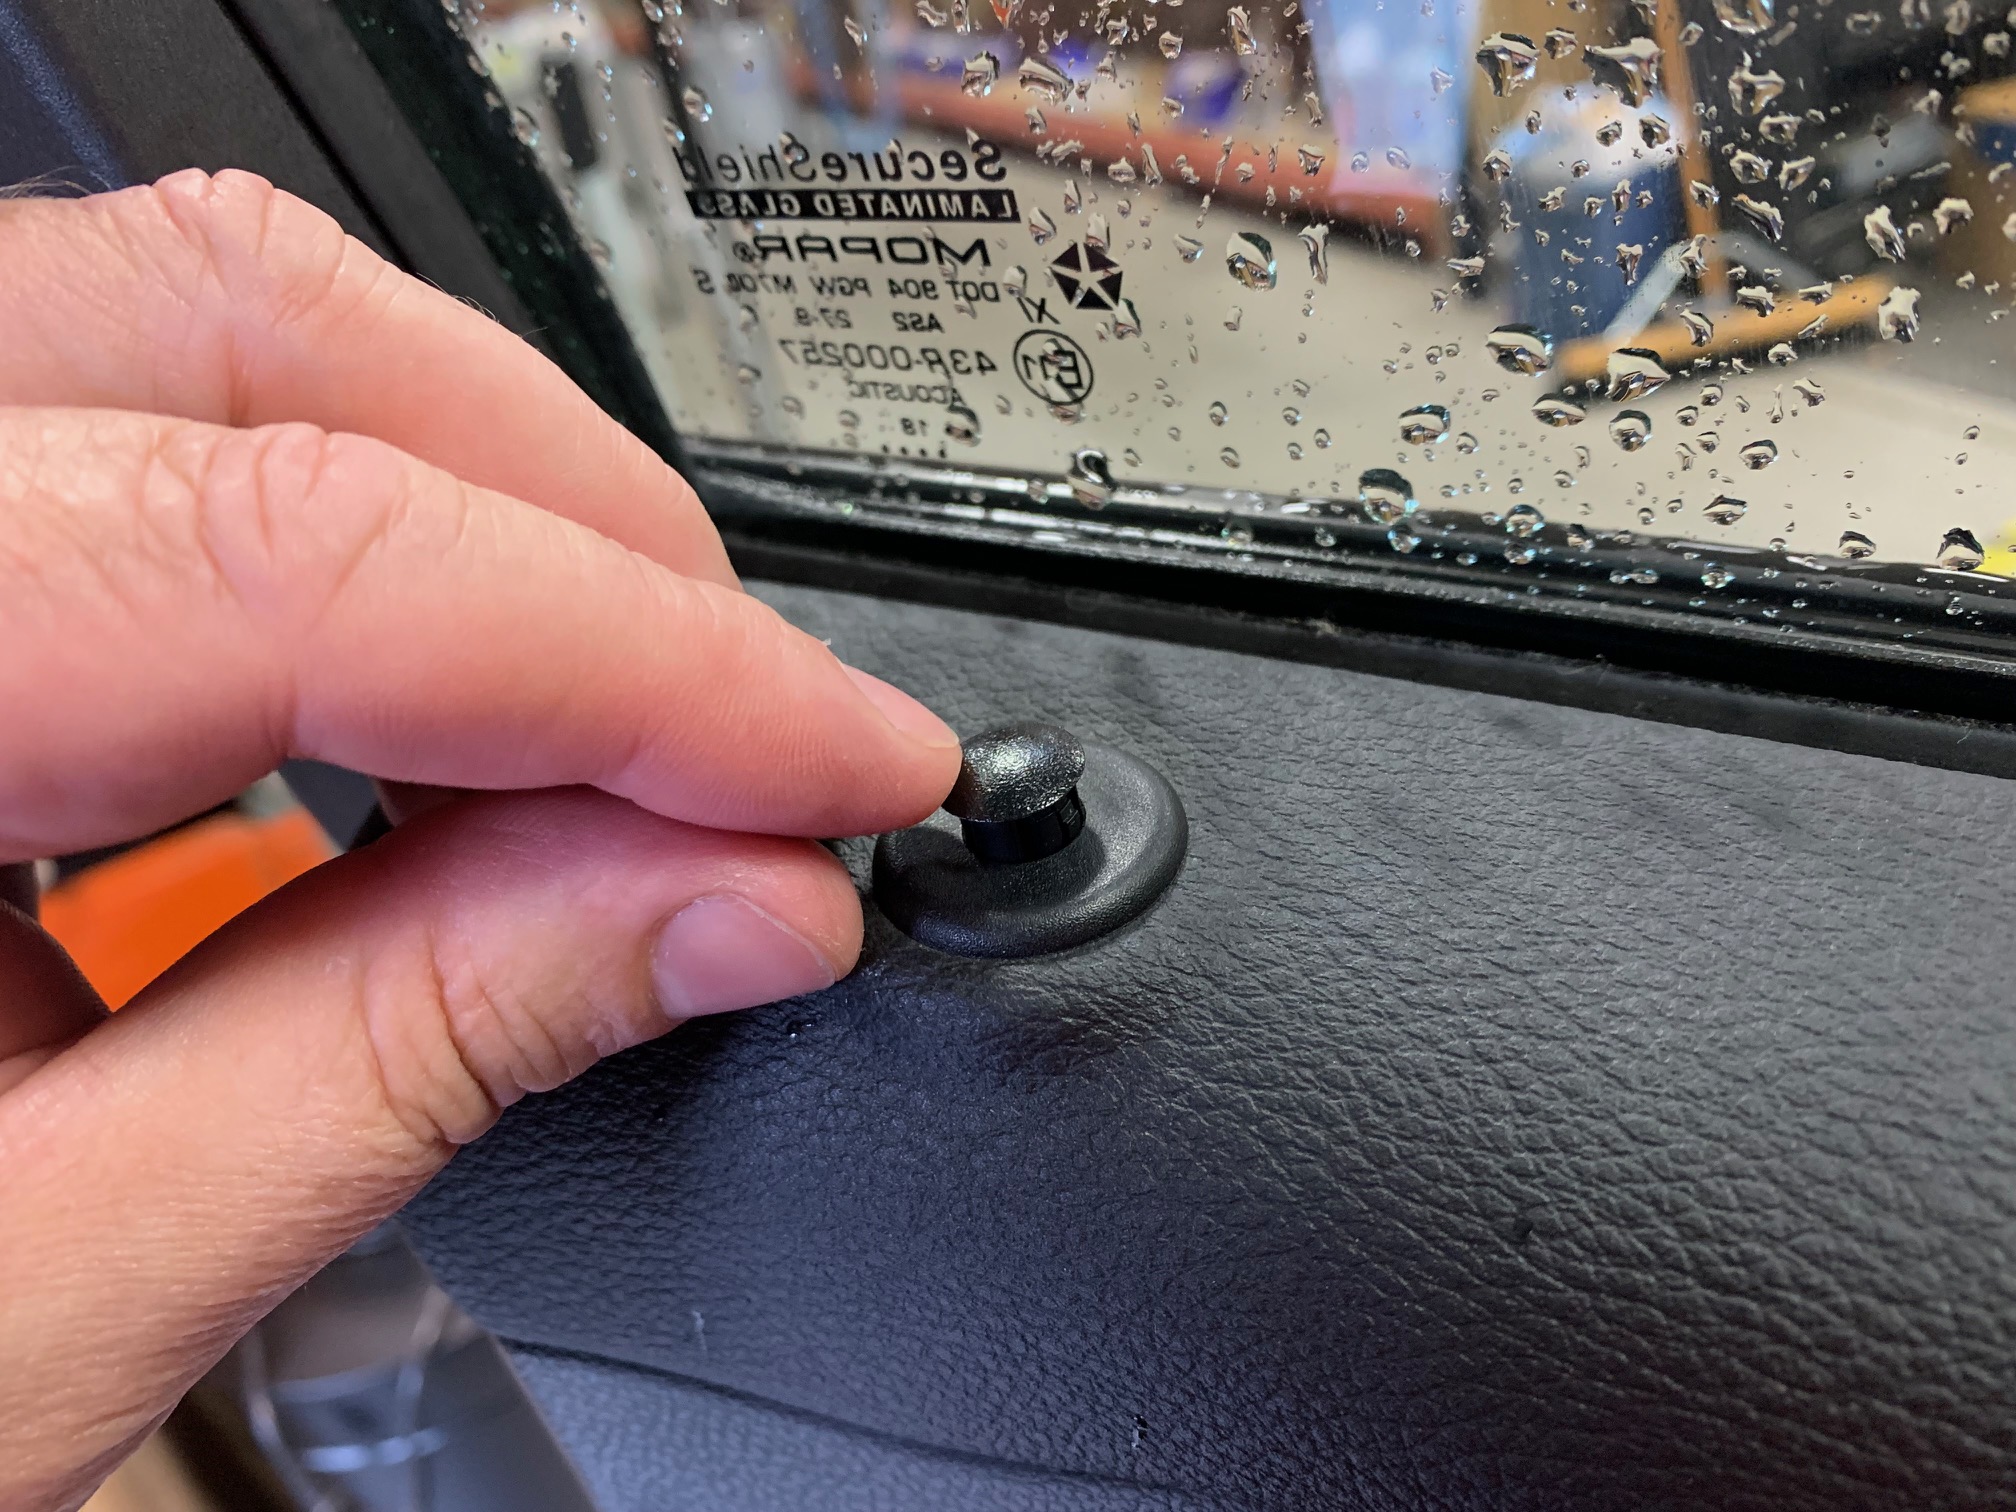
- Installing Plastic Caps: Take the plastic caps and plug up those holes. Press them firmly into place using your fingers until they are flush with the surface.
- Verify the Installation: Once the plastic caps are in place, double-check that they are secure and flush with the interior door panel's top edge.
- Final Inspection: Inspect the entire area to ensure it looks clean and there are no visible gaps or damage. If necessary, wipe down the area with a clean, damp cloth to remove any fingerprints or smudges.
- Repeat for Other Doors (if necessary): If you have multiple door lock plungers to remove and cap, repeat the above steps for each interior door panel. The rear doors shouldn't be an issue since the door lock plungers are located near the front portion of the door well away from where your arm would be.
- Store the OEM Door Lock Plungers: Properly file away the door lock plungers either in your parts bin or a trash receptacle.
- Test Doors: Before considering the job complete, test each door to ensure that they open and lock smoothly without any issues or internal binding.

Congratulations! Your installation is complete and you now have a cleaner and more finished appearance.