THANK YOU
for purchasing the Wiper Delete from CravenSpeed. This product is made from the highest grade materials, and is guaranteed to be free from defects.
You can buy our
CravenSpeed Rear Wiper Delete for here
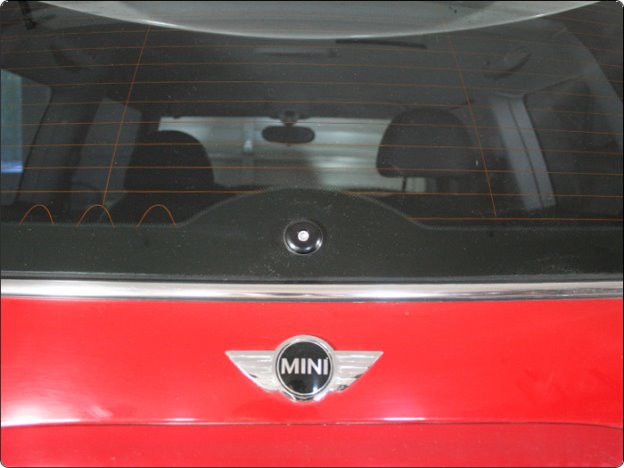
The Rear Wiper Delete kit from CravenSpeed is a purpose-built solution that quickly and cleanly eliminates your rear hatch wiper assembly. Superb, black-anodized aluminum design that fits tight to ensure there will be no leaks. There is even a rubber seal for the center bolt!
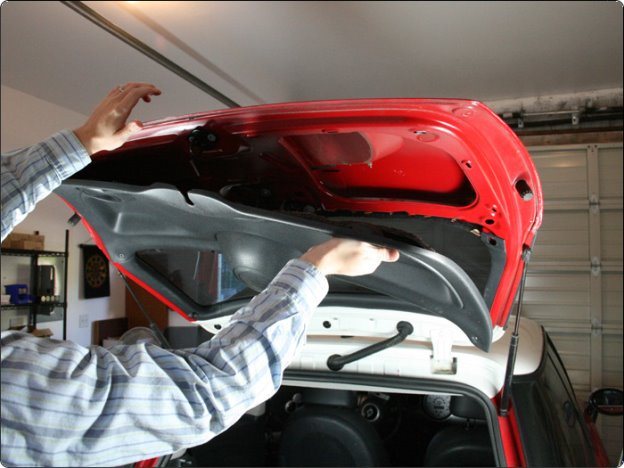
1. Remove inner boot panel from the hatch. This will require removing 6 Phillips head screws on the Gen 1 cars and 2 Torx screws on the Gen 2. On the Gen 3 cars, the panel just snaps in, so just get a grip and pull.
2. On the outside of the car, lift the wiper nut cover and remove the 13mm nut. A socket extension is recommended, but not absolutely required. The wiper blade assembly should then pull off straight off the wiper motor shaft. (If it is stuck on, rock it from side to side while gently pulling.)
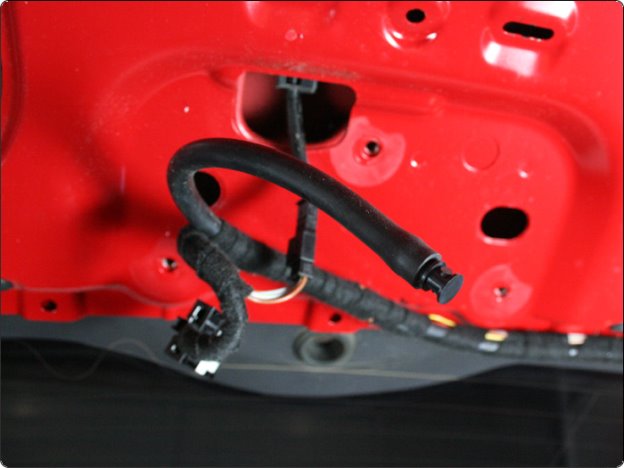
3. Snip the zip-tie that holds the wiper wiring and tubing in place. Unplug tubing from wiper motor assembly and plug it with the supplied nylon plug. Unplug wiper motor wiring harness.
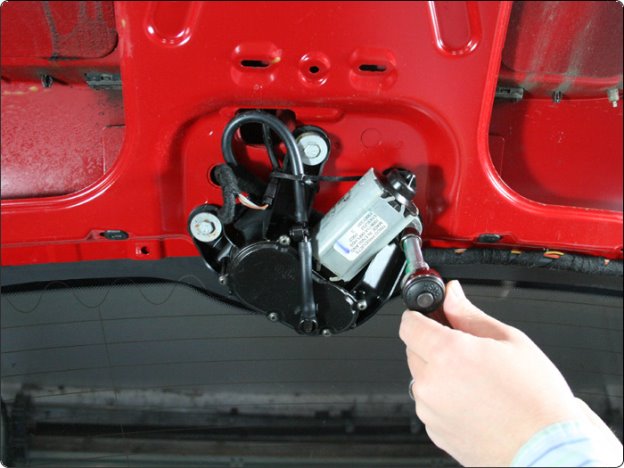
4. Remove (3) 10mm bolts that hold the wiper motor assembly to the boot hatch, being careful to support the assembly with your free hand. Take the wiper assembly out of the car and place it in your parts bin.
5. Remove the existing rubber grommet from the hole in the glass. It just pulls out with not much effort. Clean the surrounding glass and replace the OEM grommet with the one supplied in the delete kit.
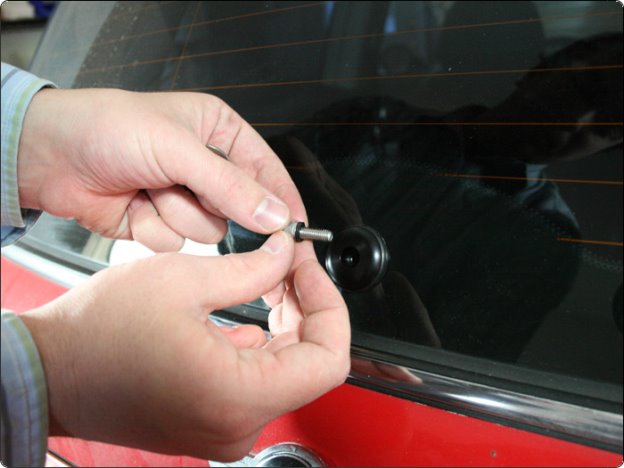
6. Place wiper delete cap onto the grommet. Place the included square o-ring over the 6mm bolt and insert into the center of the wiper delete cap.
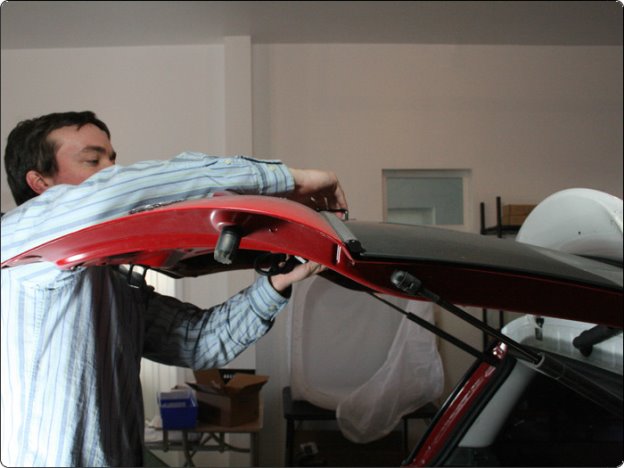
7. Open the rear hatch door. While holding the 6mm bolt in place with a 4.5mm hex key, place the large washer over the bolt on the underside of the hatch door and attach the lock nut. Tighten until the 6mm bolt is sitting approx. 1mm below flush.
8. Replace inner boot panel of the rear hatch.
NOTE:
If you’d prefer to hide the stainless screw, we now include a black plastic cap that snaps into the hex and provides a sleek, clean look.
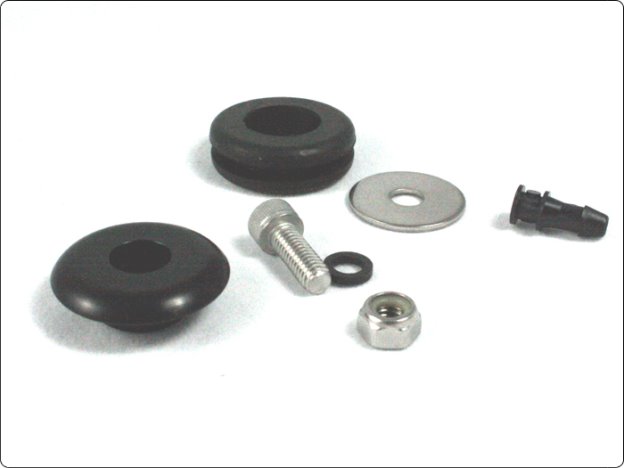
Parts Included:
Tools Required:
Procedure
Driving an F60 Countryman? Specific instructions for the F60 can be found here:
F60 VERSION