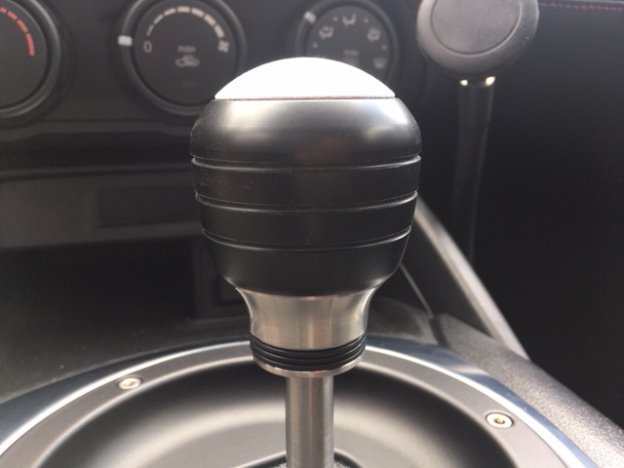
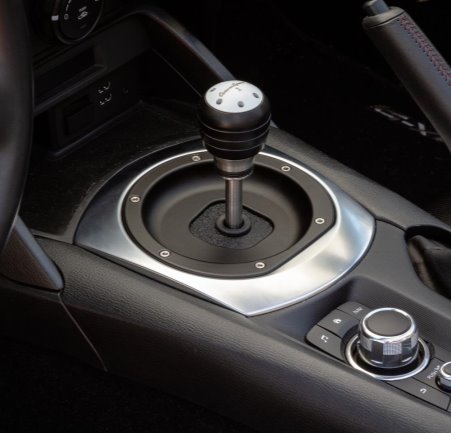
THANK YOU for purchasing the ND MX-5 Miata Shift Well Kit from CravenSpeed. This product is made from the highest grade materials, and is guaranteed to be free from defects.
You can buy our CravenSpeed Shift Well Cover for ND MX-5 Miata here
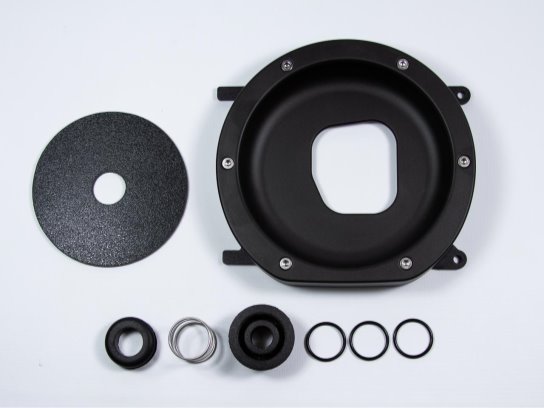
Parts Included:
- 1x Shift Well Cover Assembly
- 1x ABS Slide Plate
- 1x Rubber Grommet
- 1x Spring Retainer
- 1x Large Spring
- 3x O-Rings
Tools Required:
- Trim Panel Removal Tool (Flat-bladed Screwdriver may be used with care)
- Philips Screwdriver
PLEASE NOTE: This product requires the previous install of the CS-AA100 CravenSpeed Short Shifter Kit . It is not compatible with the OEM Mazda shift lever.
FITMENT DISCLOSURE: A small number of customers have reported fitment issues with this product, so after it has been installed but before you take your ND for a spin and start rowing through the gears, take a moment to check the clearance of the shift lever within the shift well opening. If it appears that the shift lever is crushing the slide plate grommet when shifting into reverse, give our customer support line a quick message and we’ll do what we can to fix the issue. Please see this discussion thread detailing the potential issue.
Procedure
Let's get started
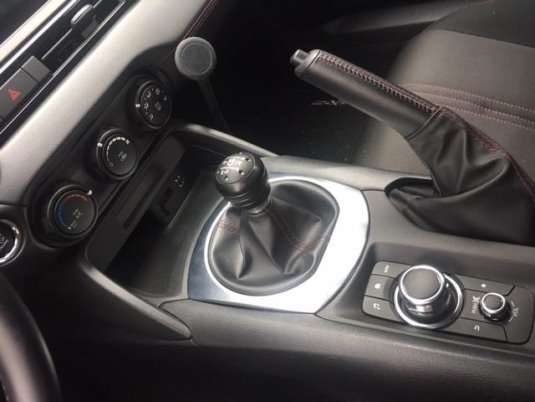
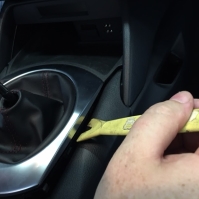
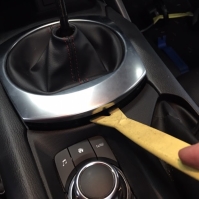
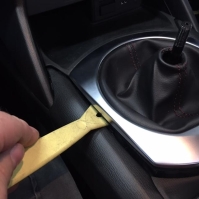
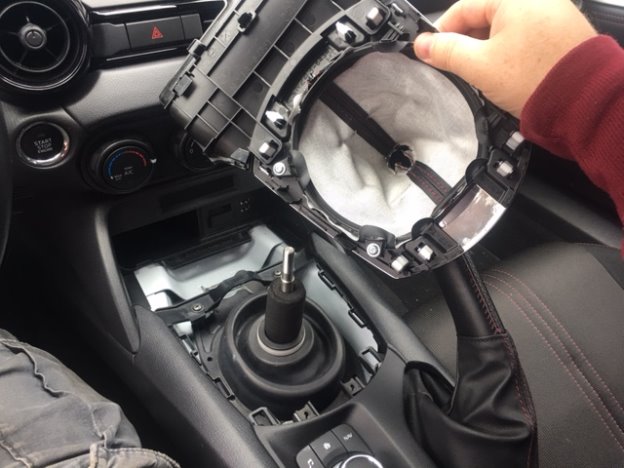
- Sit down in the driver’s seat and remove the shift knob. Utilizing a trim panel removal tool, pry around the shift boot surround to release it from the center console. Lift it off of the shift lever and set aside. If you have the foam spacer installed on the CravenSpeed shift lever, go ahead and remove that too. We will not be using it with the shift well kit.
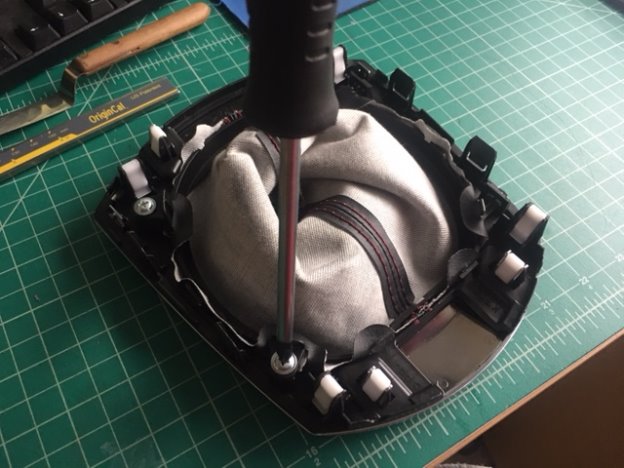
- Flip the shift boot surround over and remove the two Phillips screws affixing the boot base to the surround. Once the screws are removed, tilt the boot base slightly and slip the mounting tabs out of their slots separating the components. Keep track of these two small screws as you will be reusing them.
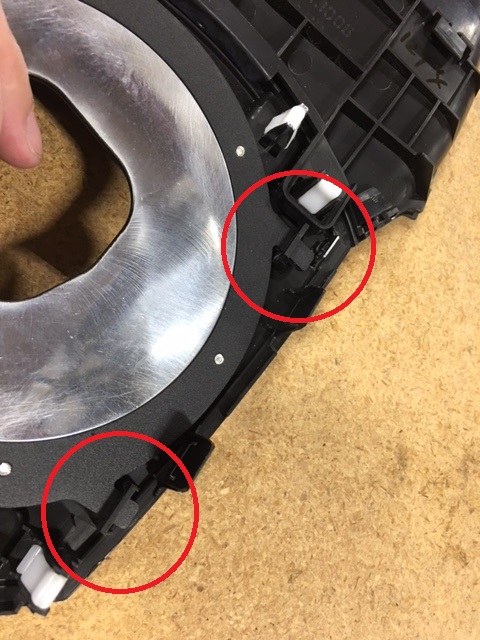
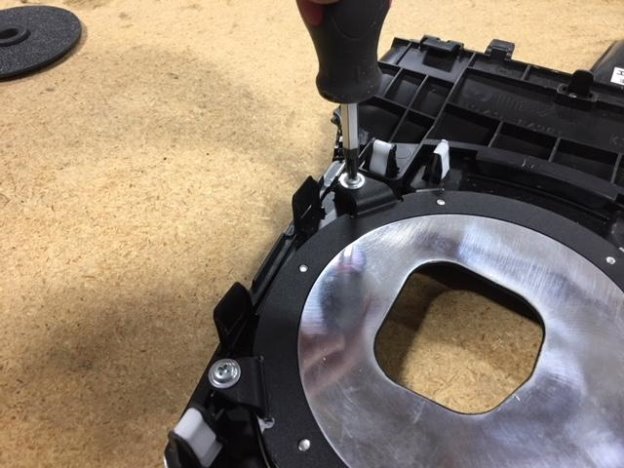
- Take the CravenSpeed shift well sub-assembly and place the mounting frame tabs into the slots on the back side of the factory shifter surround. Line up the side holes of the shift well frame with the screw holes of the shift well and replace the two small Phillips screws.
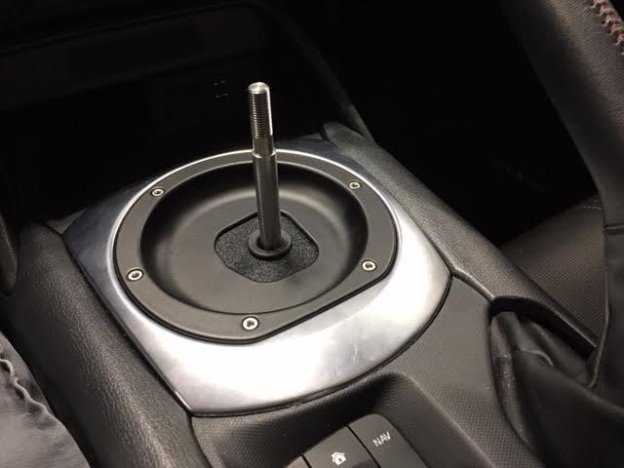
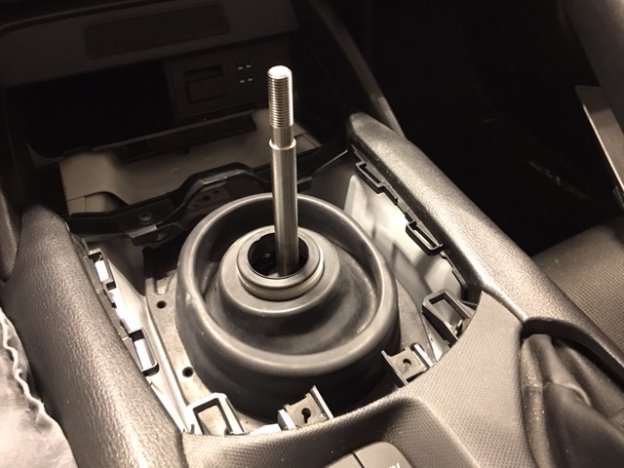
- Take your now assembled shift well cover / shifter surround and sit back down in your MX-5. Your short shifter should look like the image below.
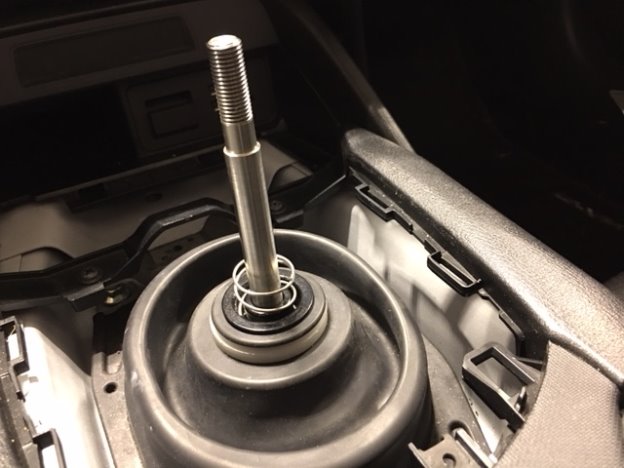
- Take the ABS spring retainer and slip it down over the shift lever and seat it flush with the rubber seal.
- Place the large spring over the shift lever and down into the groove of the ABS spring retainer. If your MX-5 was originally equipped with the white
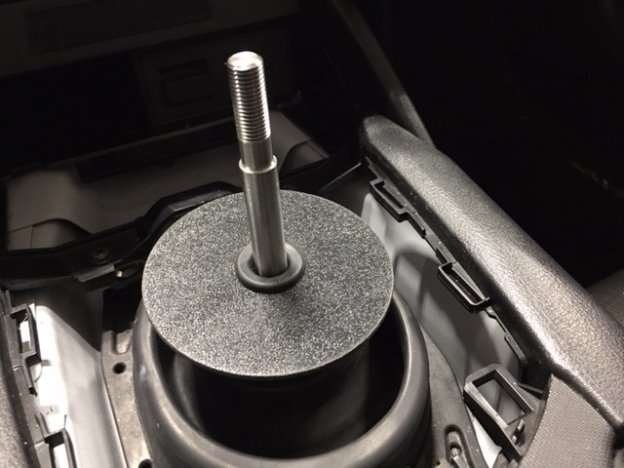
- Install the rubber grommet into the hole of the round ABS slide plate and slip over the shift lever to set on top of the spring.
- Take the assembled shift well cover and set the front edge of the shifter surround into the center console, lining up the plastic tabs with their receptacles. Using the side of your palm, gently bump around the surround to snap the tabs into place.
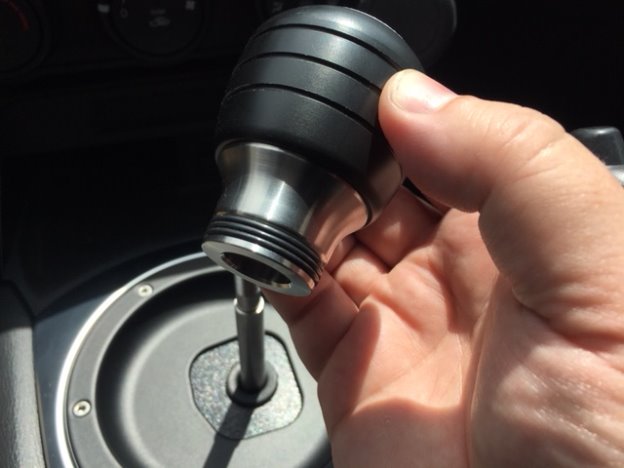
- Finally, grab your CravenSpeed shift knob and slip the 3 o-rings into the boot groove at the base of the knob. This step is totally optional, but we thought it was a nice touch.
Remove the Shift Knob & Boot Surround
Installing the CS Shift Well Cover Assembly
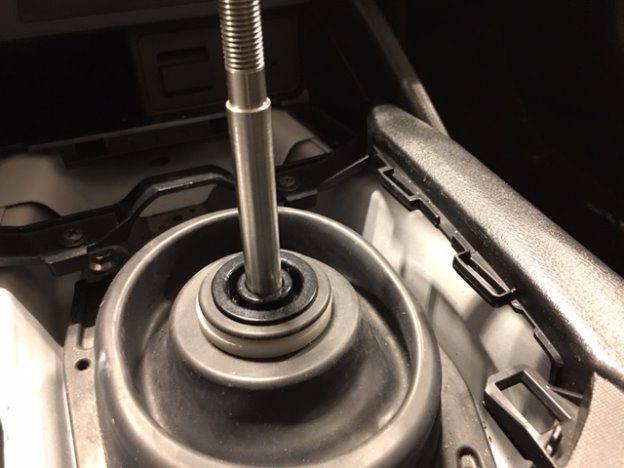
Please Note: If your ND MX-5 was equipped with the white padded baffling, do not reinstall it as there could potentially be fitment issues with the shift well cover plate.
